Generate single screen code
This guide explains how to use WiseGPT to generate personalized code for a single screen from your Figma design file. It is particularly useful for users who want to add new screens to their existing projects. WiseGPT adapts to your existing code structure and libraries, ensuring seamless integration. Follow these steps to easily convert your Figma design into working code that fits perfectly with your current setup.
Read about supported languages and frameworks.
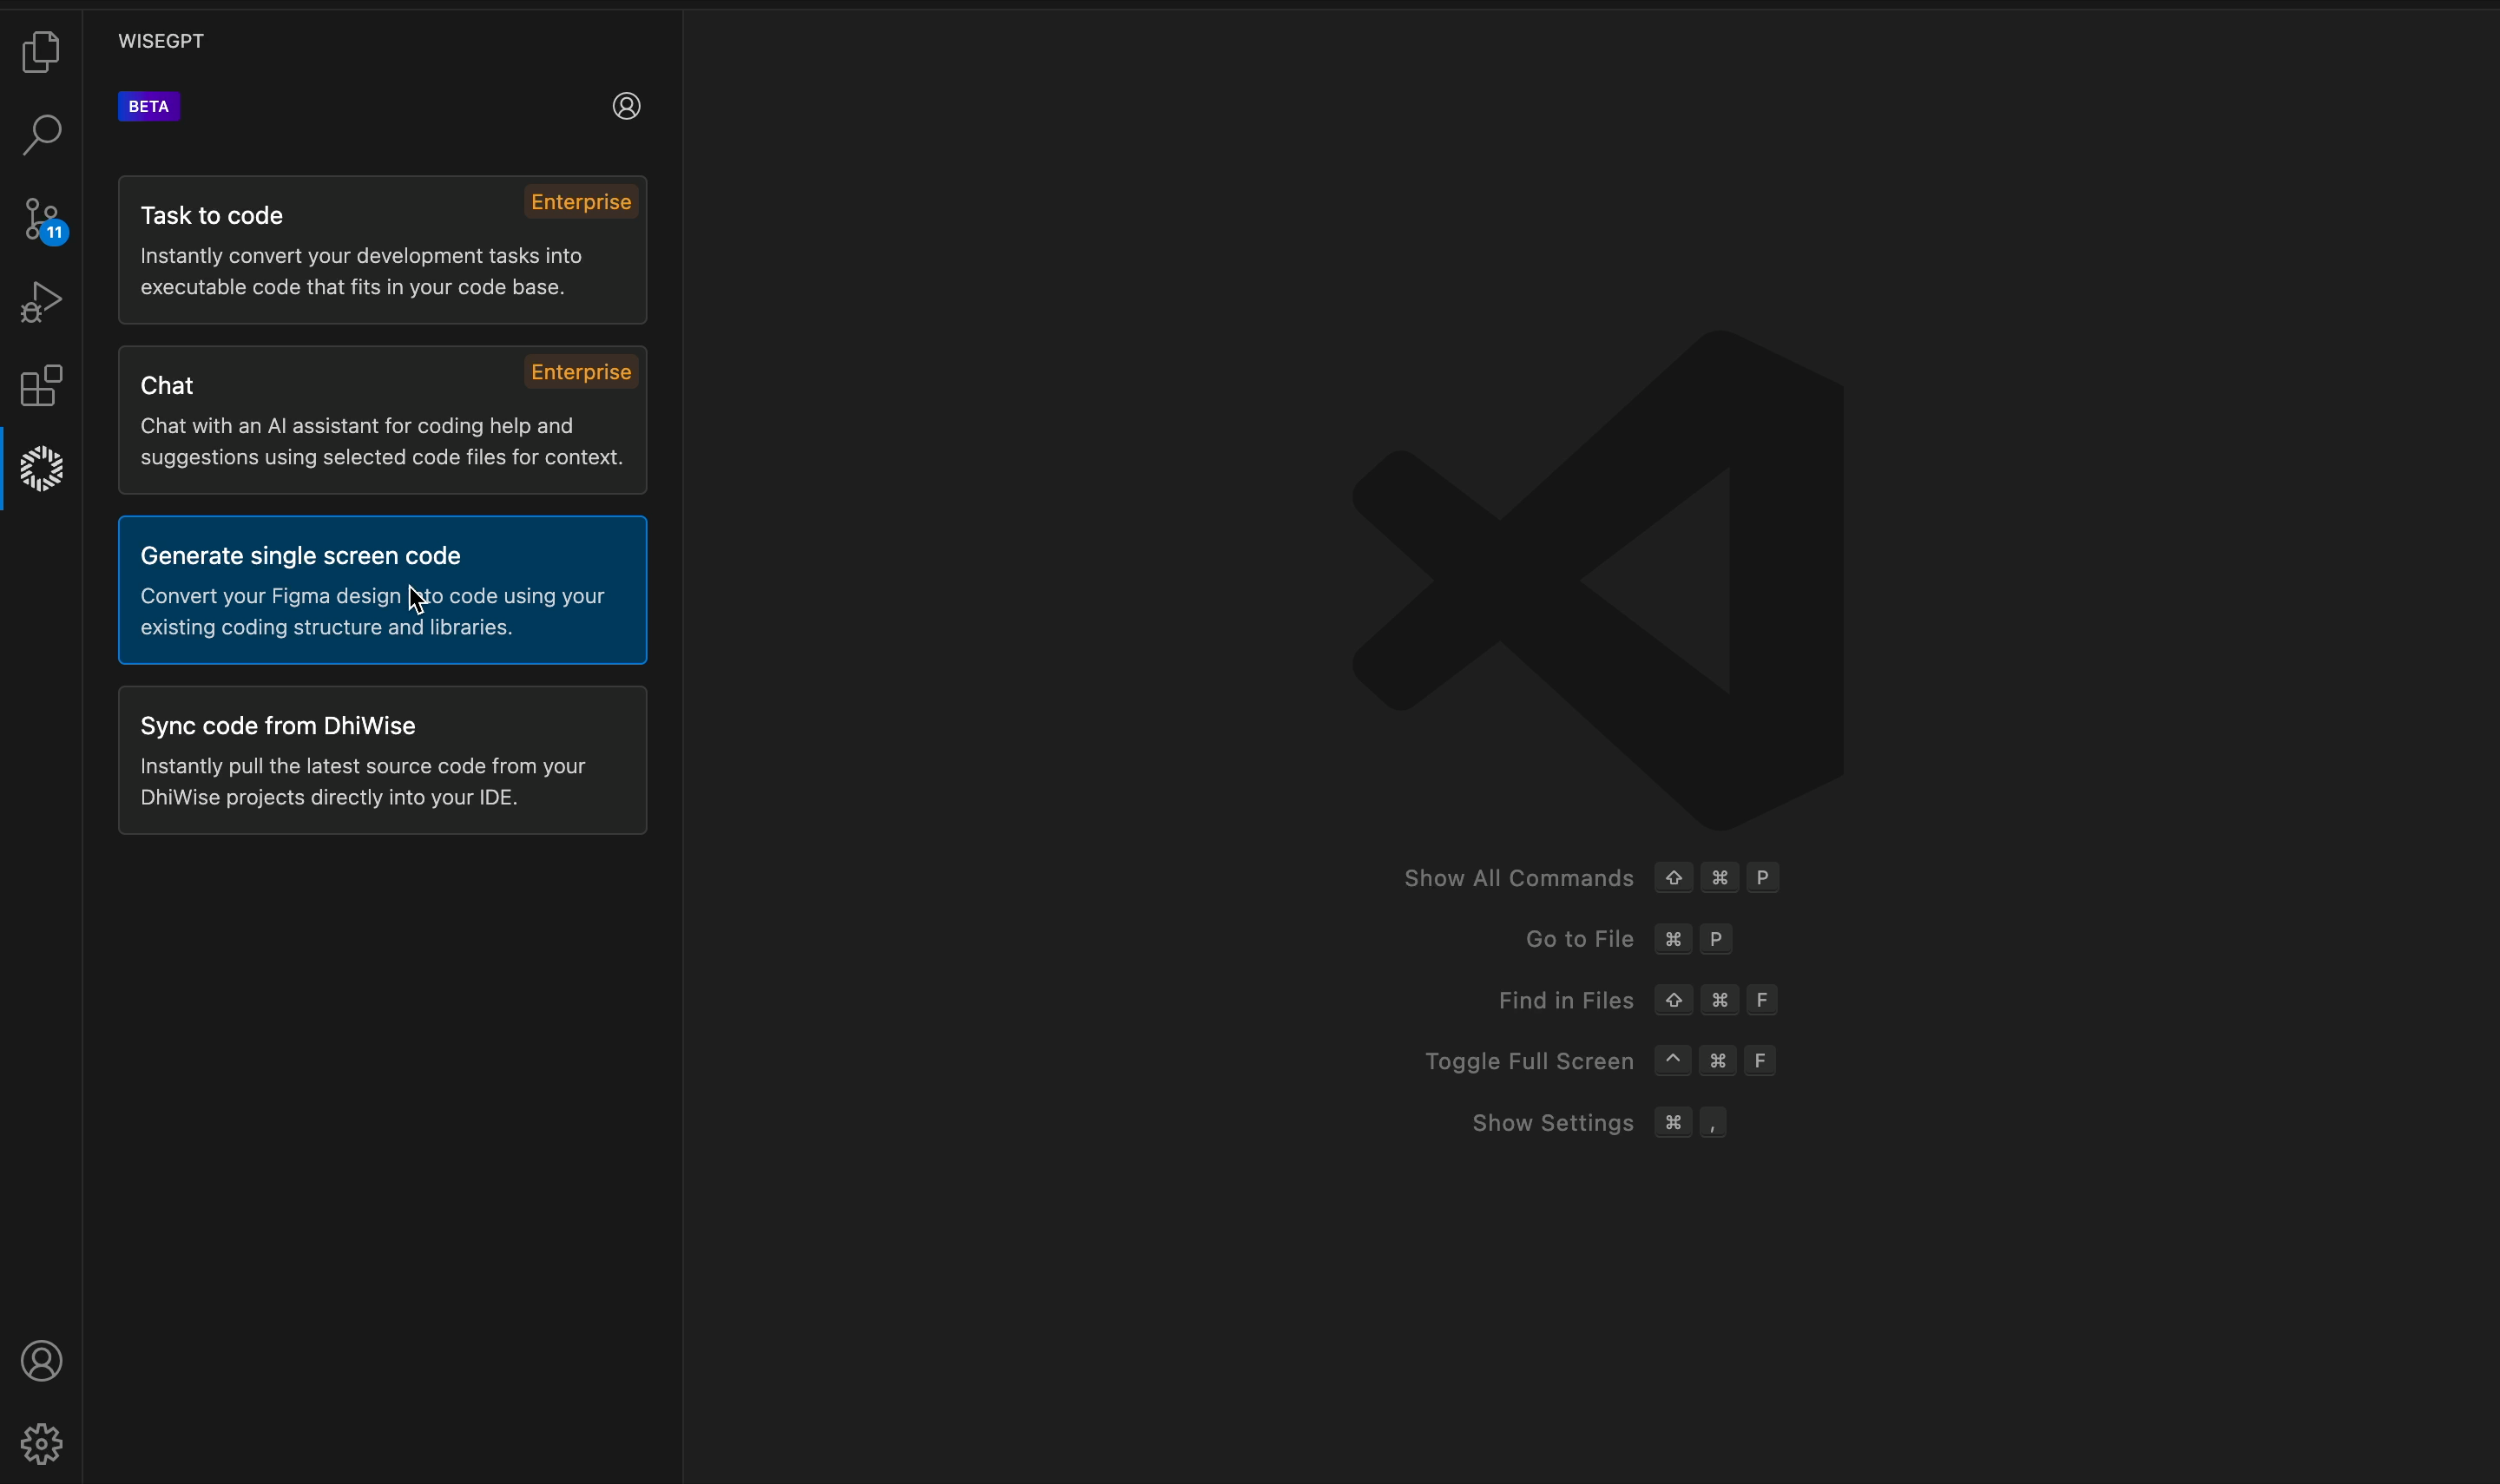
Select the Generate single screen code option
After you have logged in with WiseGPT, select the Generate single screen code option.
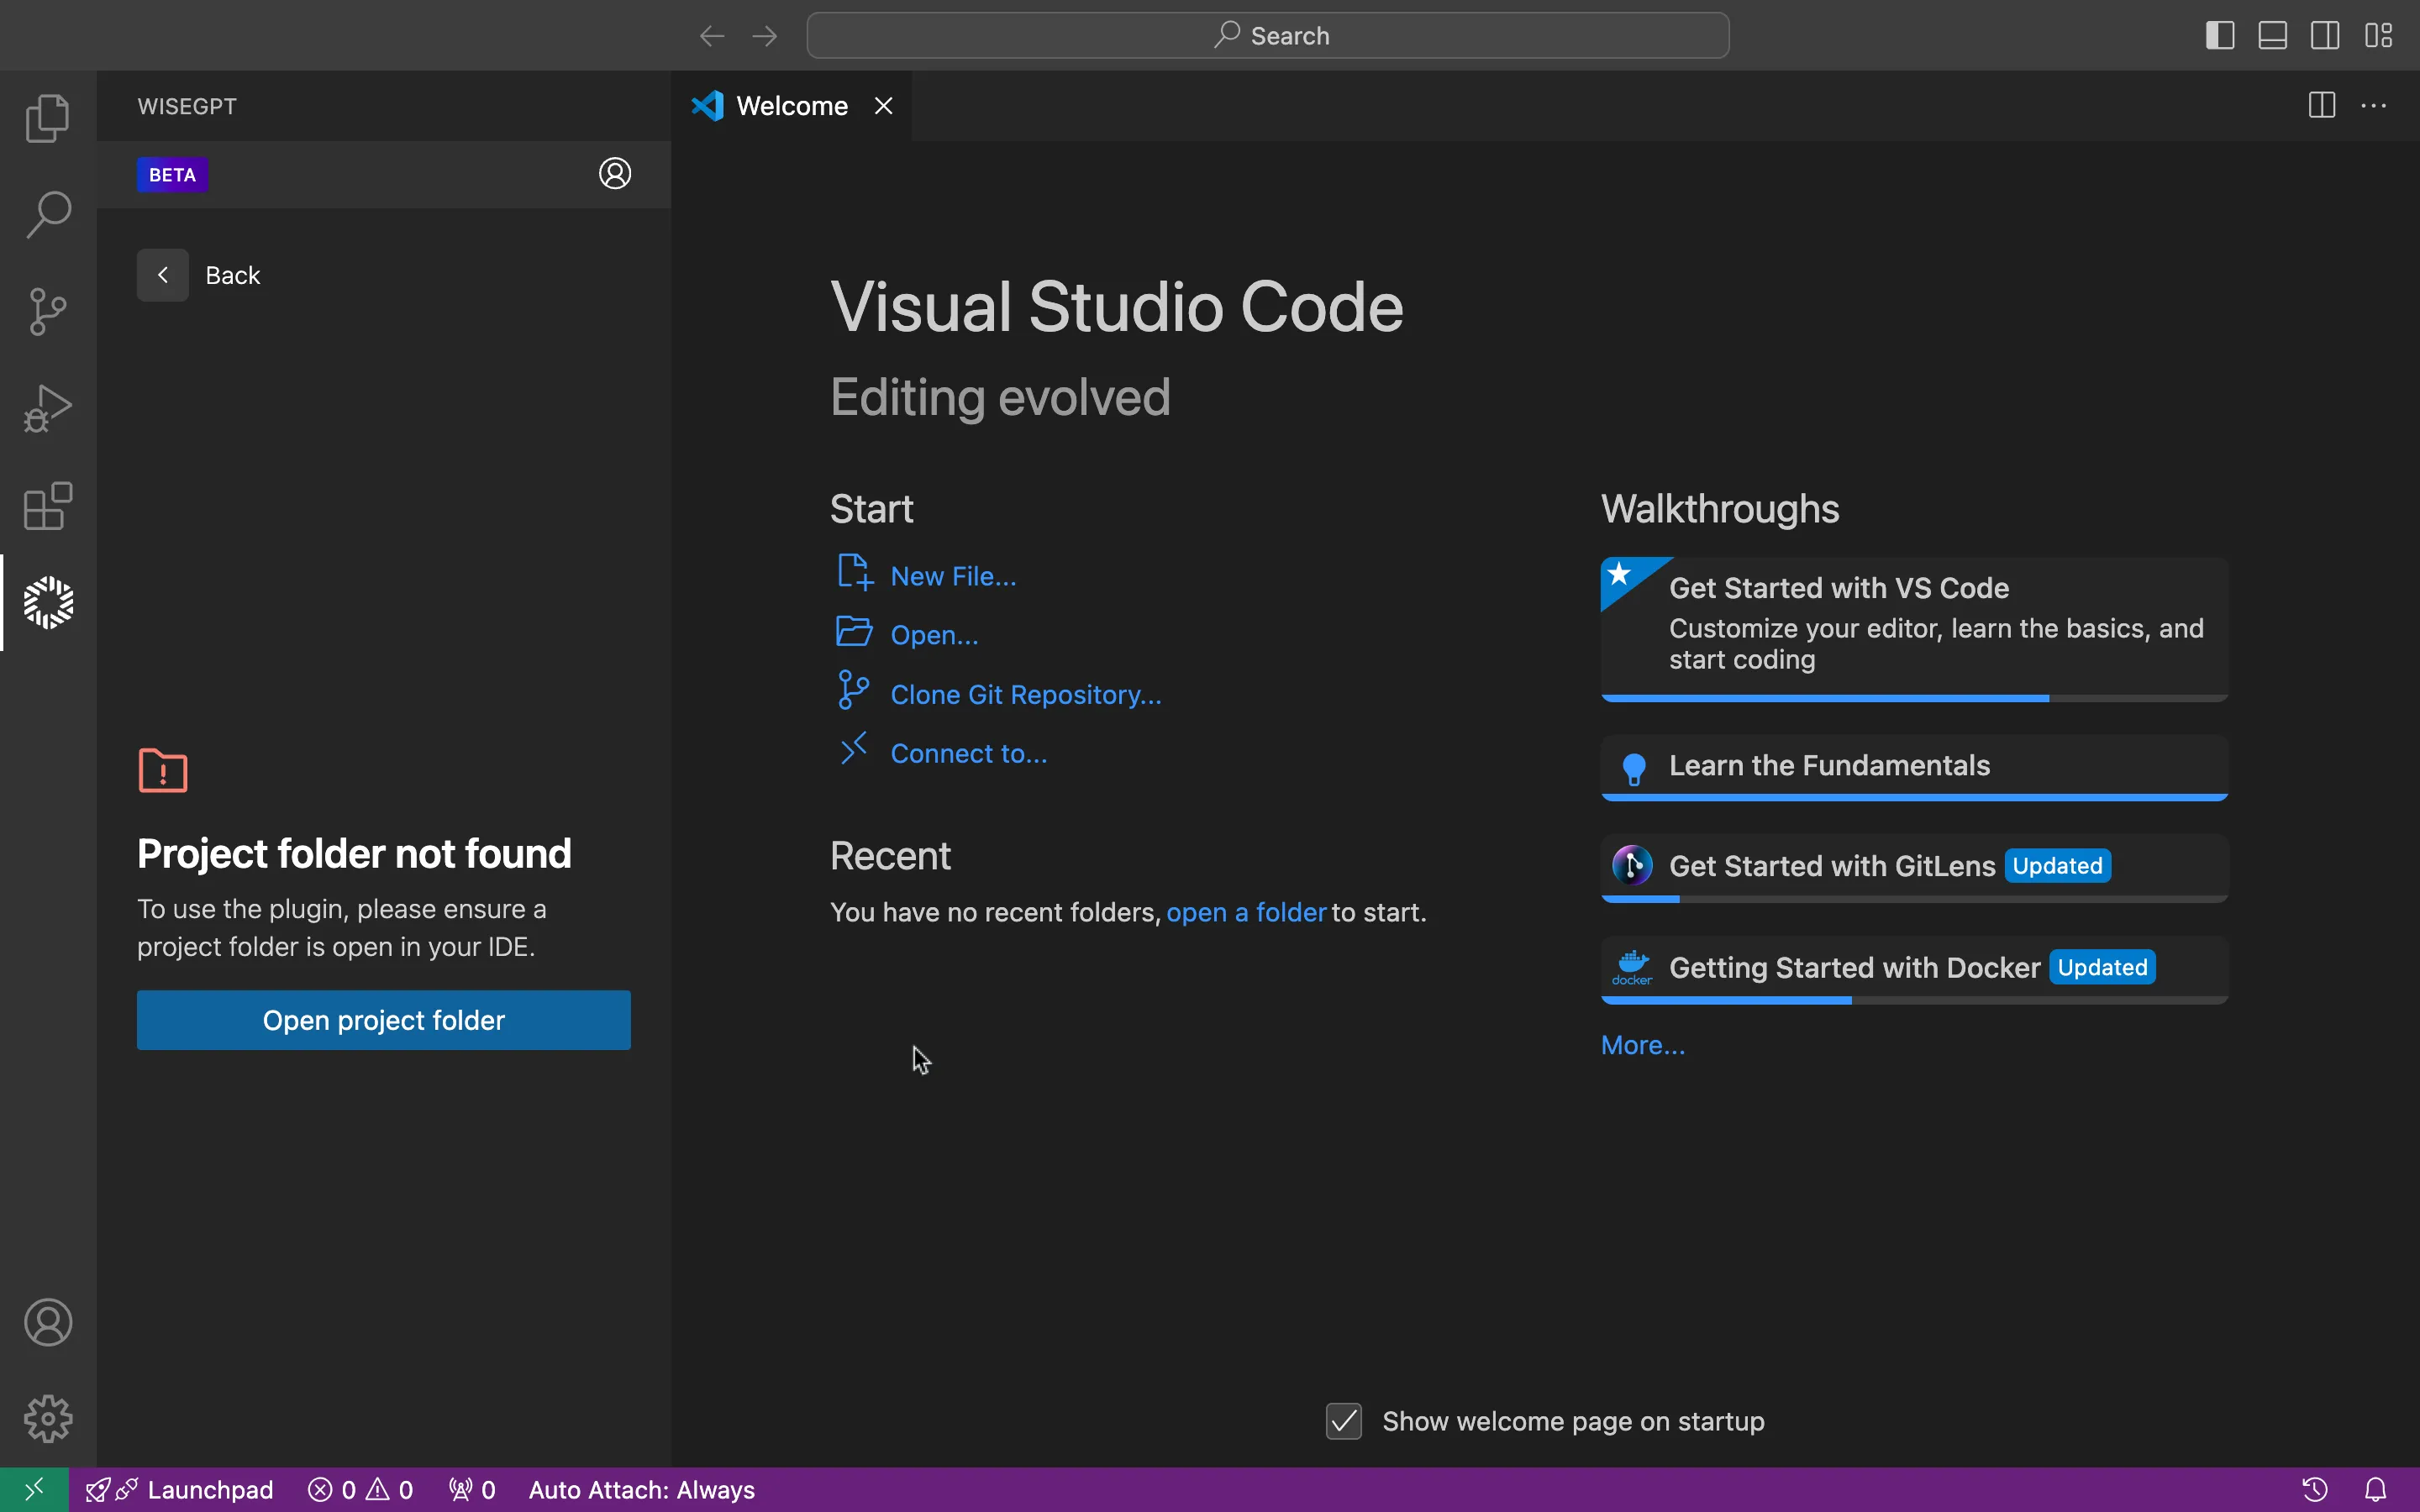
Open project folder
Before using the Generate single screen code feature, ensure that you have a project folder opened. If not, click Open project folder and proceed. This is necessary for proper integration and code generation using WiseGPT.
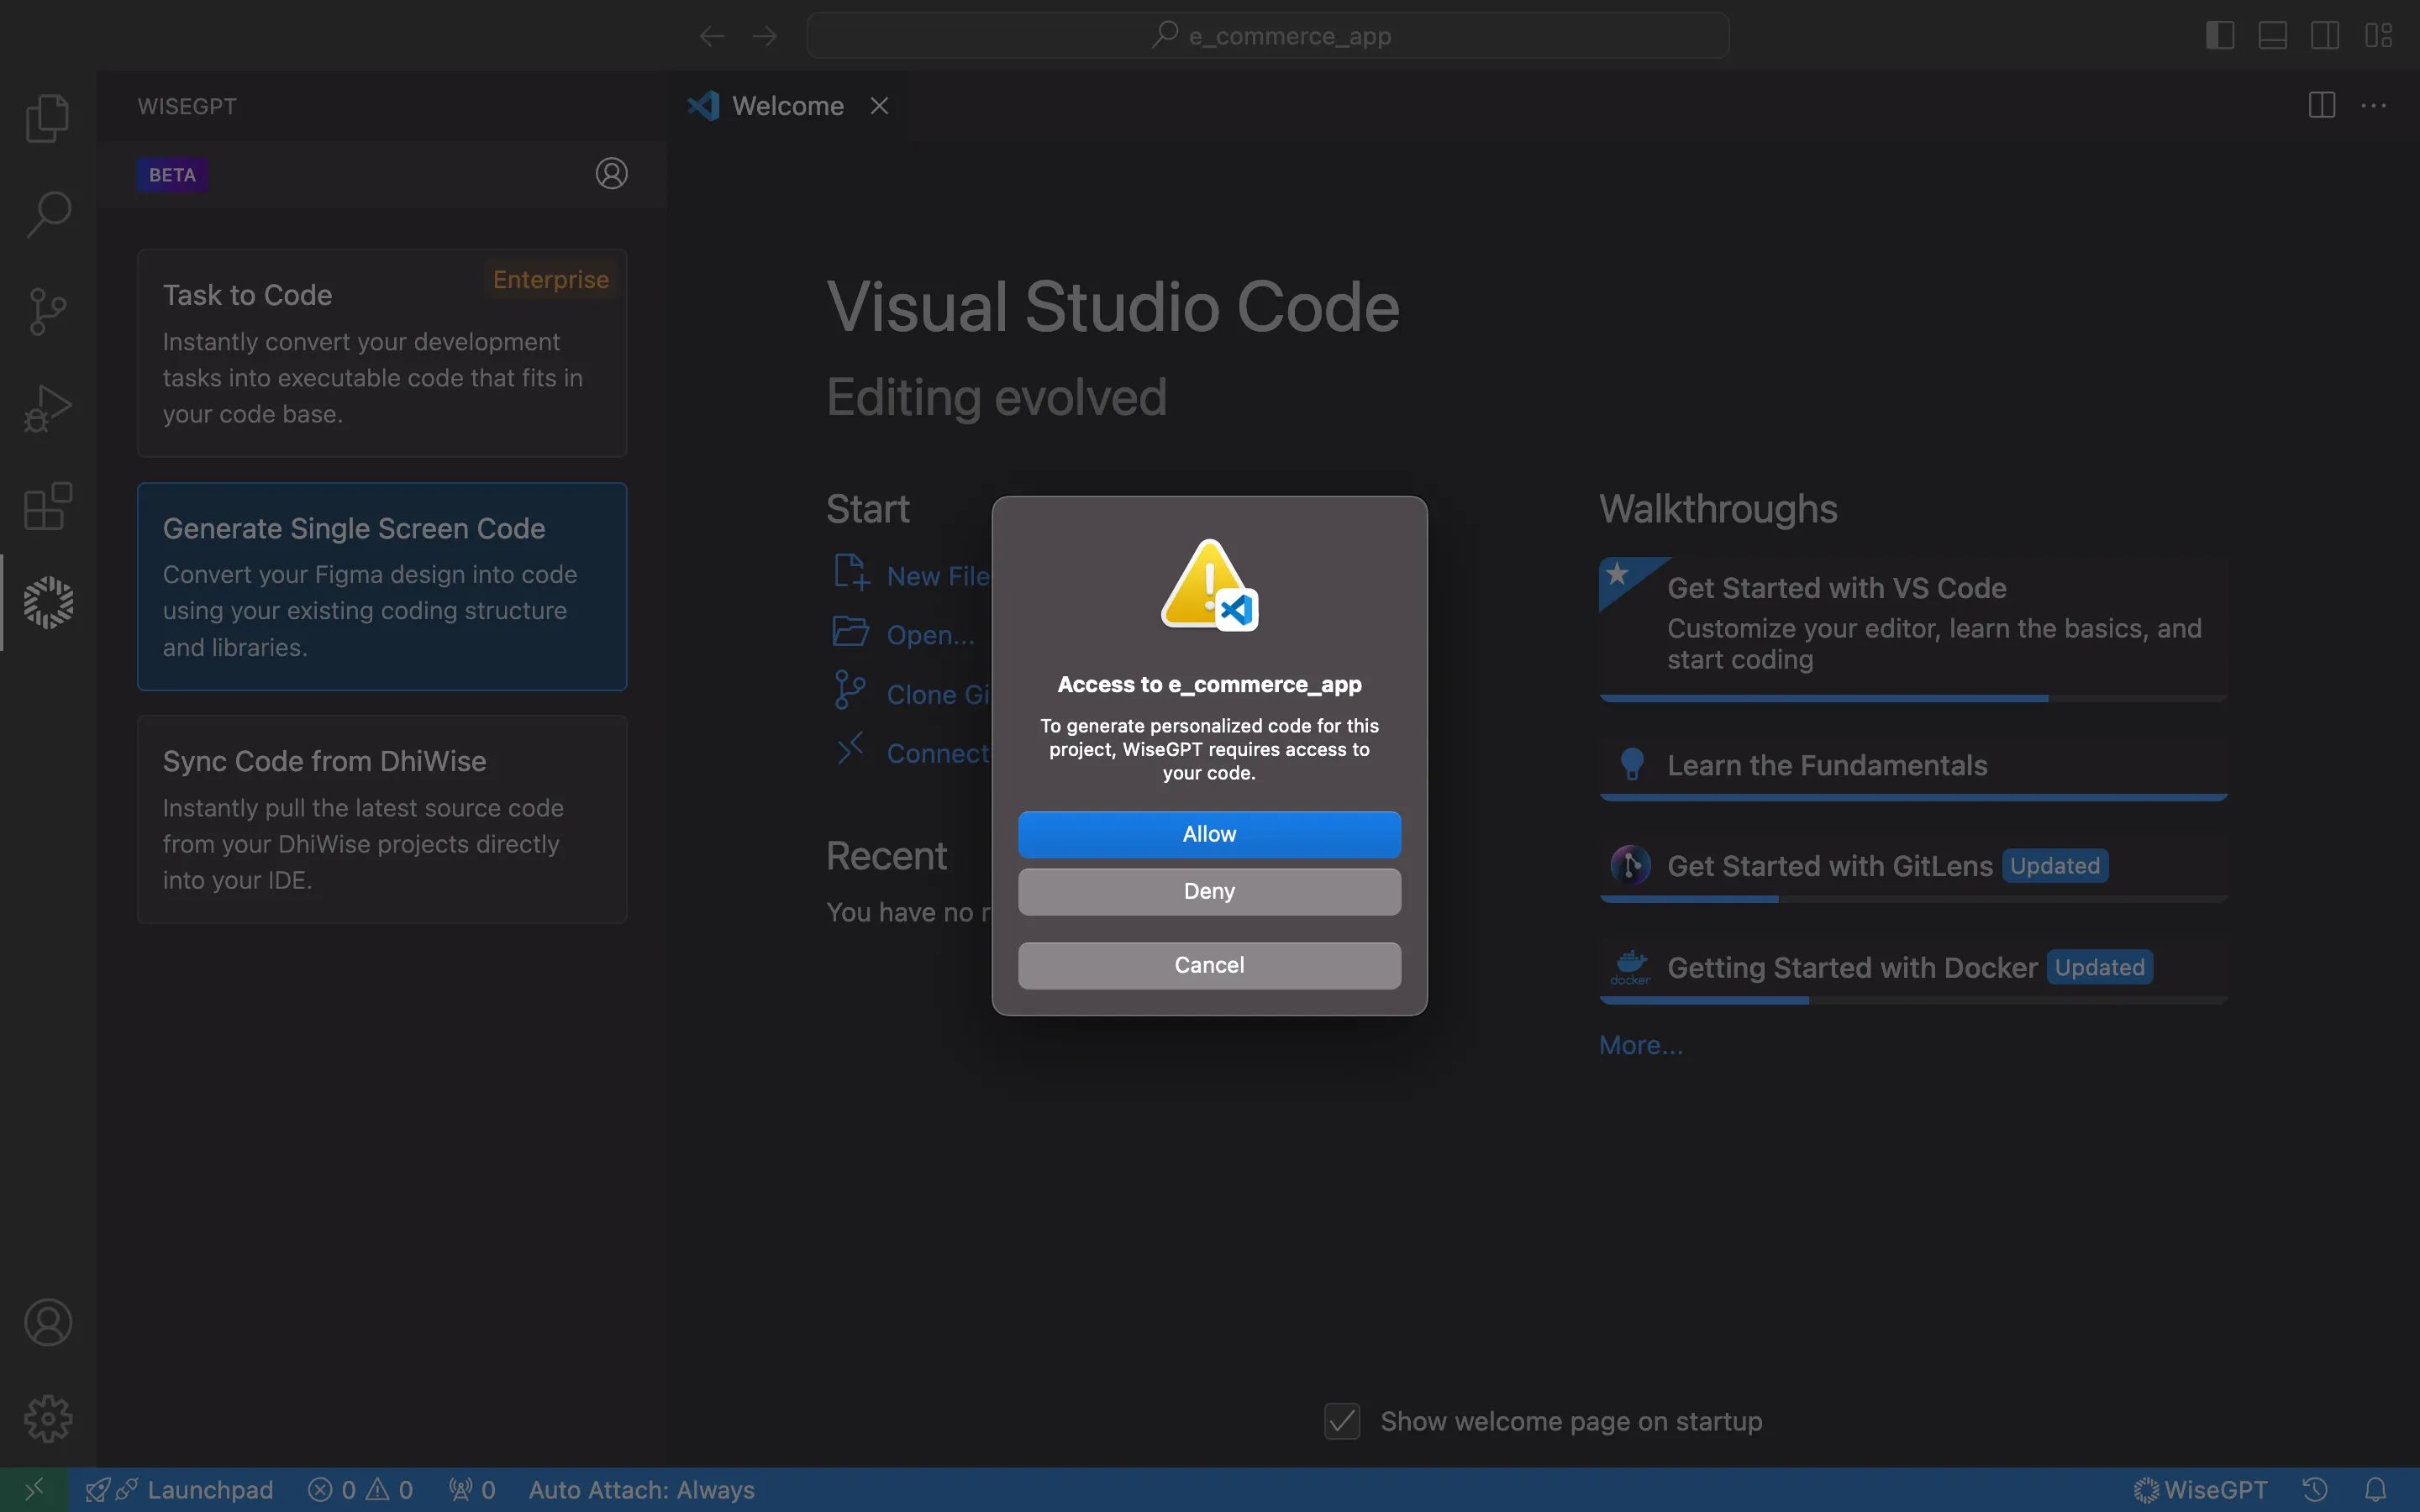
Allow codebase analysis
Click Allow to let WiseGPT analyze your source code for personalized code generation.
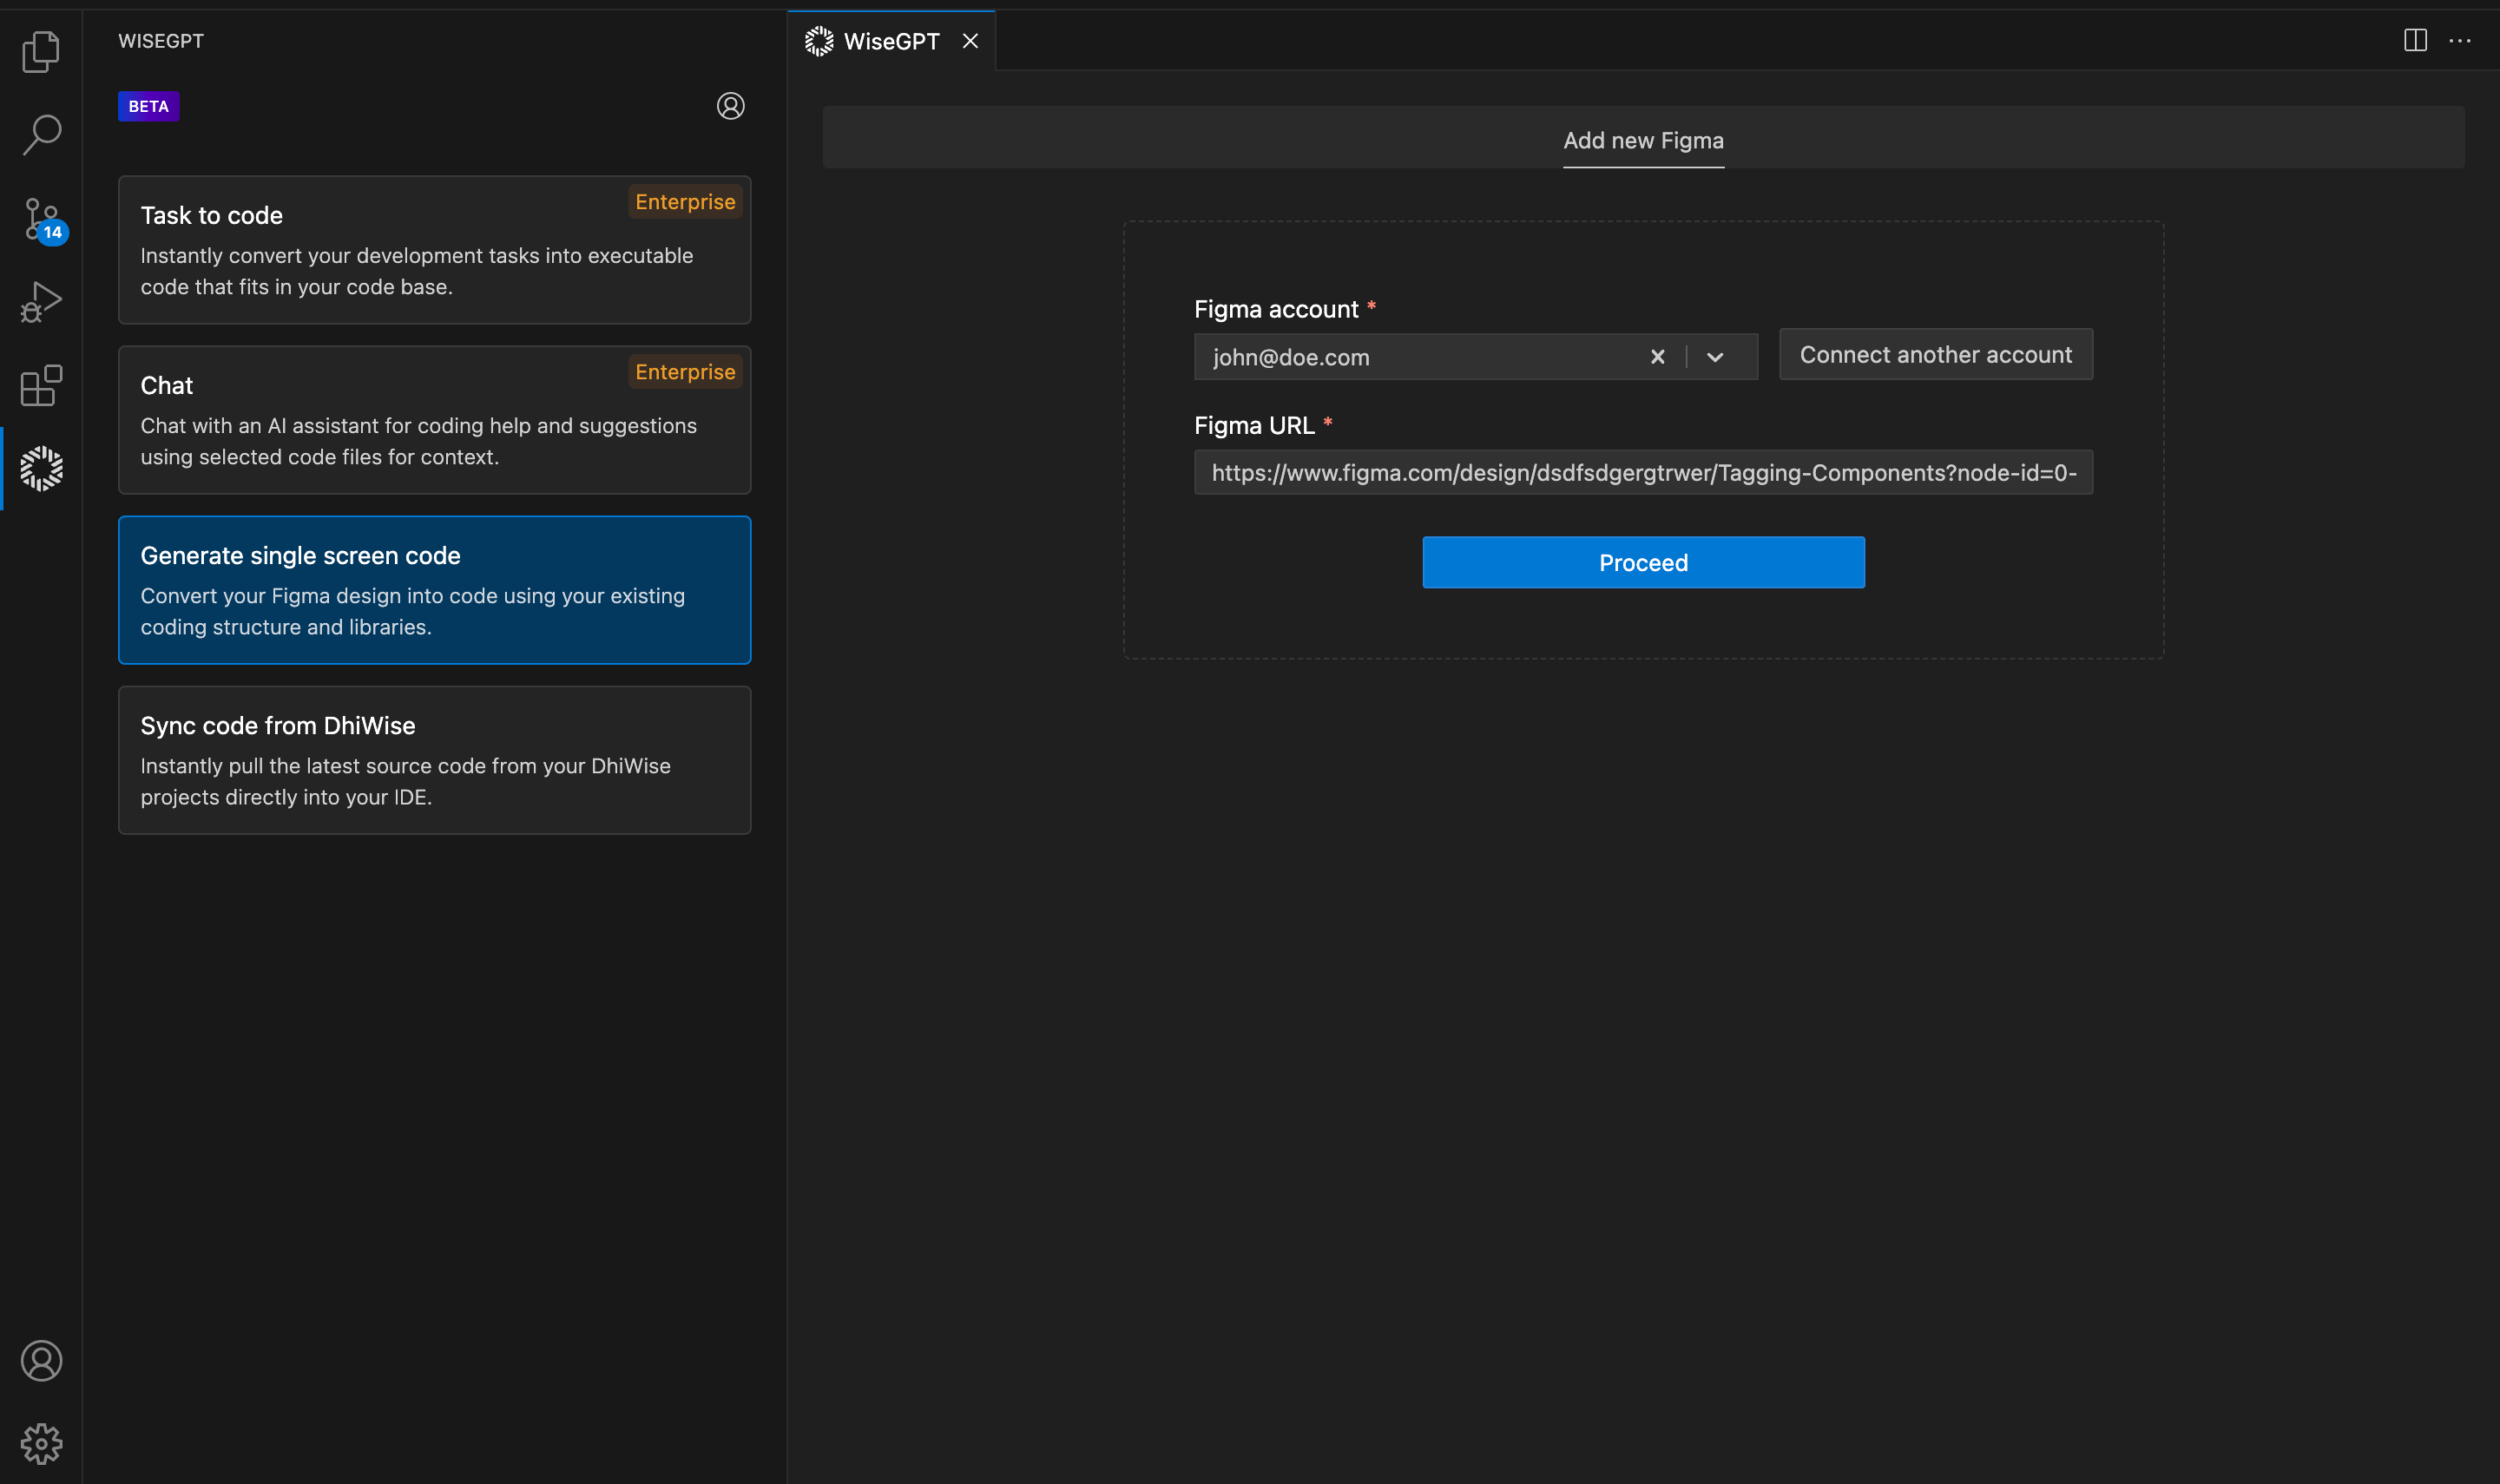
Add Figma URL
- In the interface, select your Figma account from the dropdown or connect a new Figma account if not already connected.
- Paste the Figma URL of the design you wish to convert into code in the
Figma URLfield. - Click
Proceedto start the code generation process.
Configure code settings
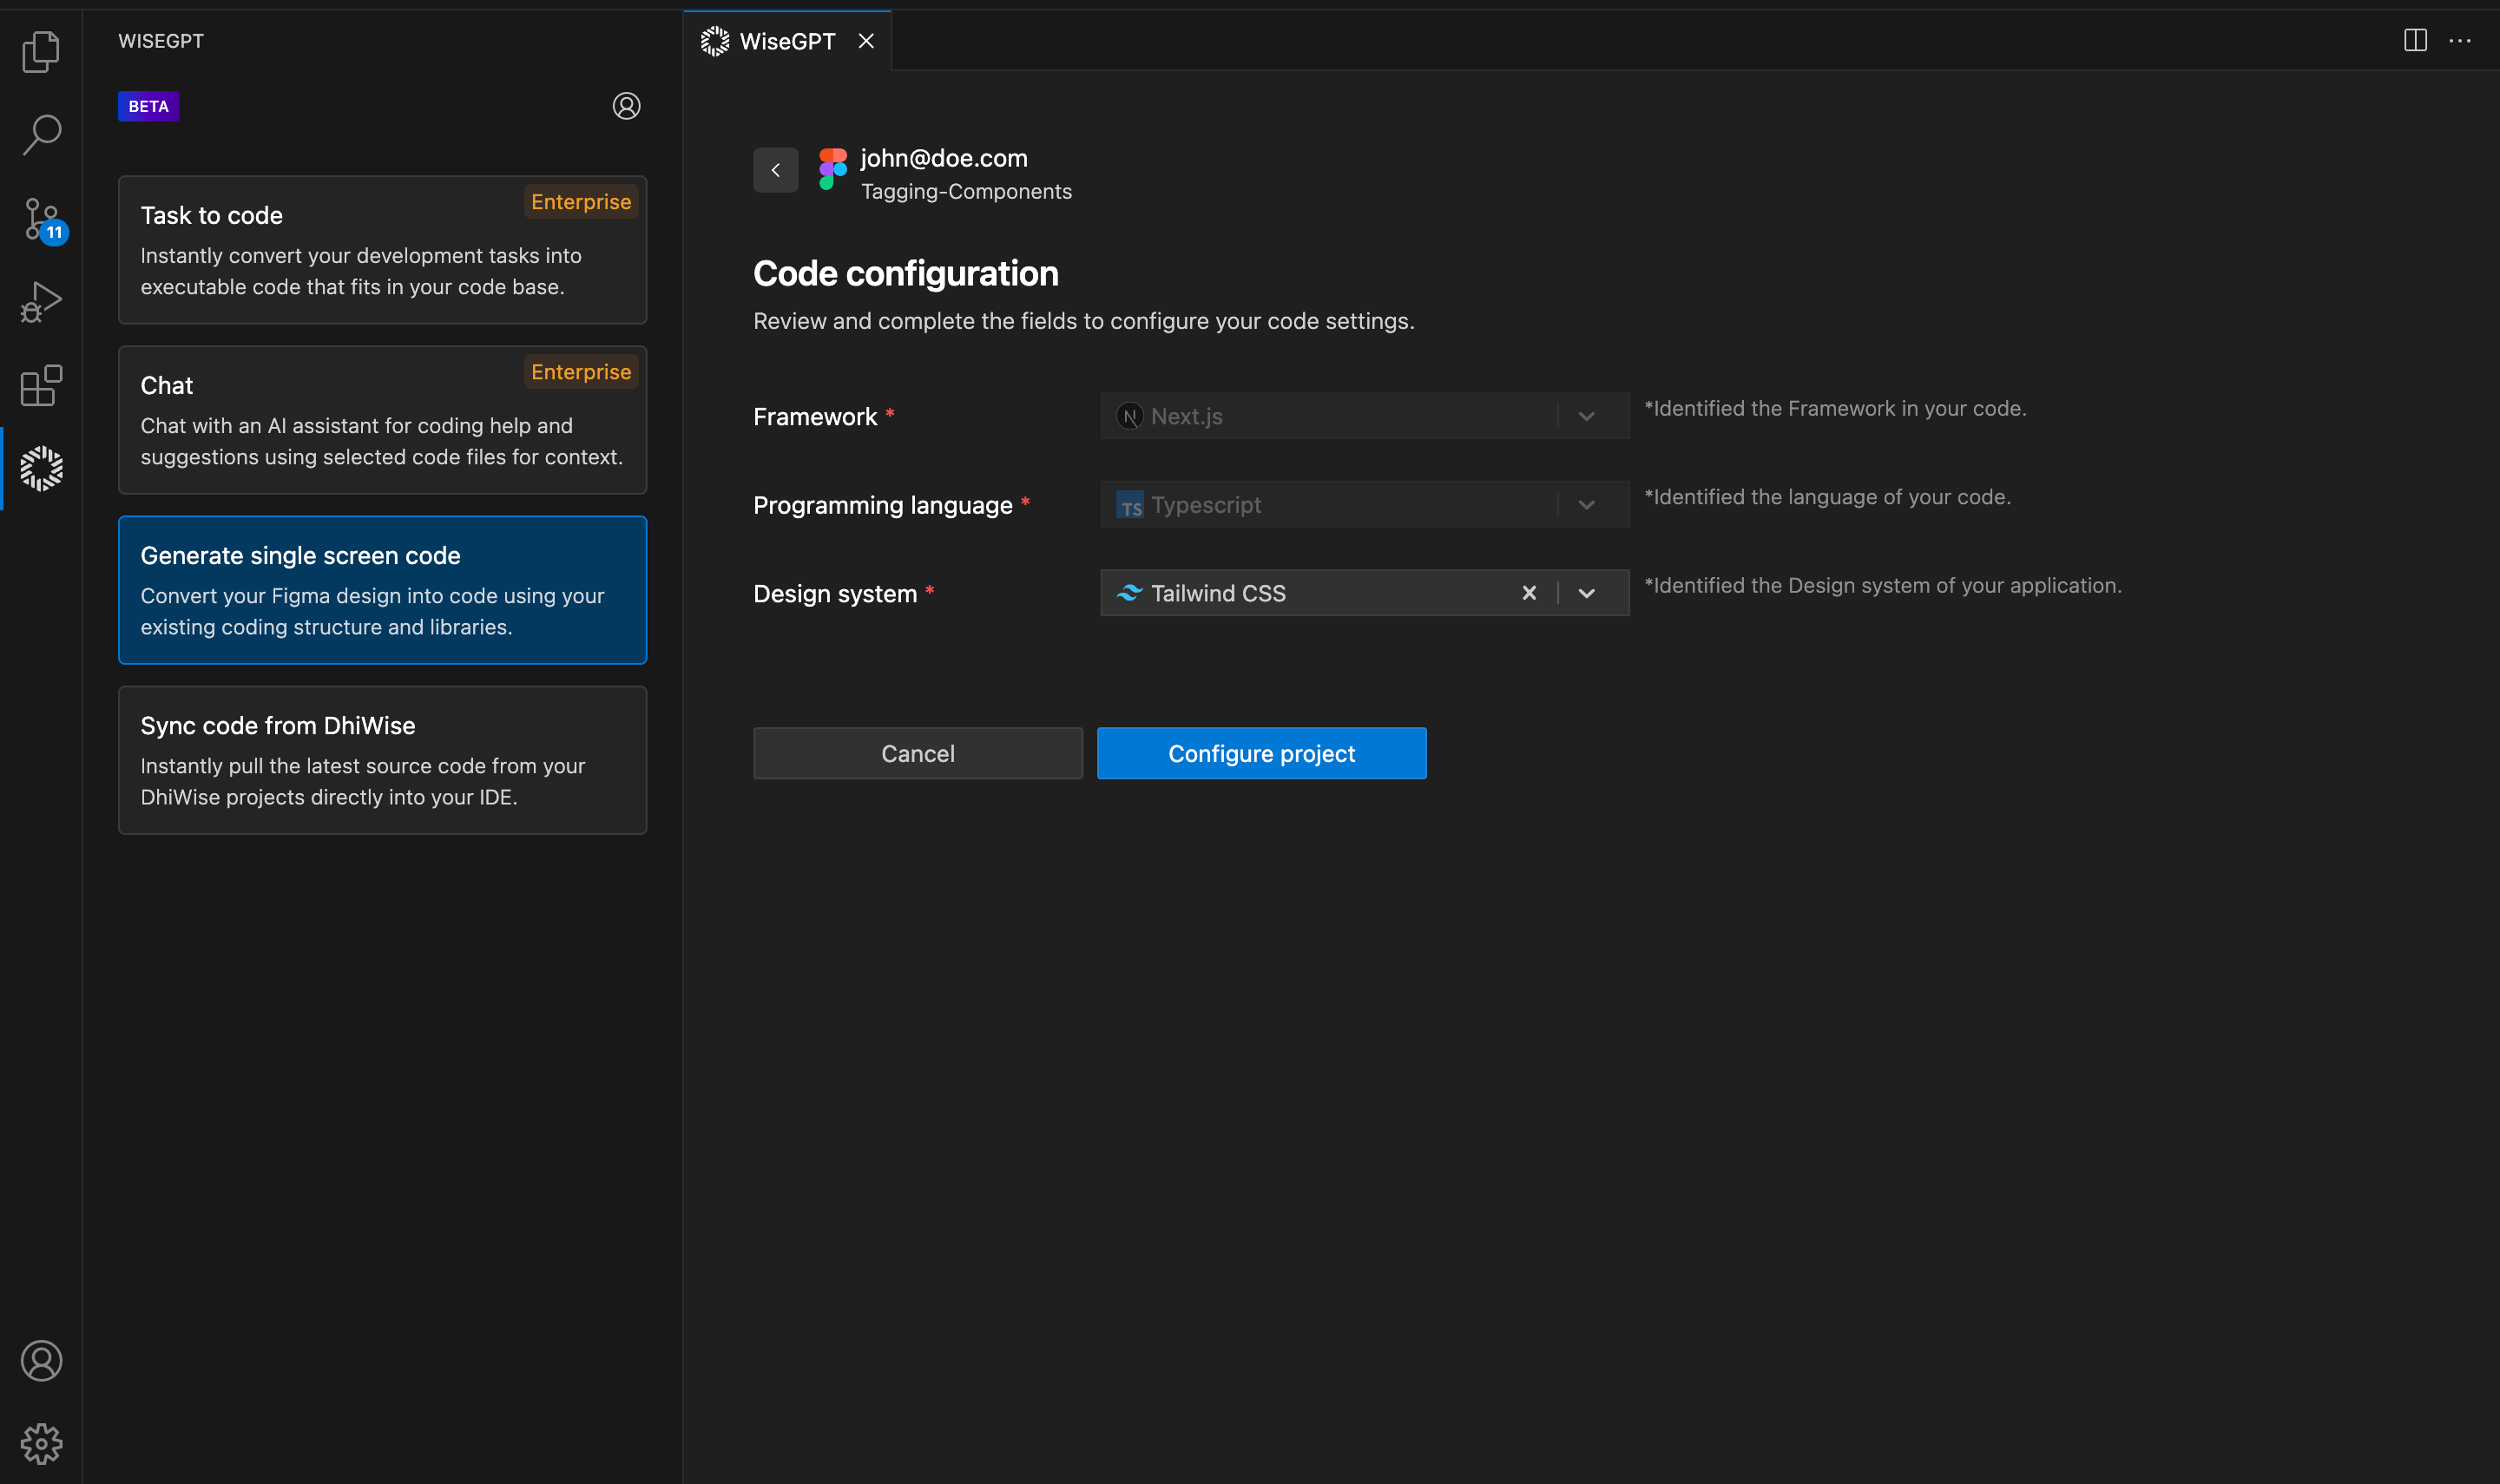
- In the Code Configuration screen, review the automatically identified settings for your project. The
Frameworkfield should display the identified Framework, such as Flutter. - For
State Management, you can choose from several options includingNone (Only UI),GetX,RiverPod,Provider, andBLoC. The identified state management library will be selected by default. - After verifying the settings, click
Configure projectto proceed.
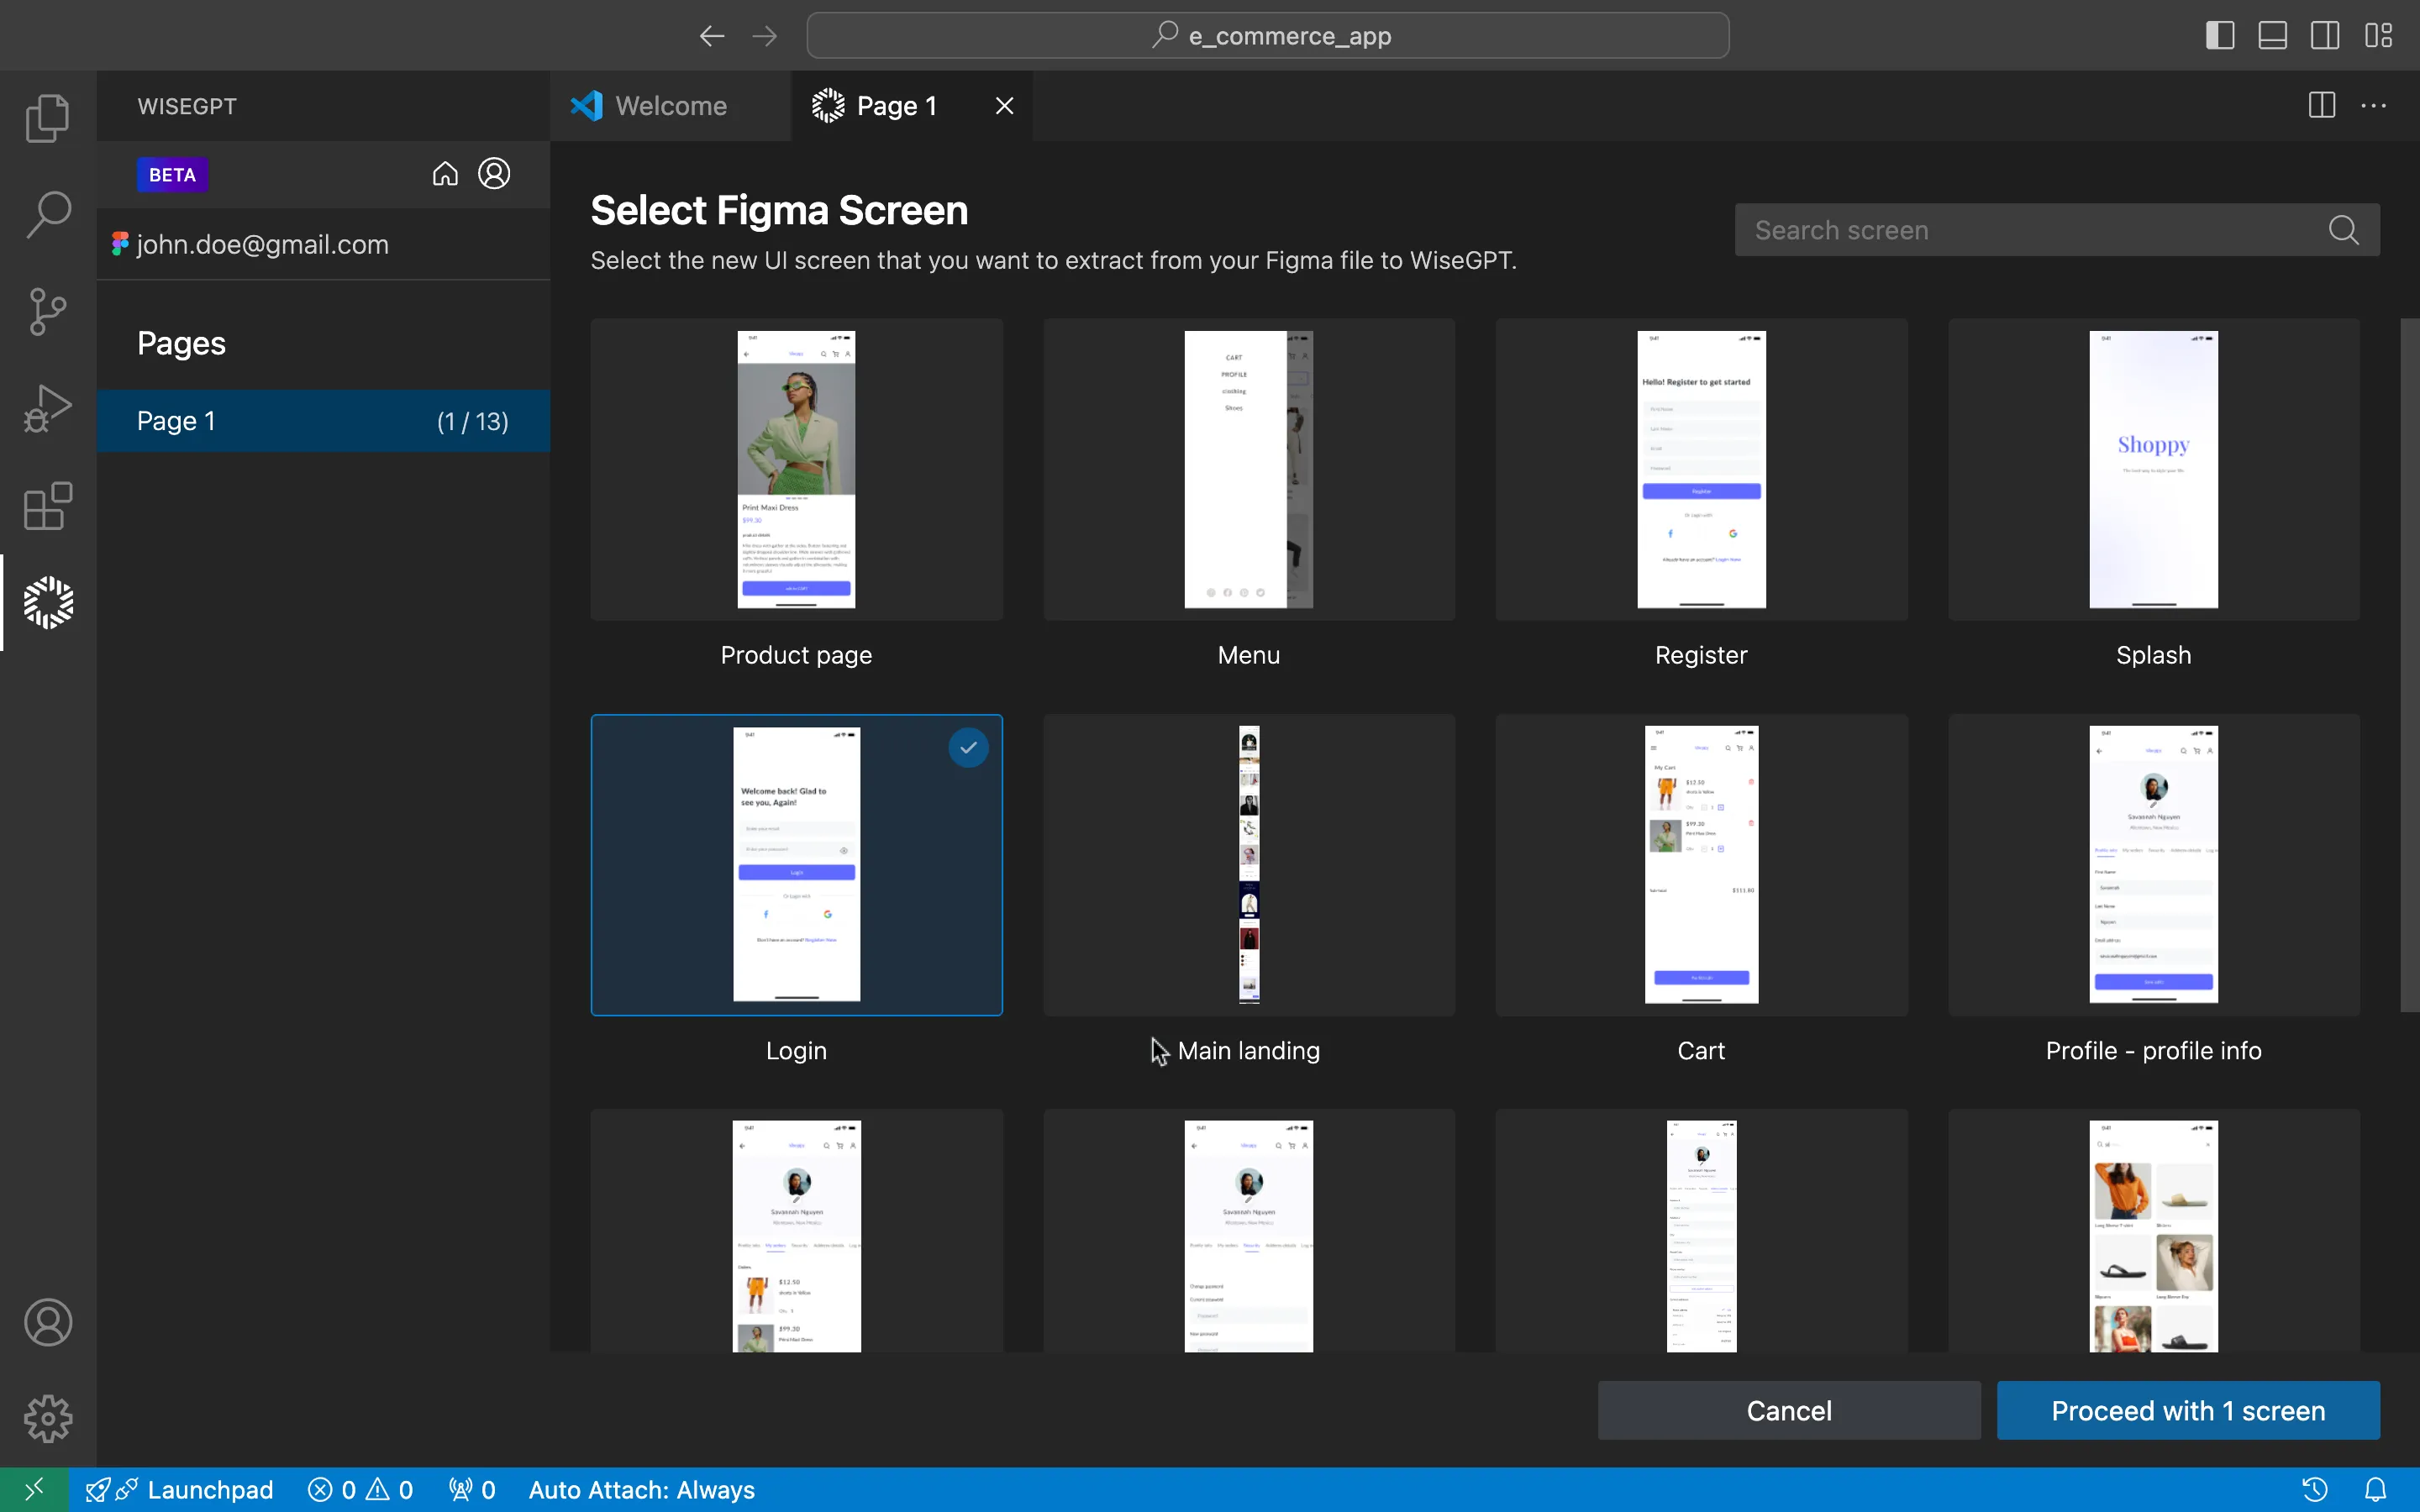
Select Figma Screen
After connecting your Figma account, all the screens from your Figma file will be fetched and displayed. Browse through the displayed screens to find the one you want to convert to code. Click on the desired screen, and click Proceed with 1 screen to continue.
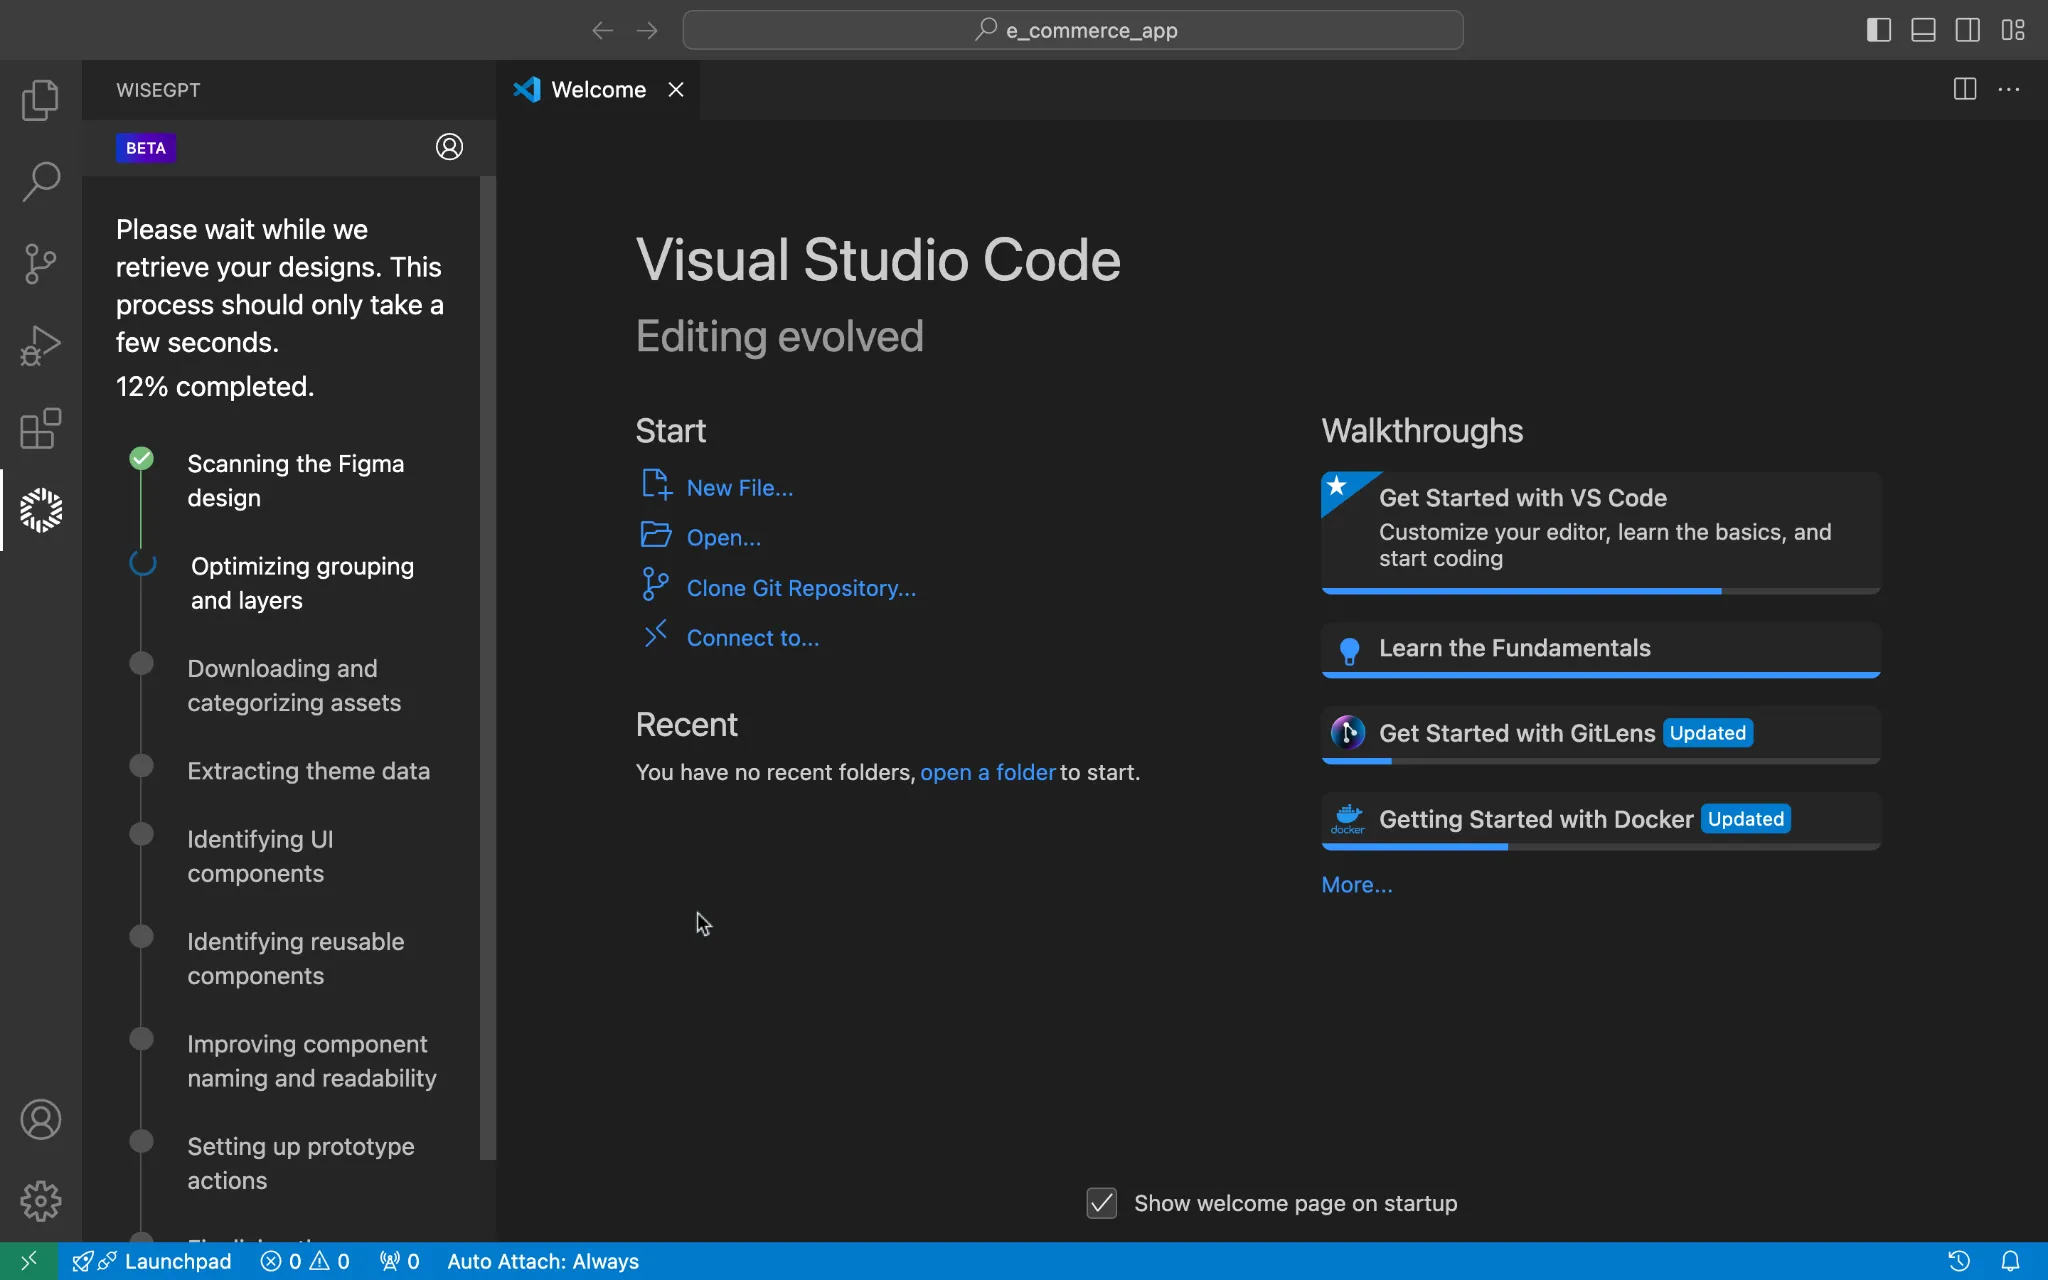
Fetching Figma screens for code generation
Once you have selected the screen, WiseGPT will begin processing the design. Please wait while WiseGPT completes this process, which should only take a few seconds.
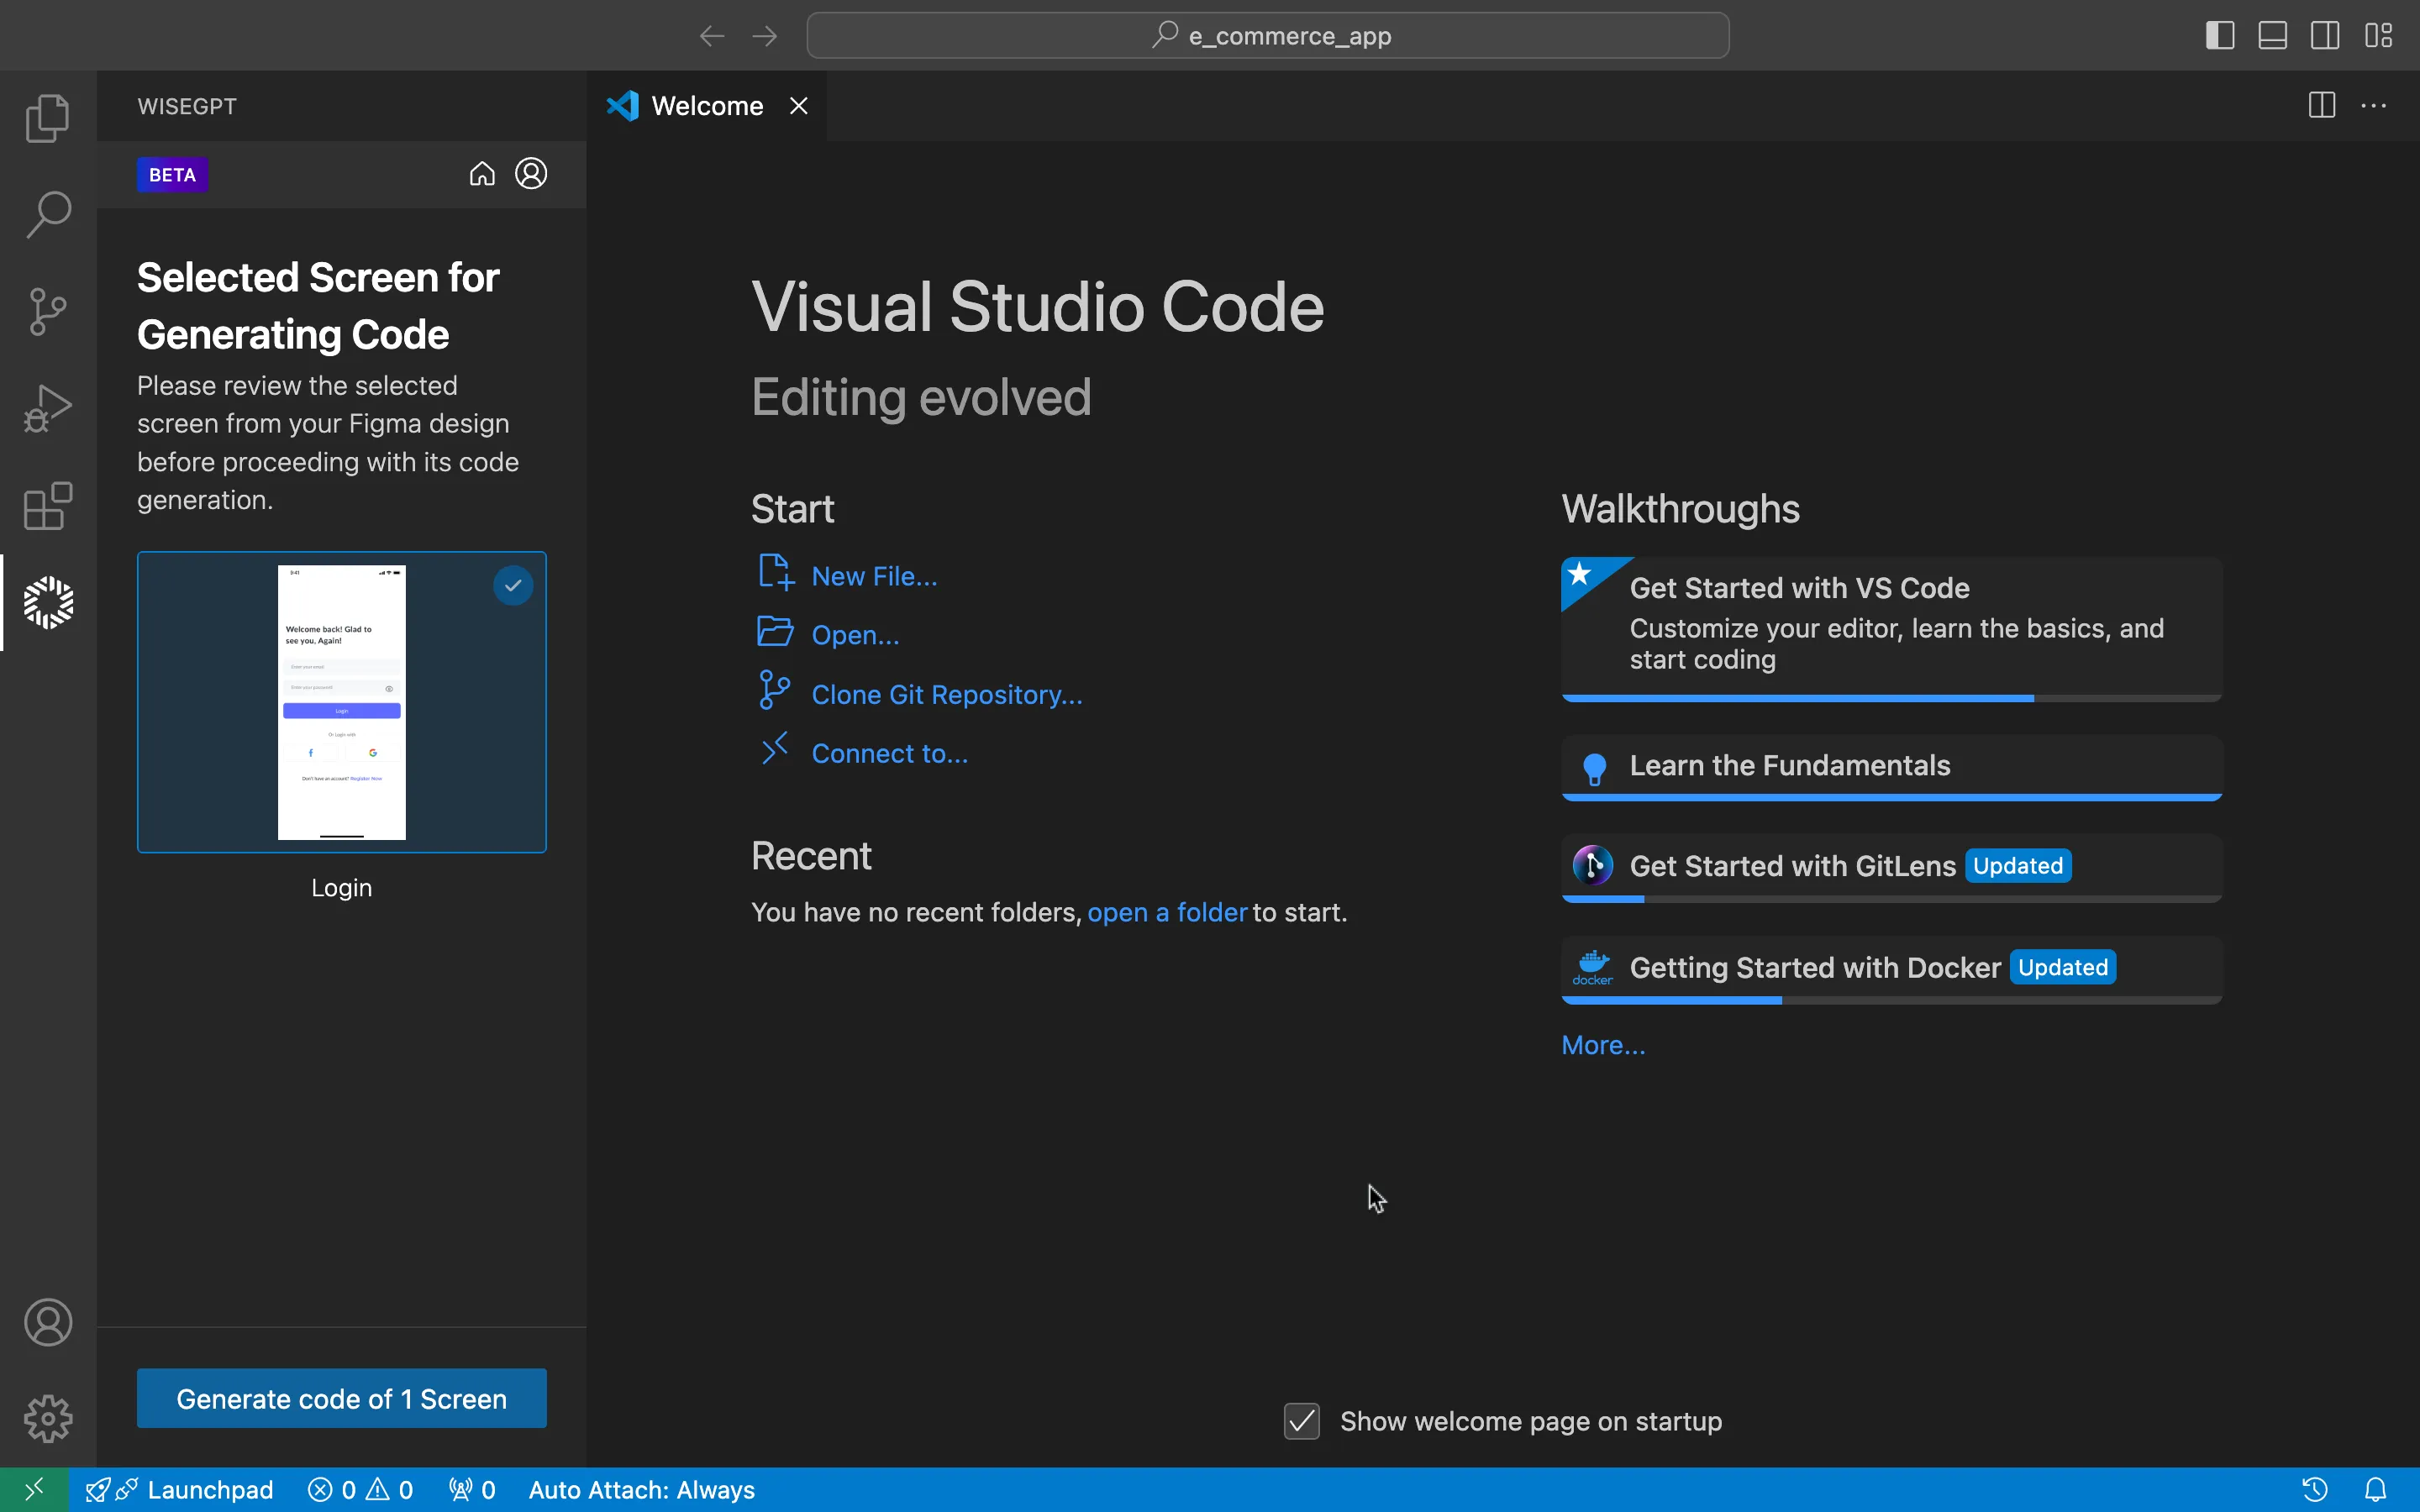
After WiseGPT has finished processing the design, you will see a confirmation screen displaying the selected Figma screen that is ready for code generation. Review the displayed screen to ensure it is the correct one.
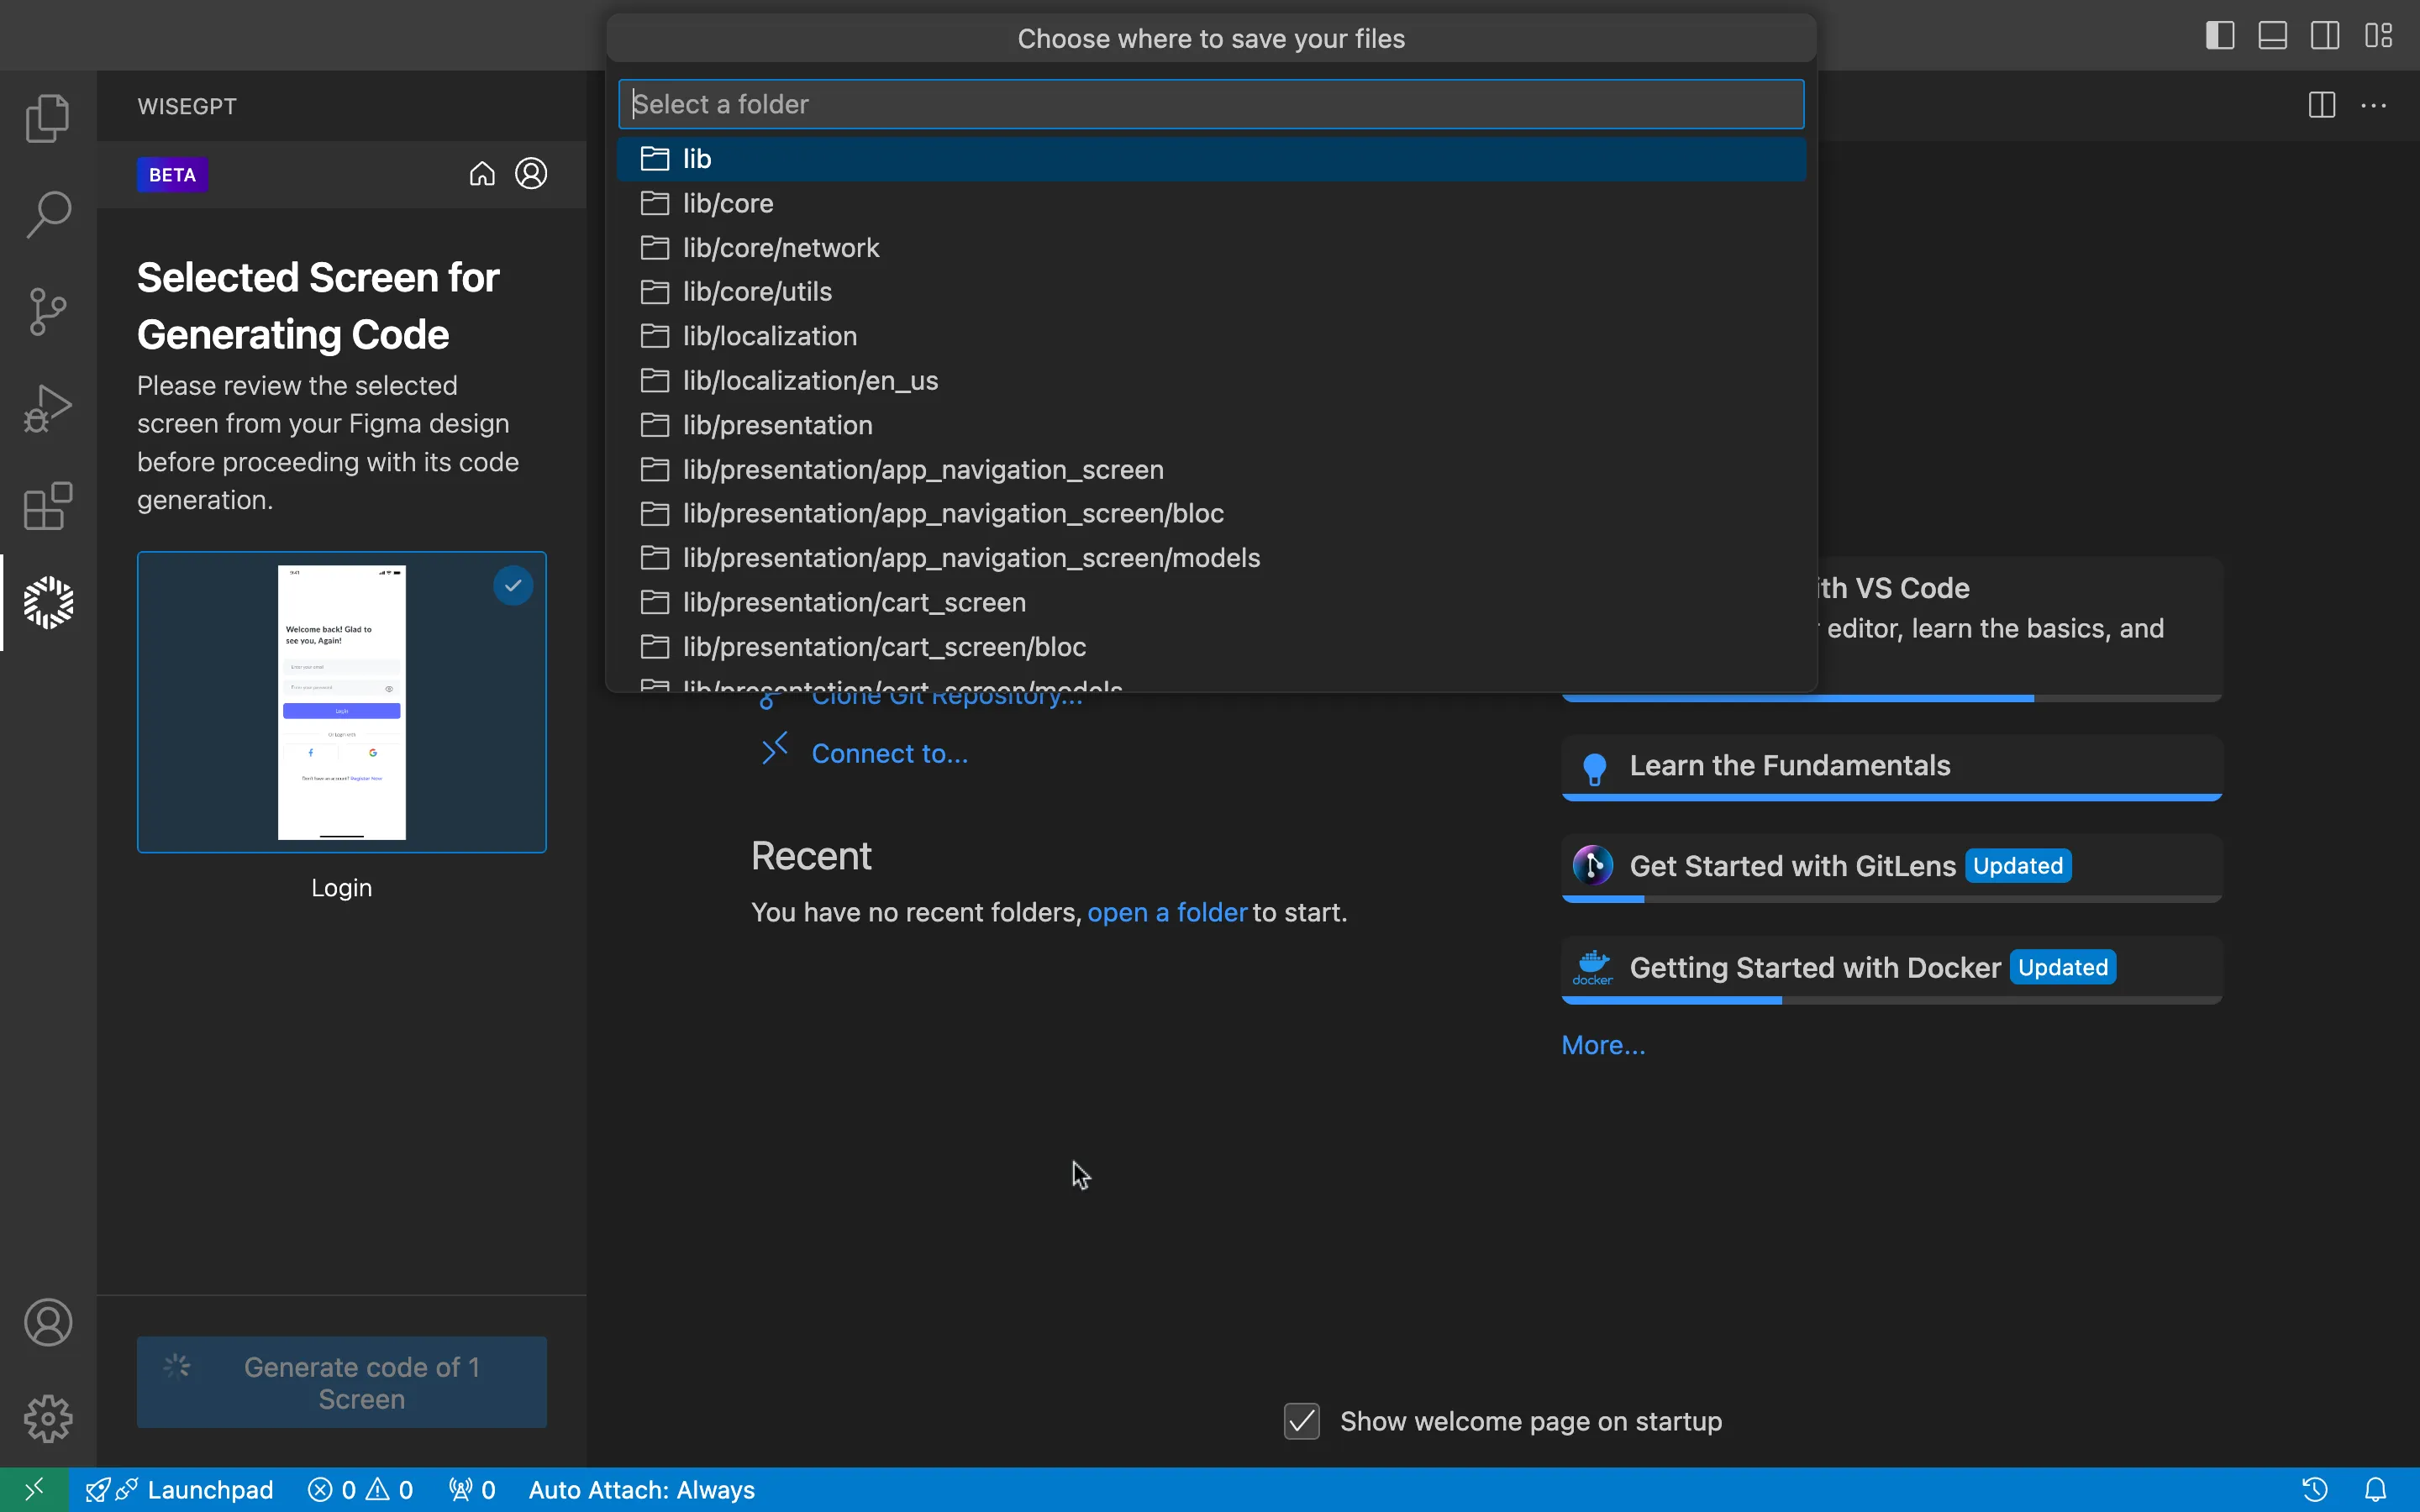
Once you have confirmed the selection, click Generate code of 1 Screen at the bottom to initiate the code generation process. This will convert the selected Figma design into production-ready code tailored to your existing coding structure and libraries.
Choose where to save generated code files
After clicking Generate code of 1 Screen , a dialog box will appear prompting you to choose where to save the generated files. Navigate through your project directory and select the appropriate folder where you want to store the generated code.
Once you have selected the folder, proceed to save the files.
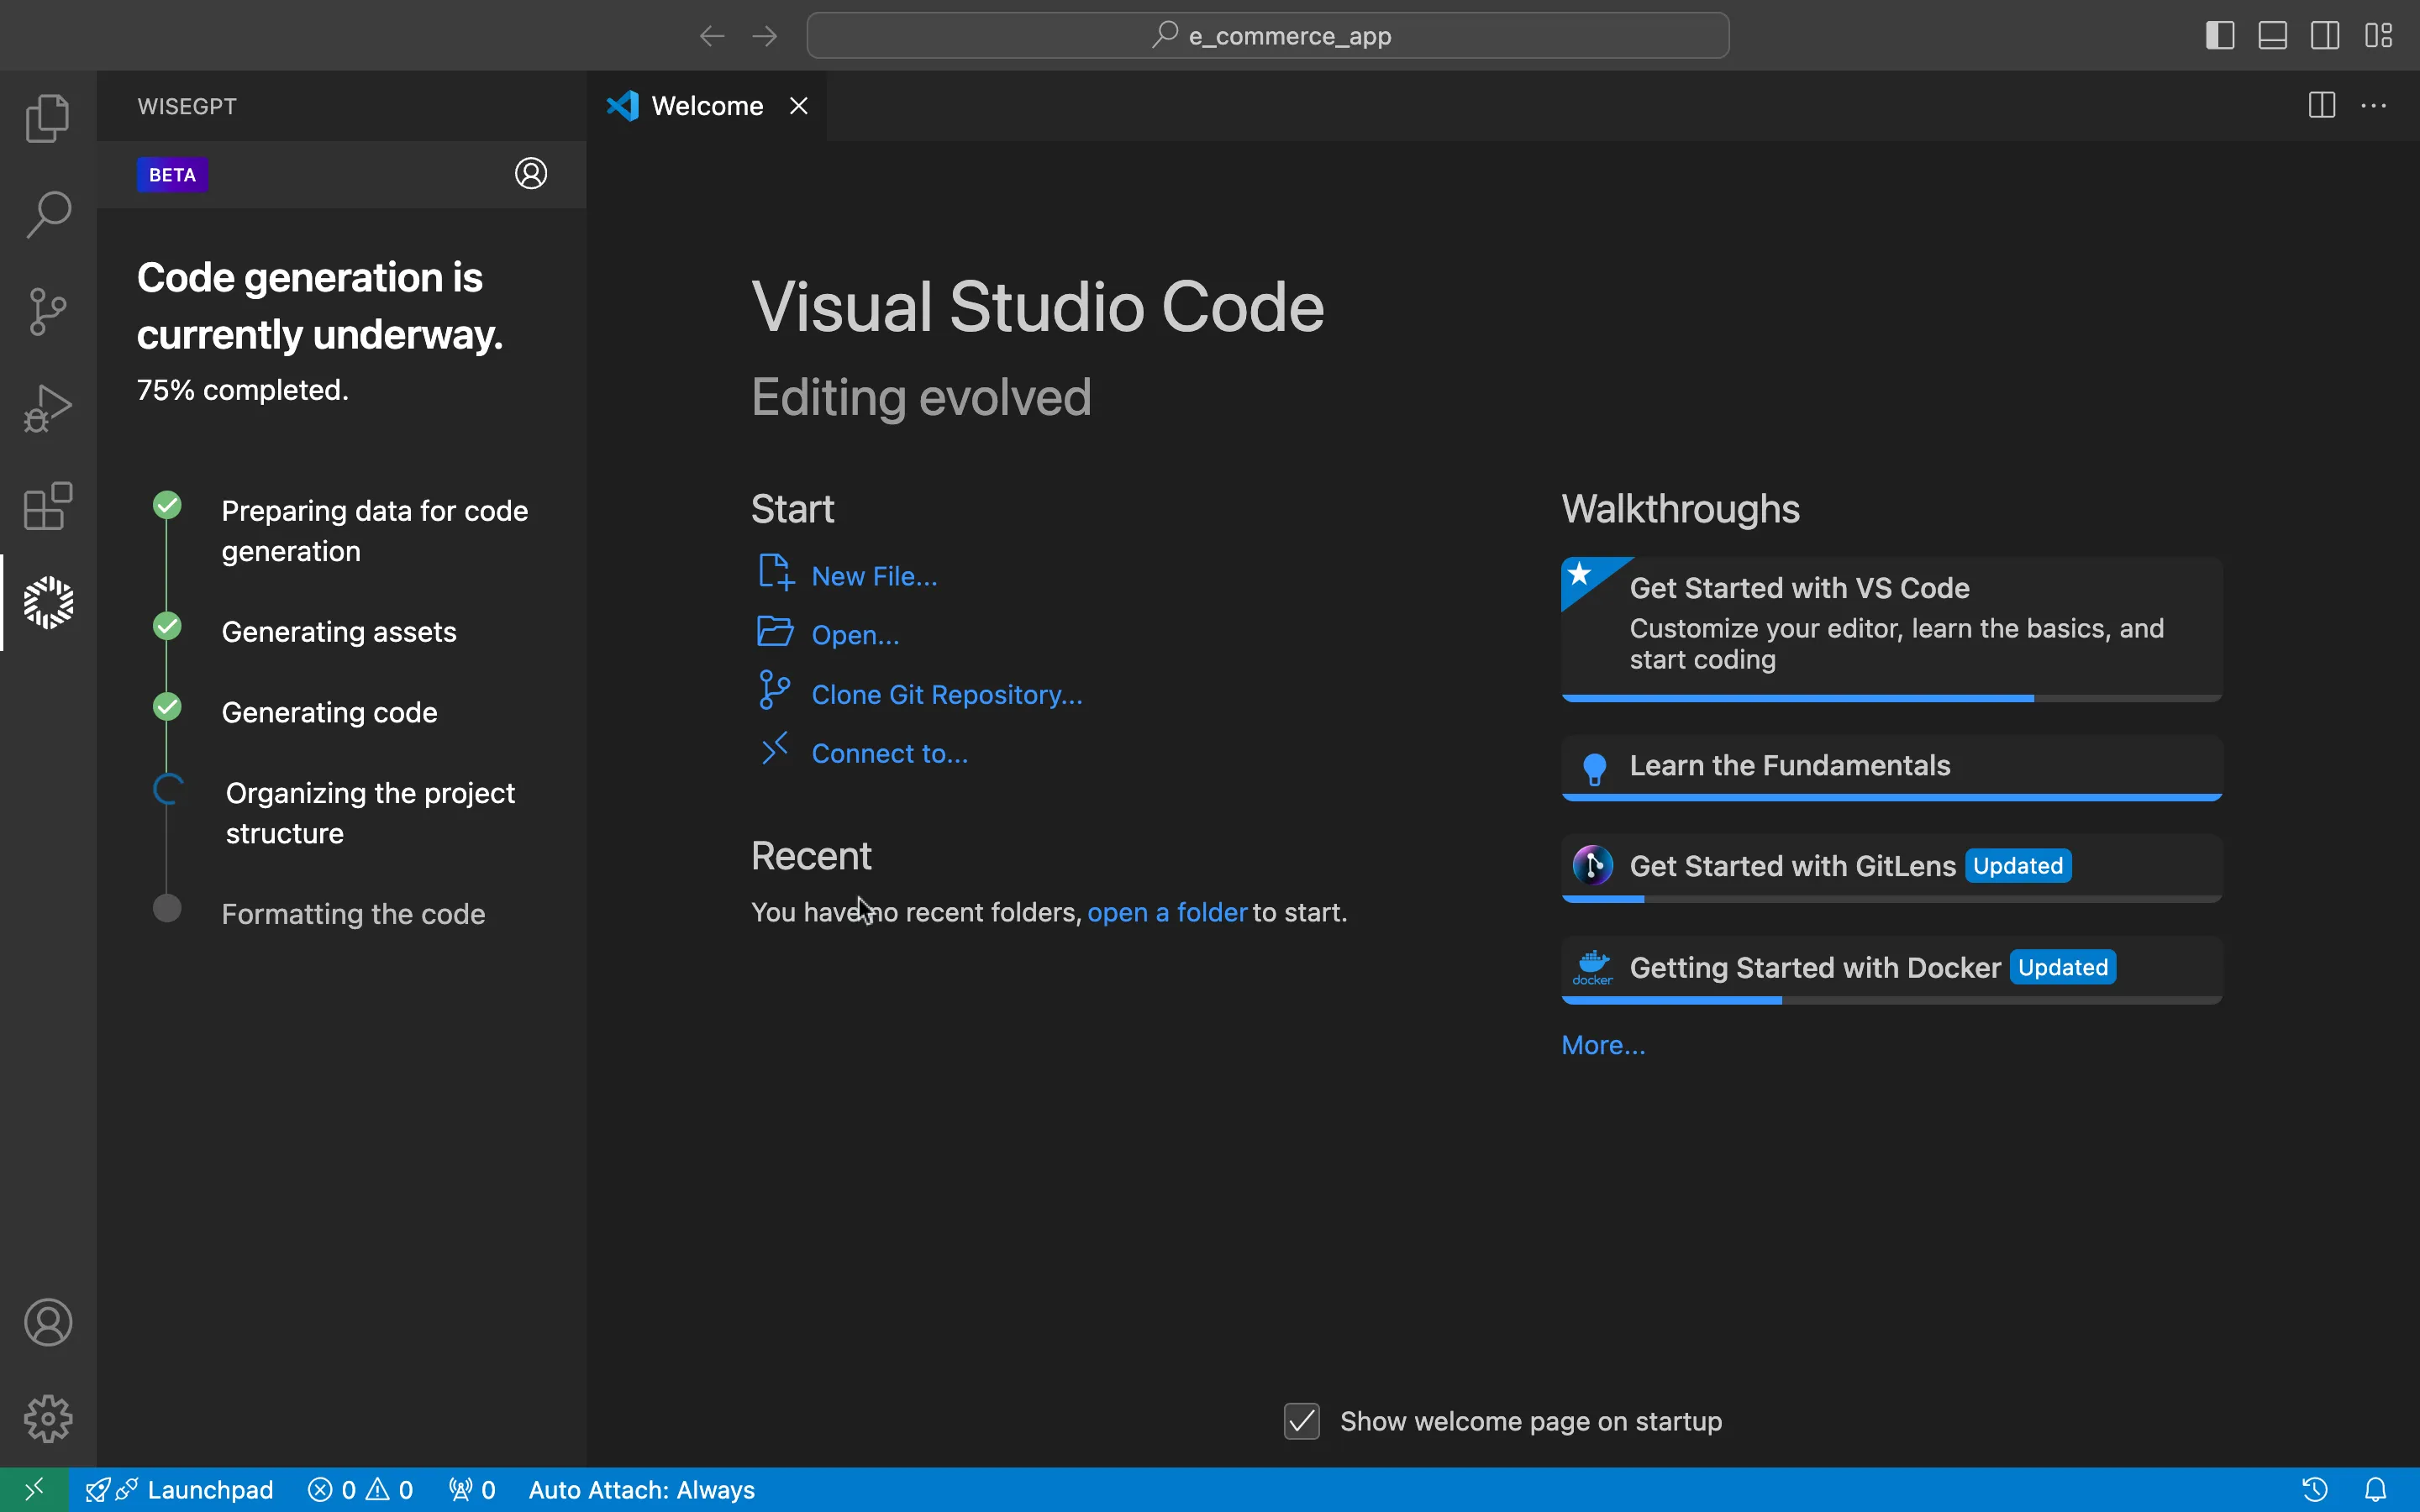
WiseGPT will then begin generating the code. You can monitor the progress of the code generation process as it prepares data, generates assets, and organizes the project structure.
Review and integrate generated code
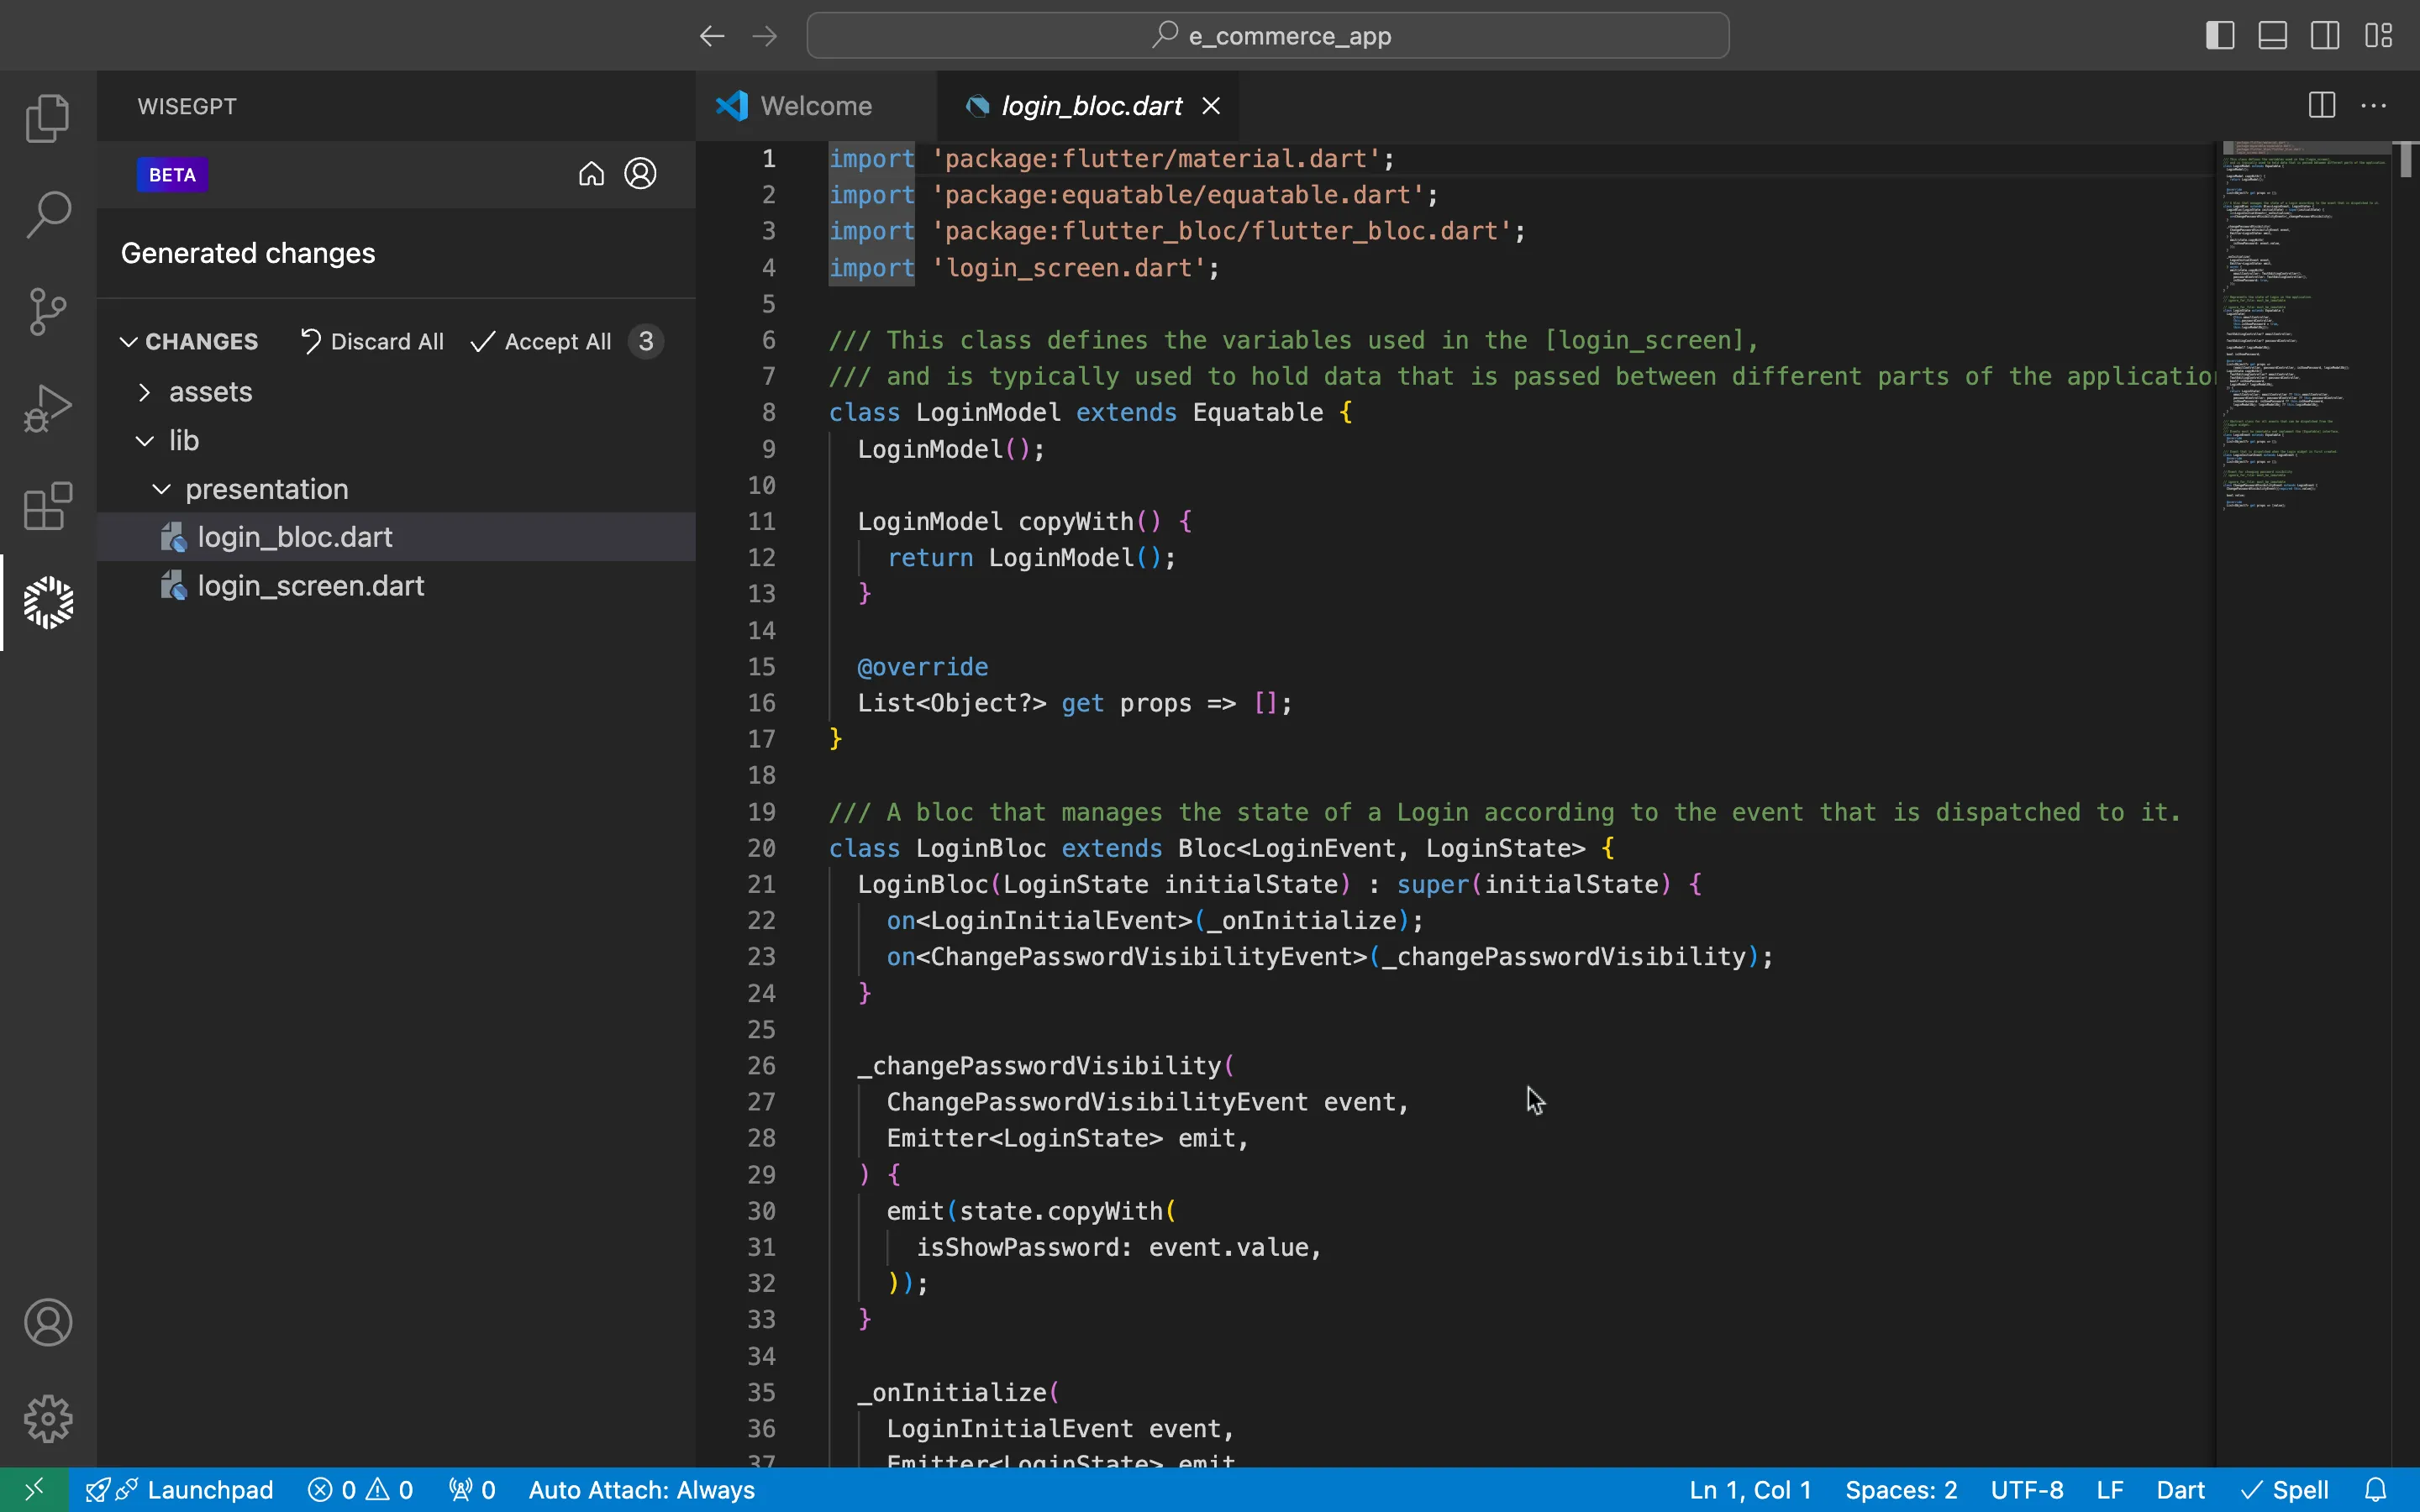
Once the code generation process is complete, the generated files will be displayed in your project directory. In this example, you can see the login_bloc.dart and login_screen.dart files have been added under the lib/presentation folder. Open these files to review the generated code.
You will see a CHANGES section that summarizes the generated changes. Here, you have the option to either Discard All or Accept All changes. This allows you to manage the integration of the newly generated code efficiently.
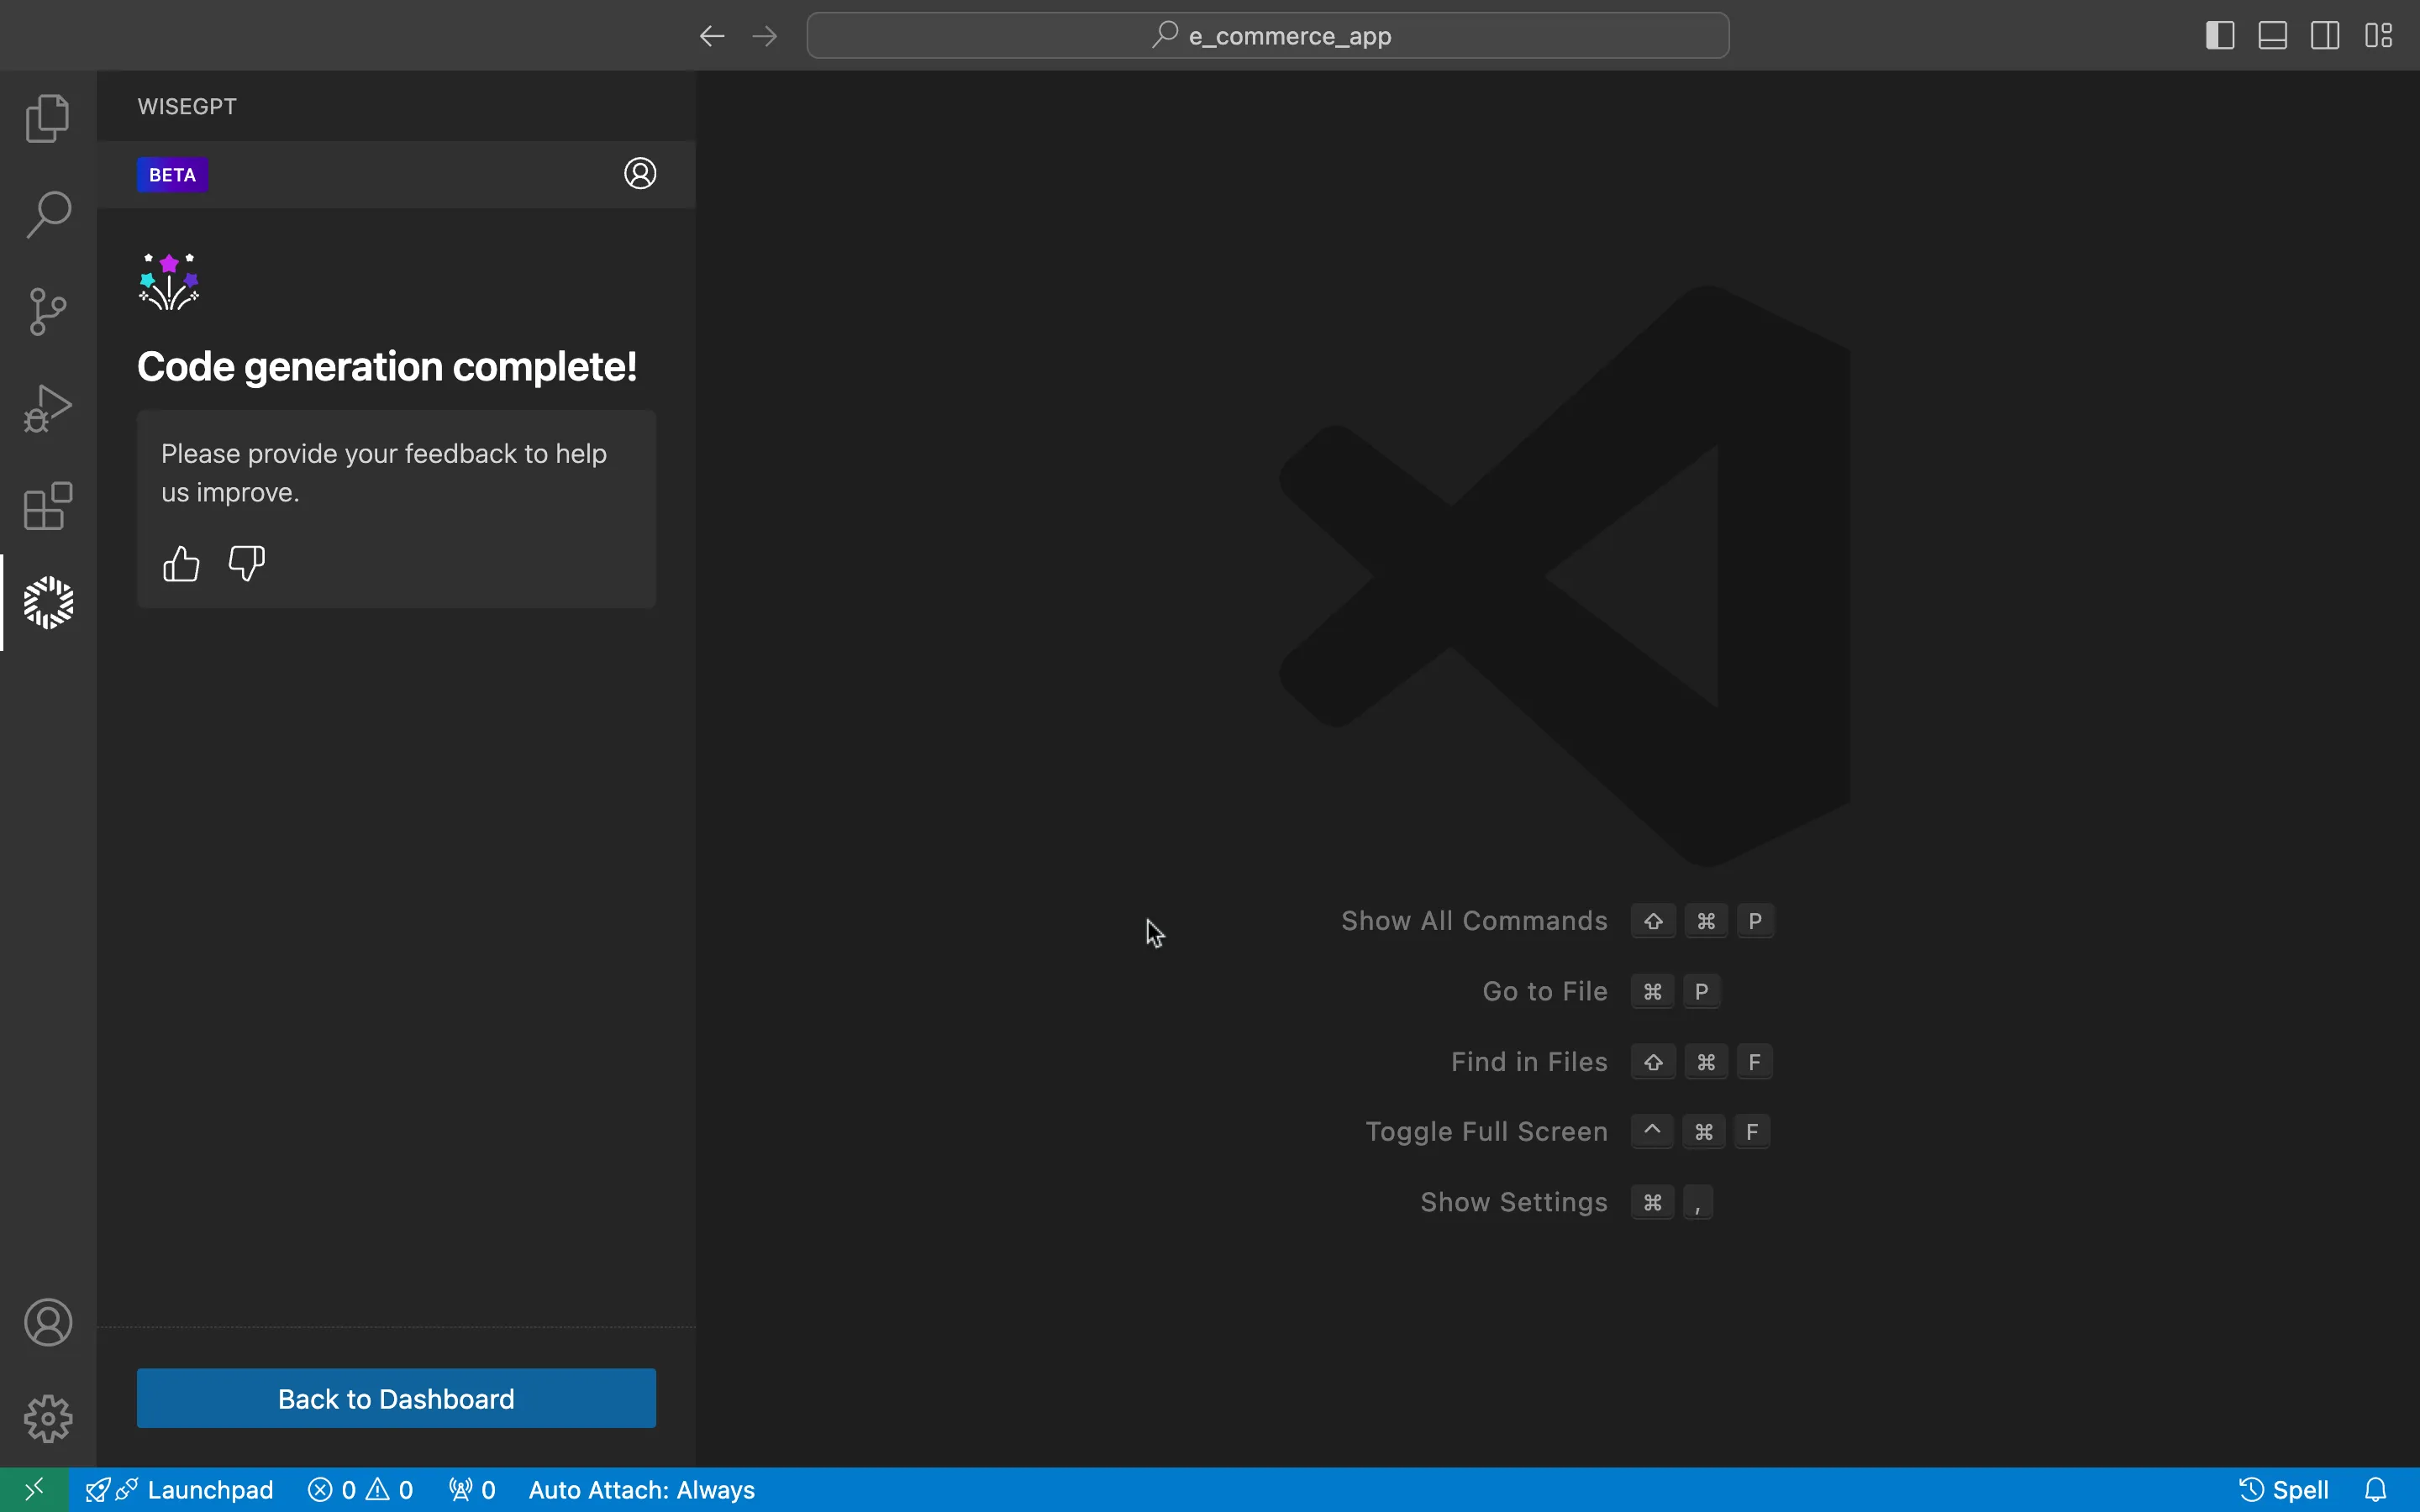
Once the code generation is complete, you will see a confirmation message indicating that the process has finished.
Provide feedback based on your code generation experience to help us improve.
By following these simple steps, you will be able to use WiseGPT to generate code for a single screen from your Figma design file, making your development process more efficient and your code easier to manage.