Generate Entire App Code
With WiseGPT, developers can effortlessly convert a Figma file into functional web or mobile application code directly within VS Code, boosting productivity and streamlining workflow. Here’s how to do it:
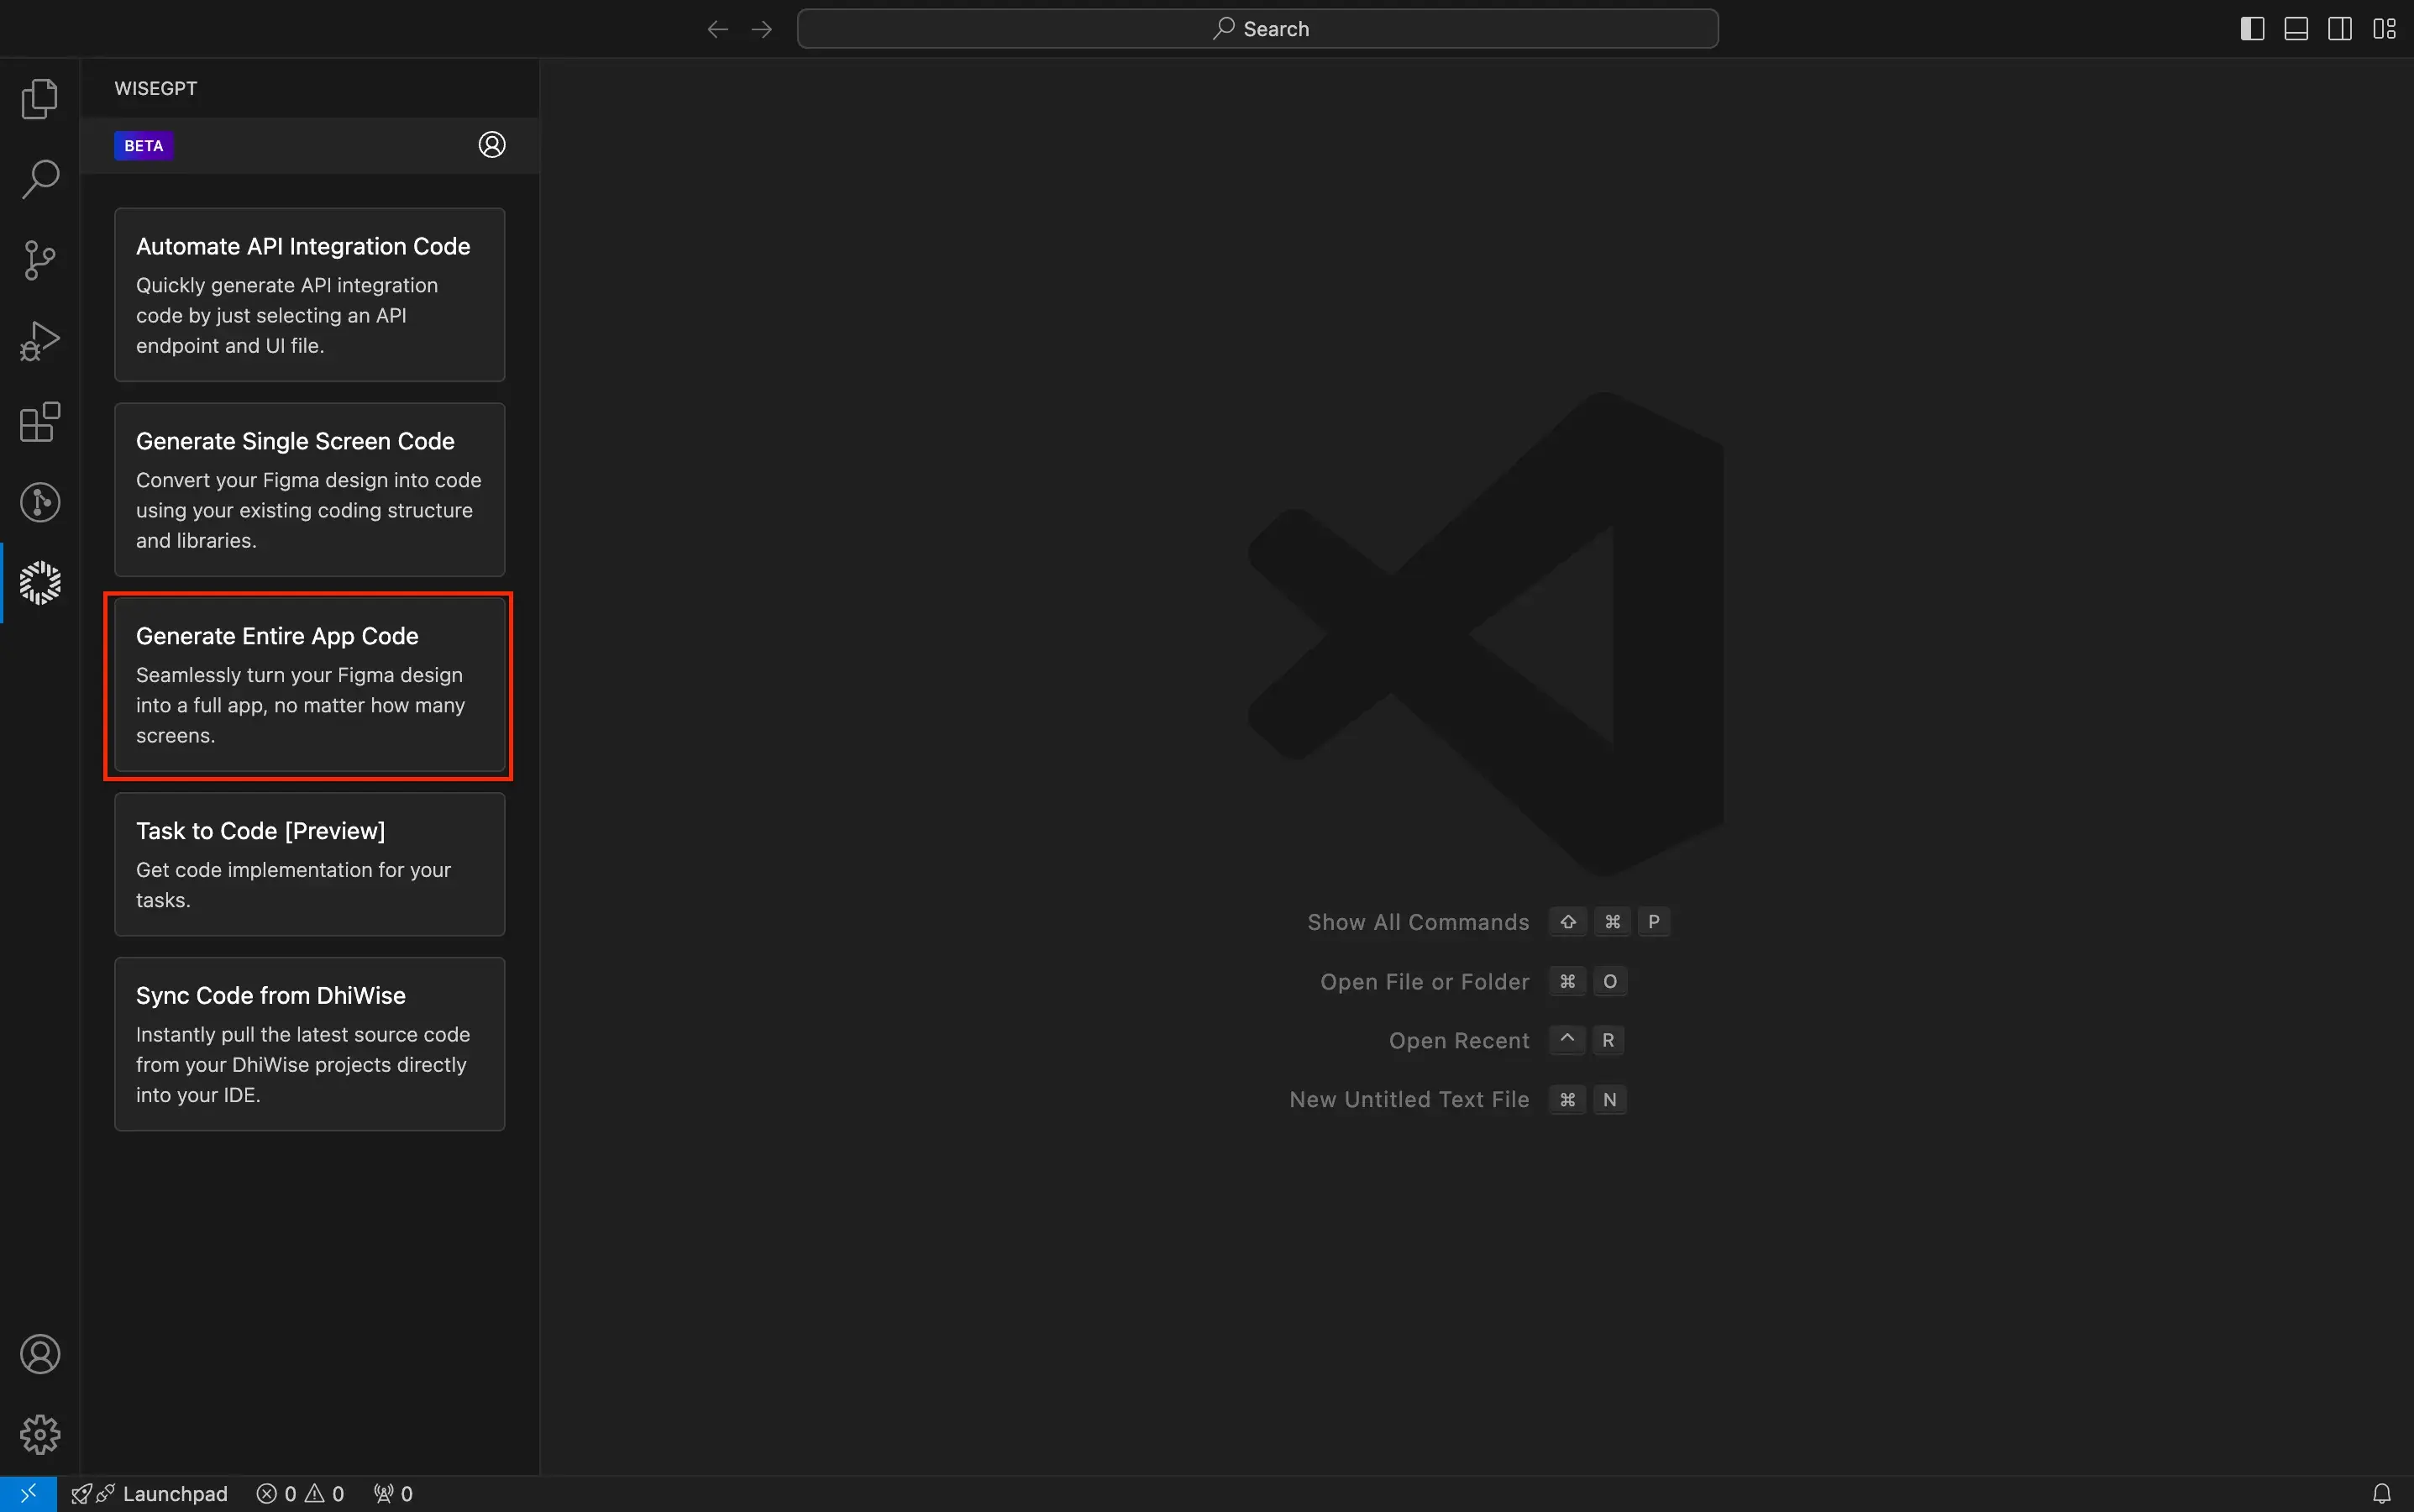
Select Generate Entire App Code option
After you have logged in with WiseGPT, select the Generate Entire App Code option.
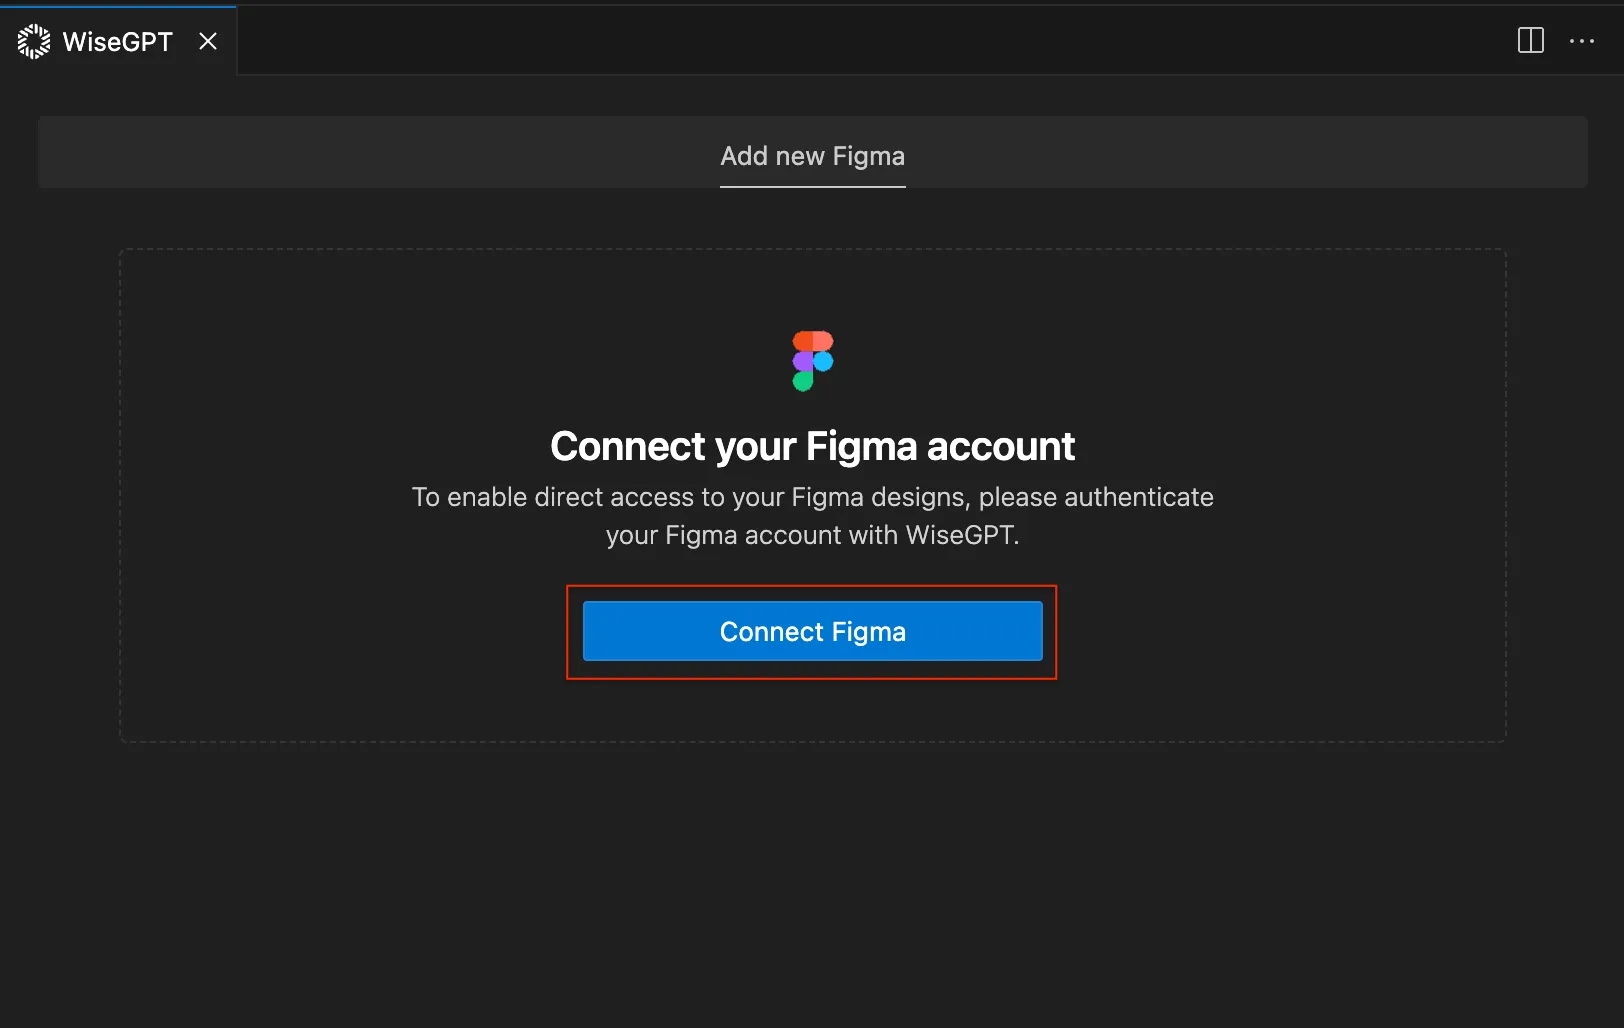
Connect your Figma account
To connect your Figma account and enable direct access to your designs, navigate to the Connect your Figma account section on the right side of the WiseGPT interface, and click Connect Figma. This will prompt you to authenticate and link your Figma account with WiseGPT.
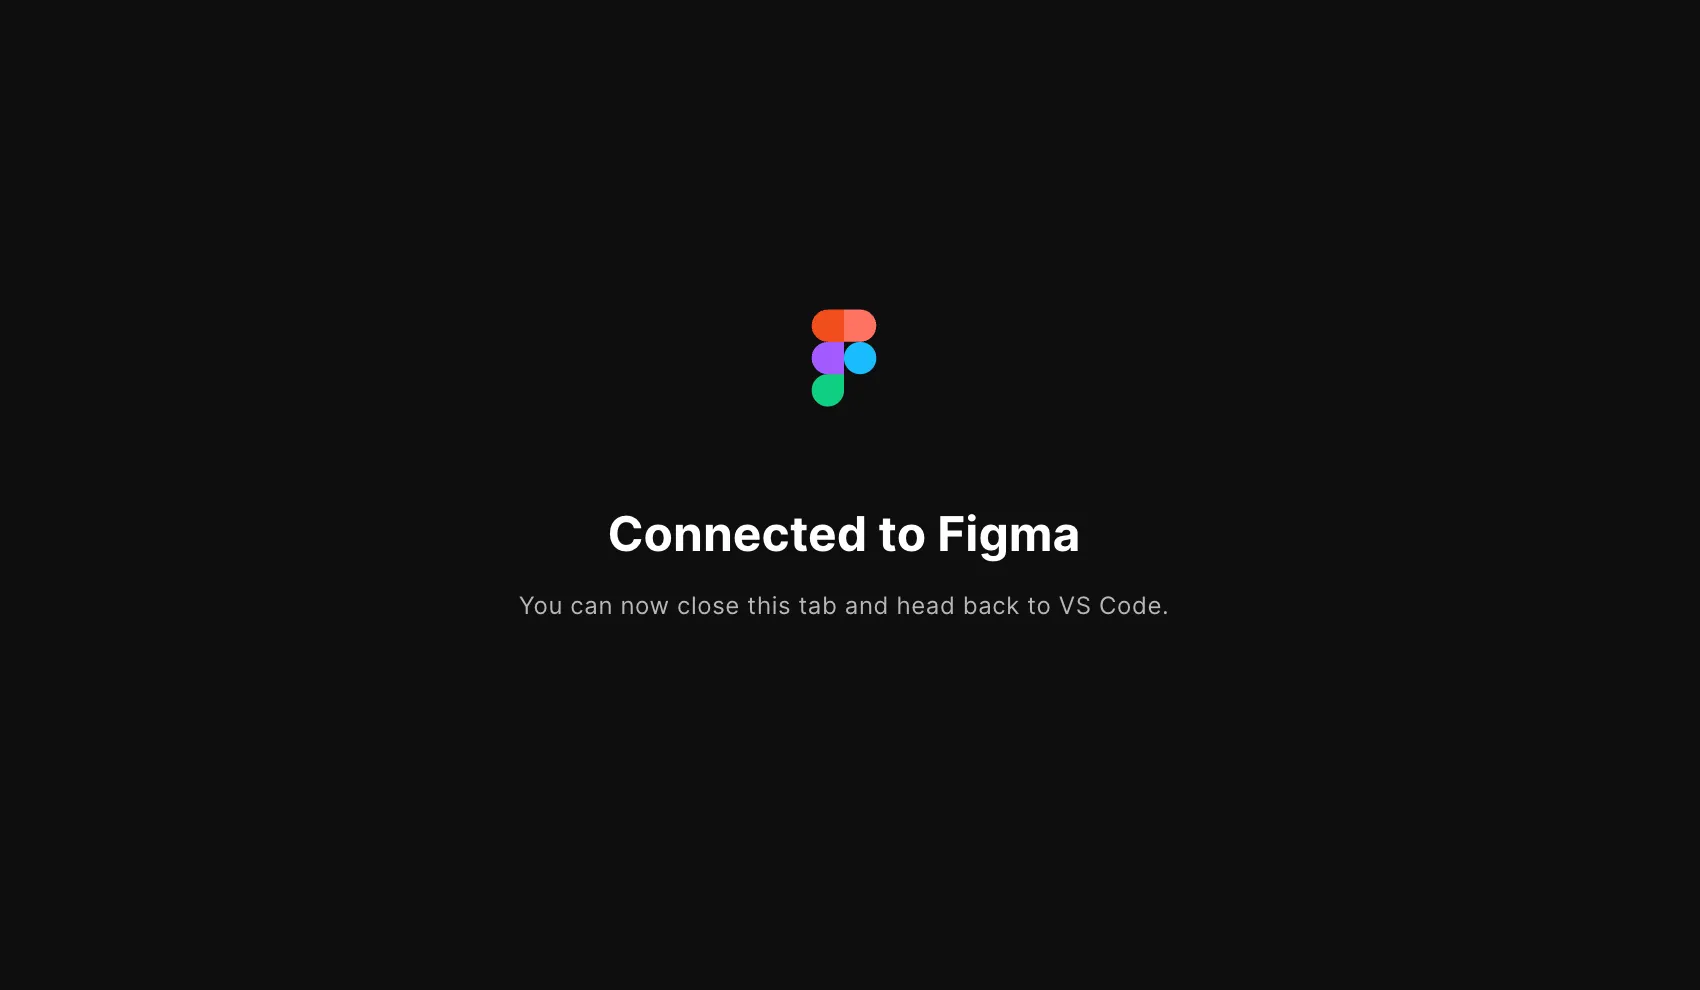
Once you have successfully connected your Figma account, the screen will display Connected to Figma. You can now close this tab and return to VS Code to continue the process.
Add your Figma account and URL details
Your connected account will be displayed in the Figma account field. If you wish to link another Figma account with WiseGPT, click Connect another account, and then paste your Figma URL into the designated field as shown below.
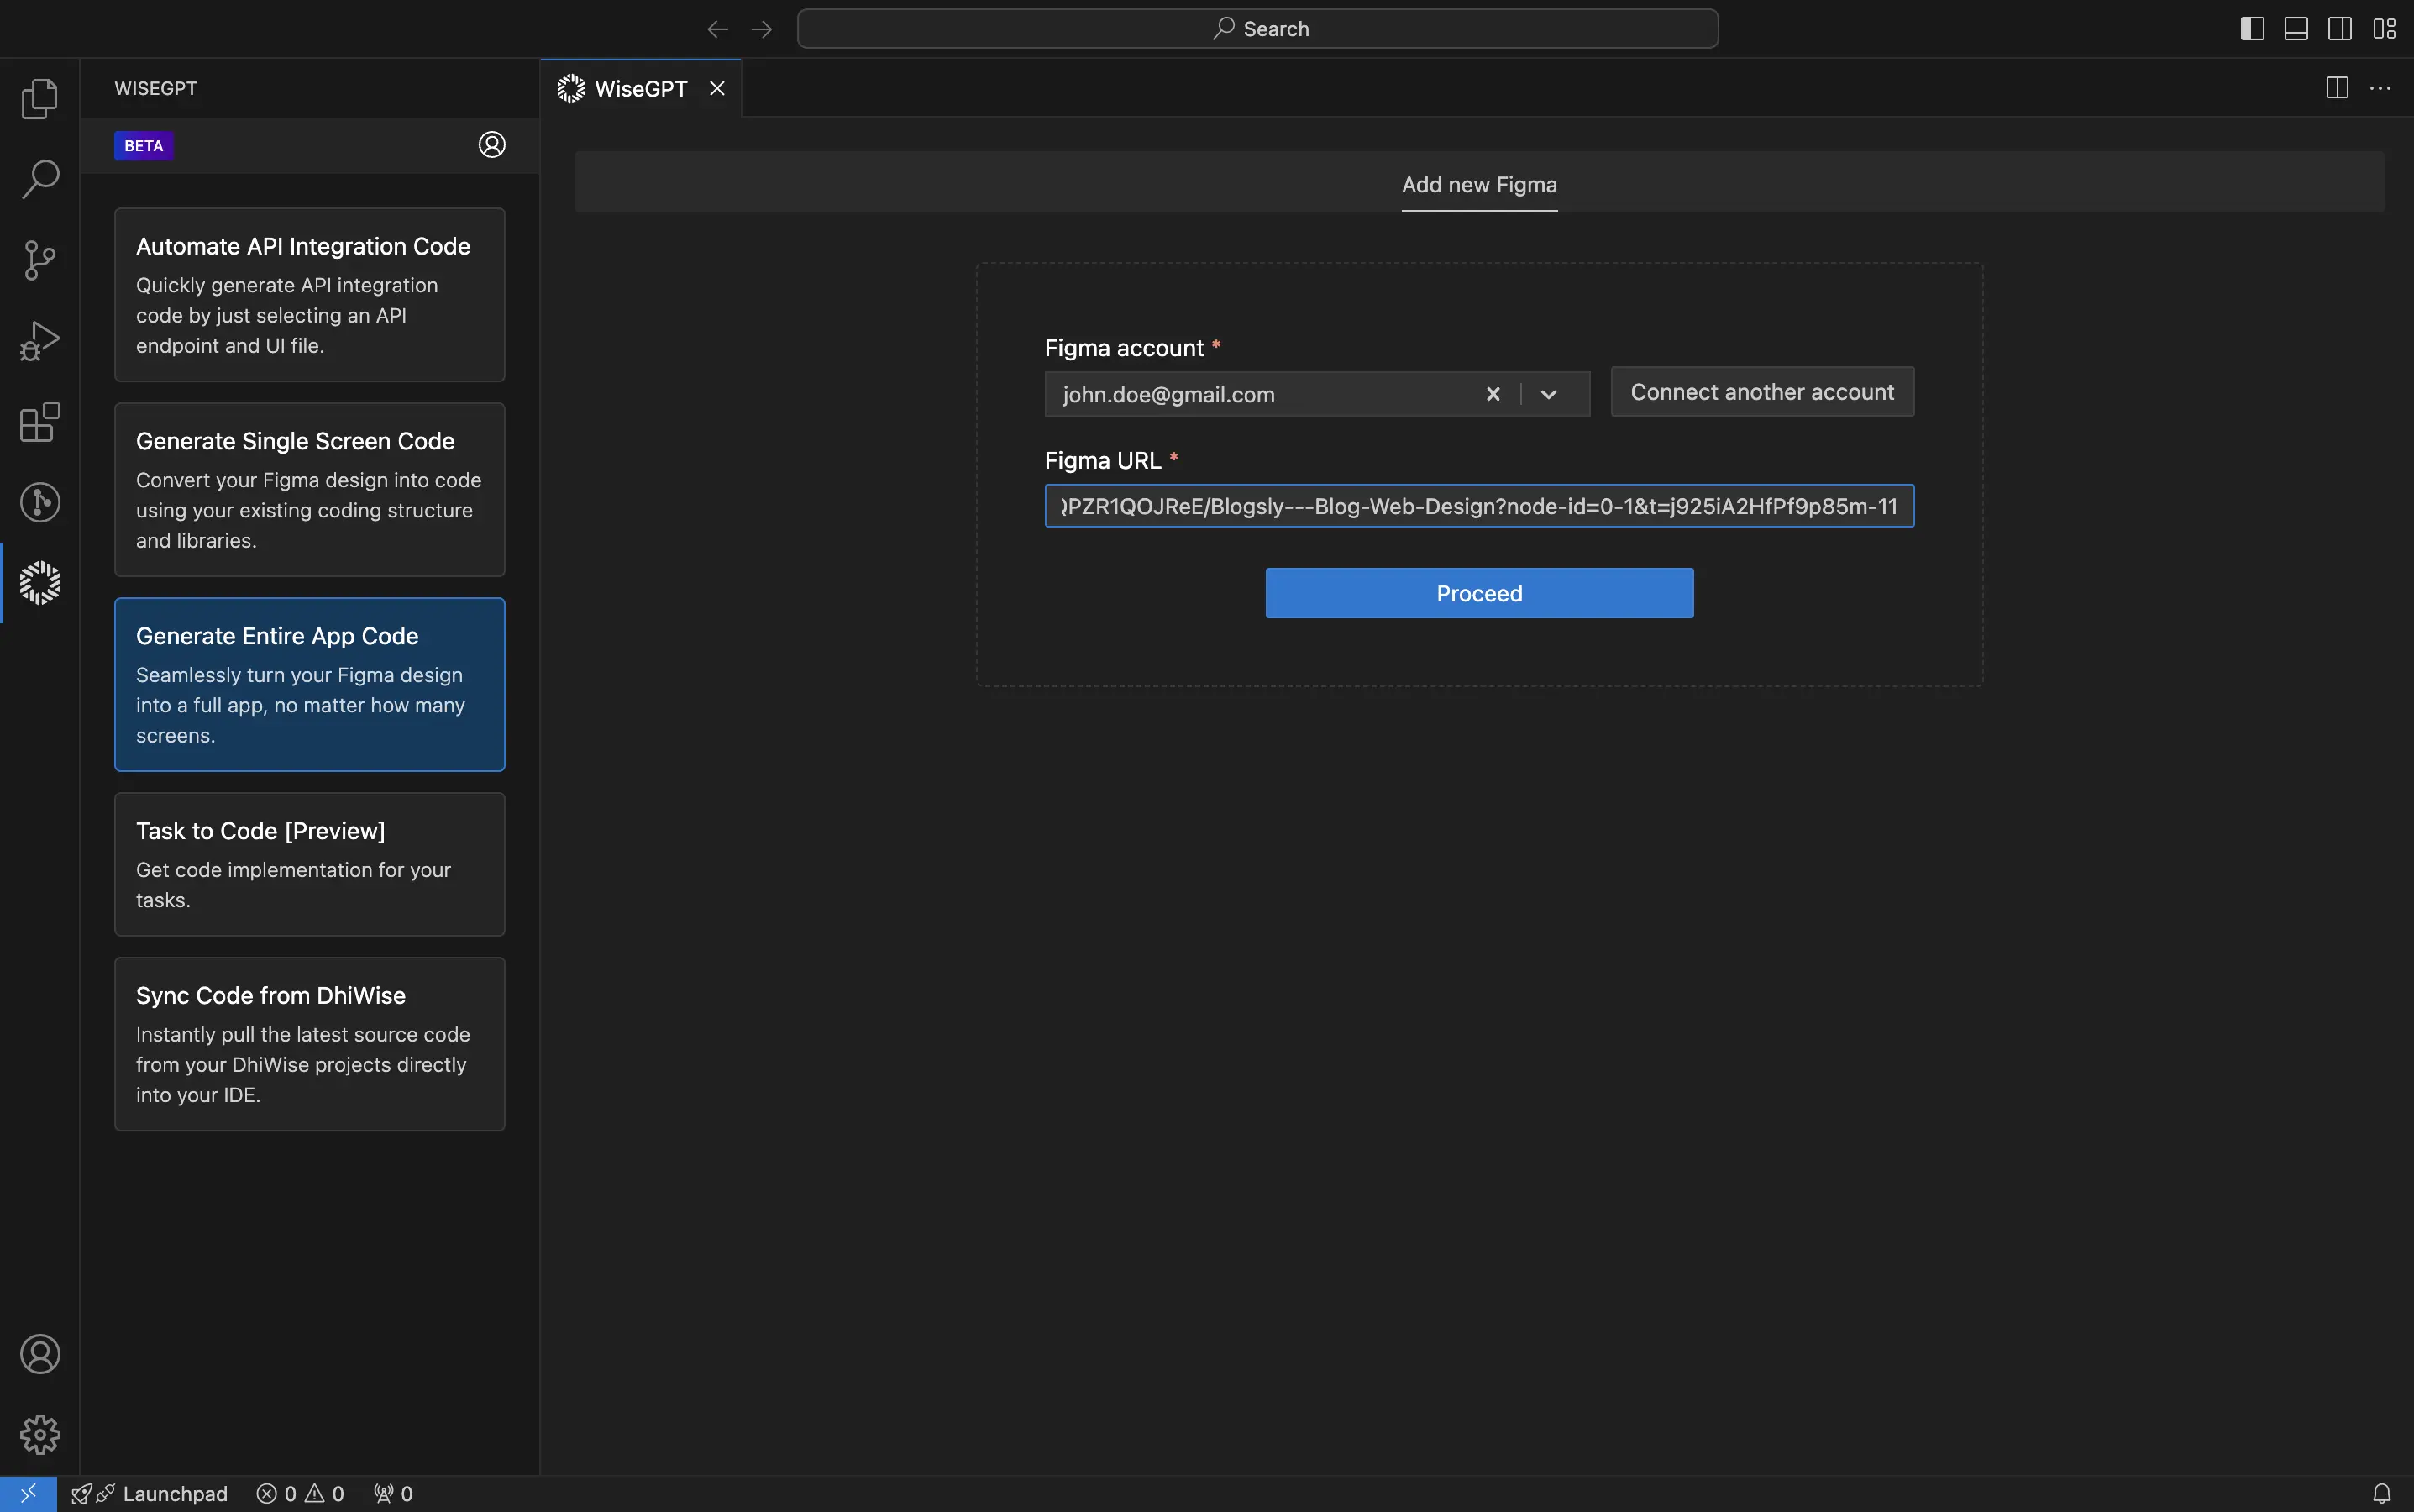
After filling in the necessary details, click Proceed to initiate the integration process with WiseGPT.
Initialize your new application project
To begin setting up your new application, enter a name for your application in the Name your Application field, and select the desired framework from the Framework dropdown menu. These initial settings are crucial for defining the core attributes of your application from the ground up.
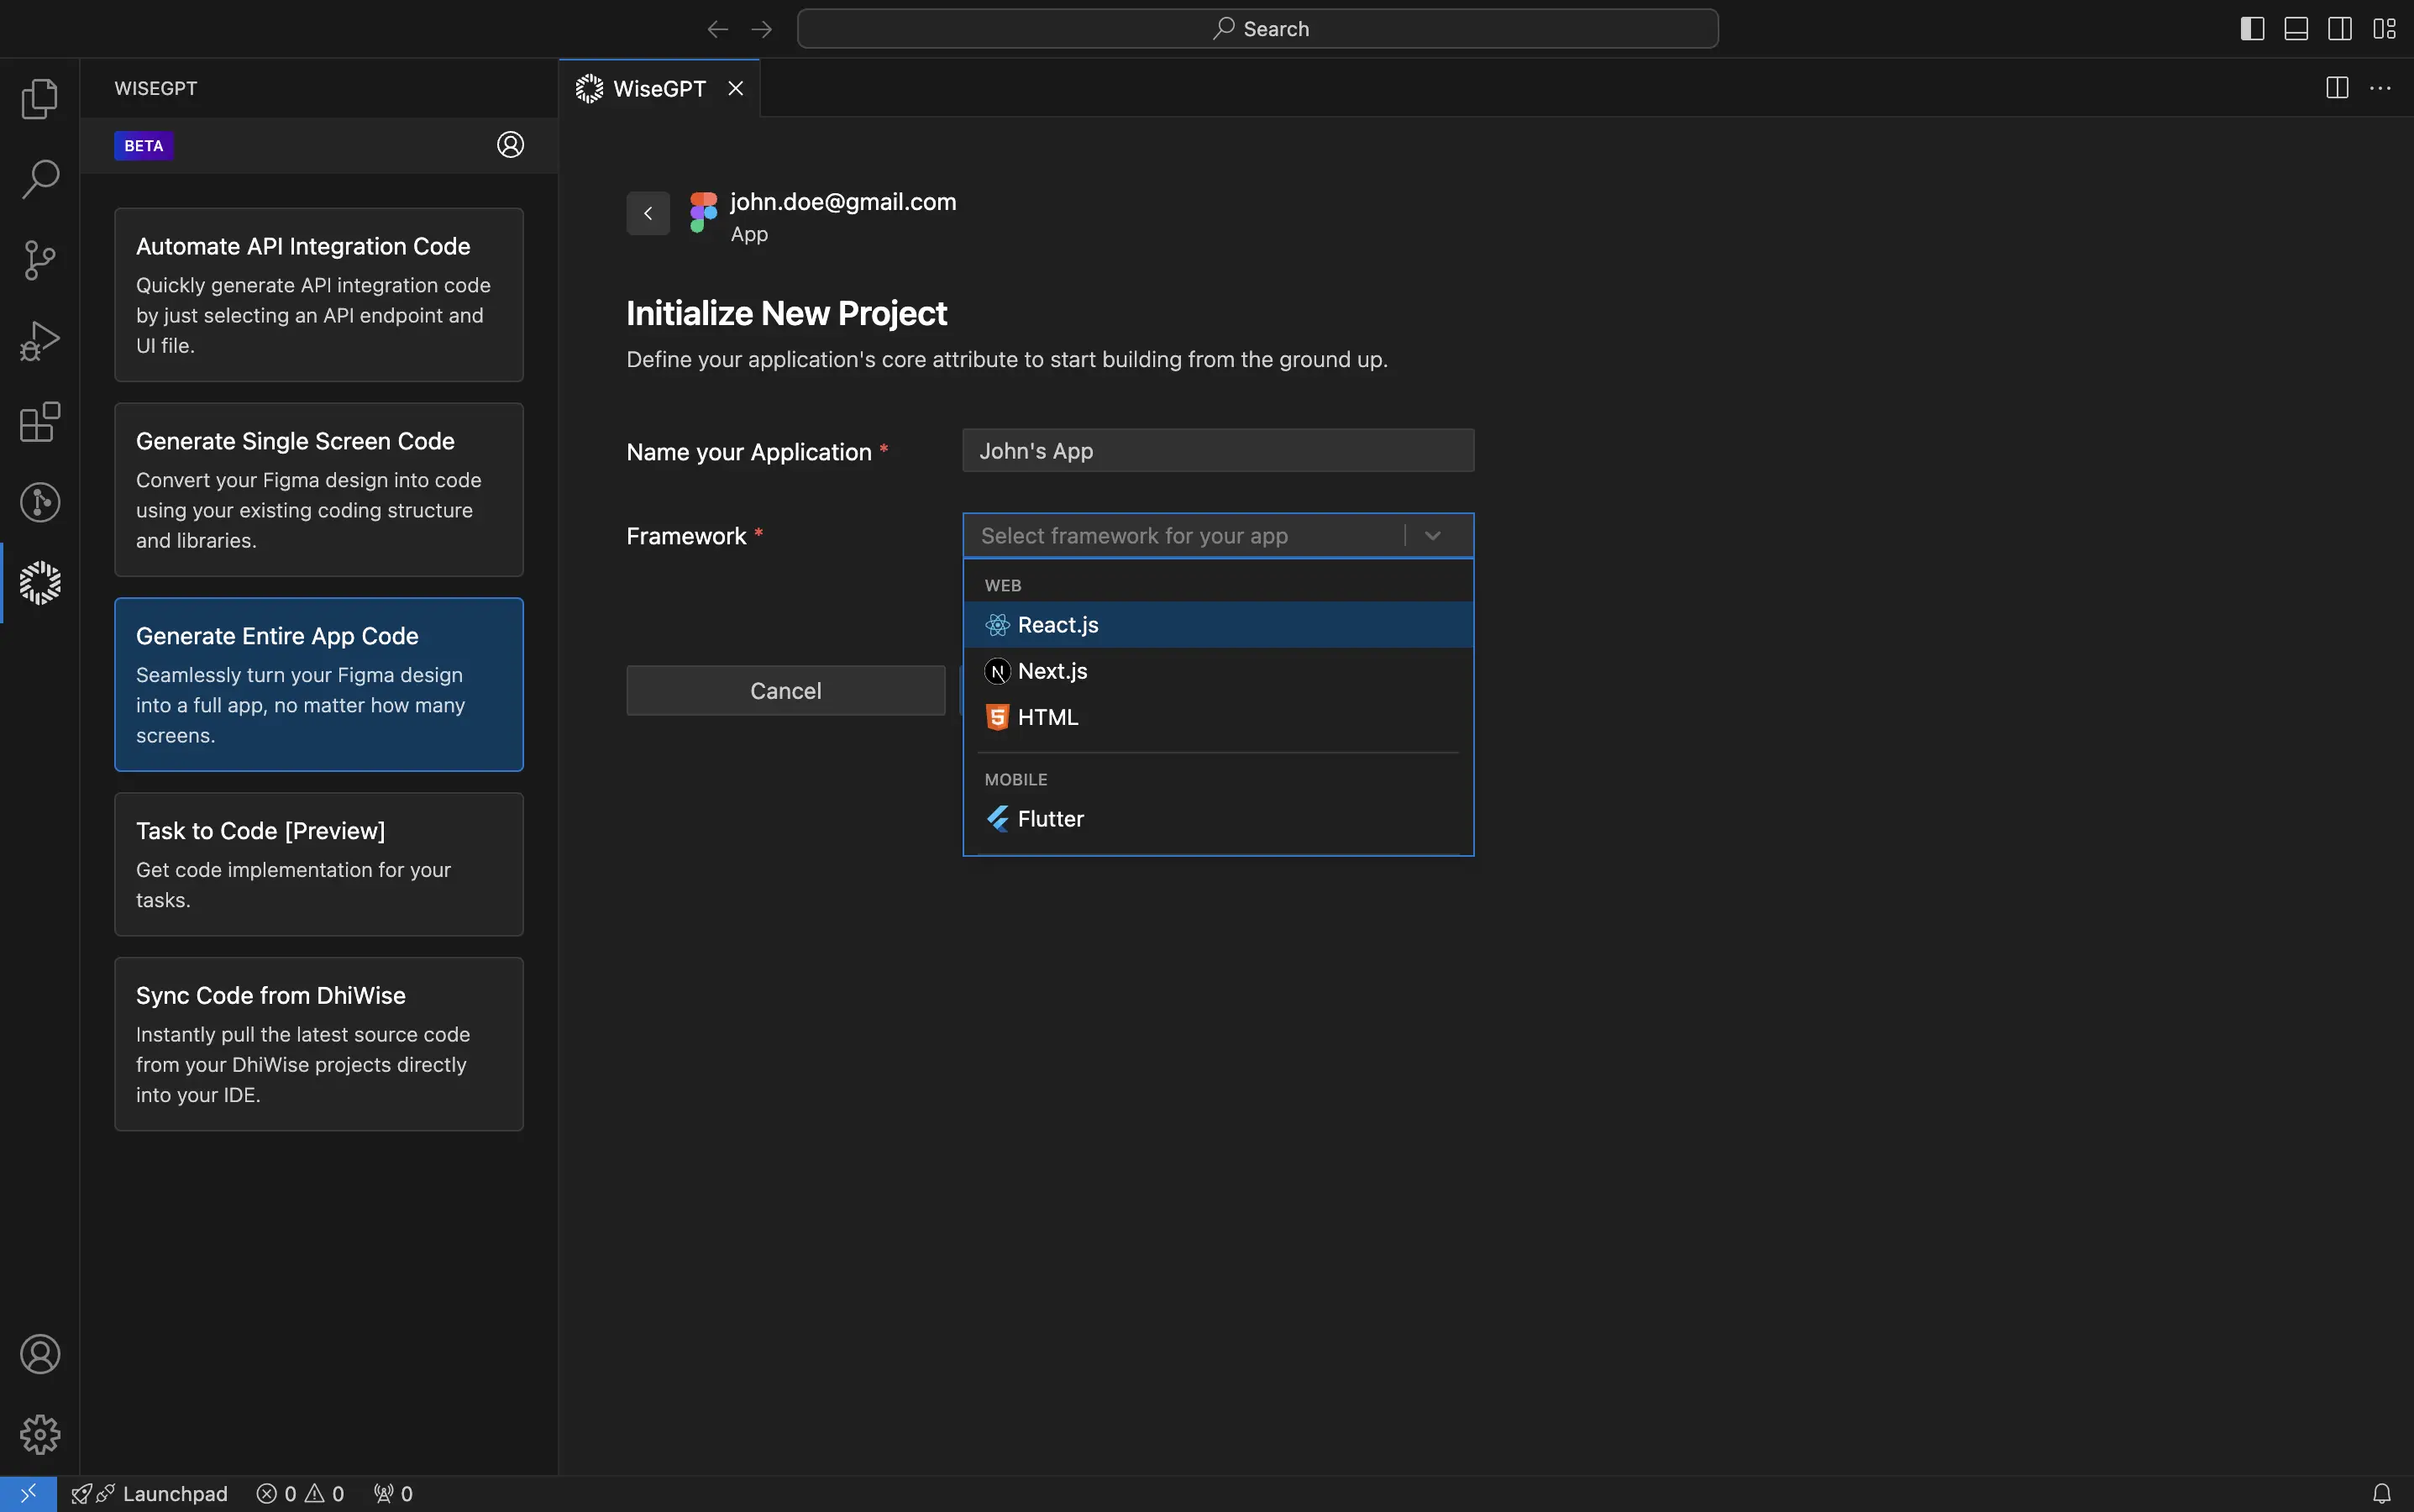
Configure your application
- React
- Flutter
After selecting your preferred framework (React.js, Next.js, or HTML), configure your application for the selected framework:
- React.js Configuration:
-
Programming language: Select either
JavaScriptorTypeScript. -
Bundler: Choose from
CRA,CRACO,Webpack, orVite. -
Design system: Select either
Tailwind CSSorChakrafor styling.
- Next.js Configuration:
-
Programming language: Select either
JavaScriptorTypeScript. -
Design system: Select either
Tailwind CSSorChakrafor styling.
- HTML Configuration:
- Design system: Select either
Tailwind CSSorCSSfor styling.
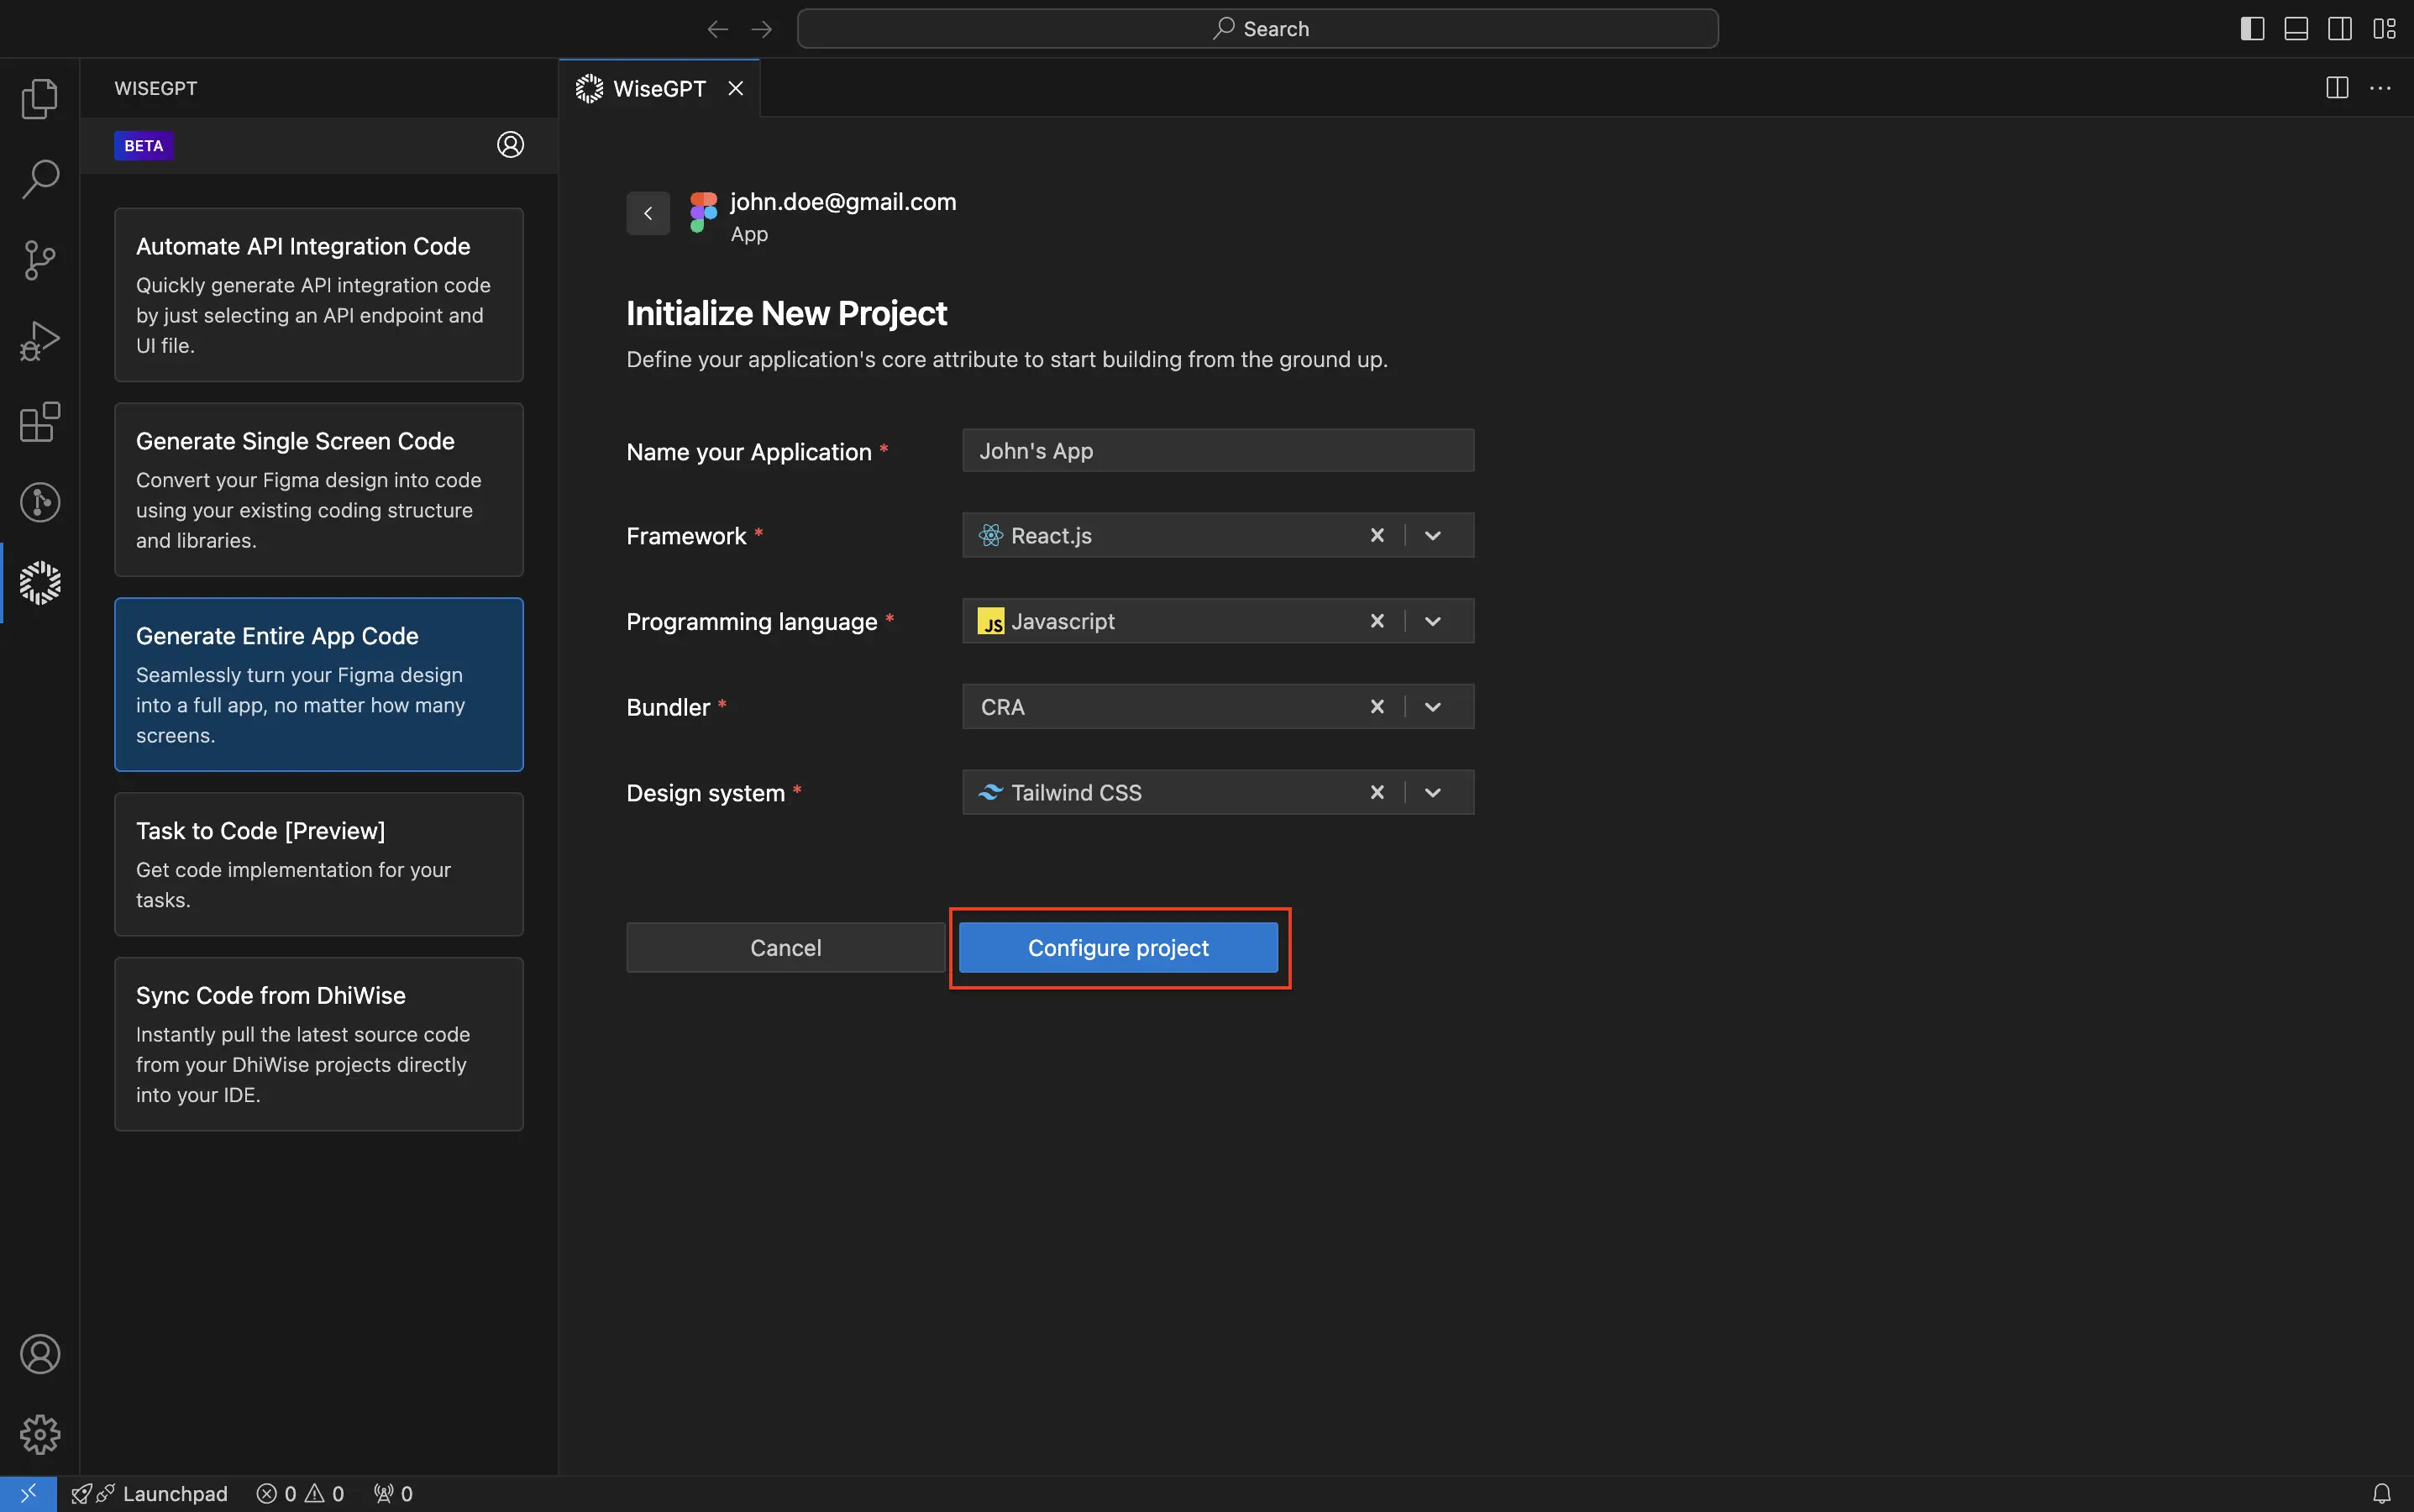
Ensure you complete all required fields to properly initialize your project based on the selected framework and then click Configure project.
Sample app configurations setup for React:
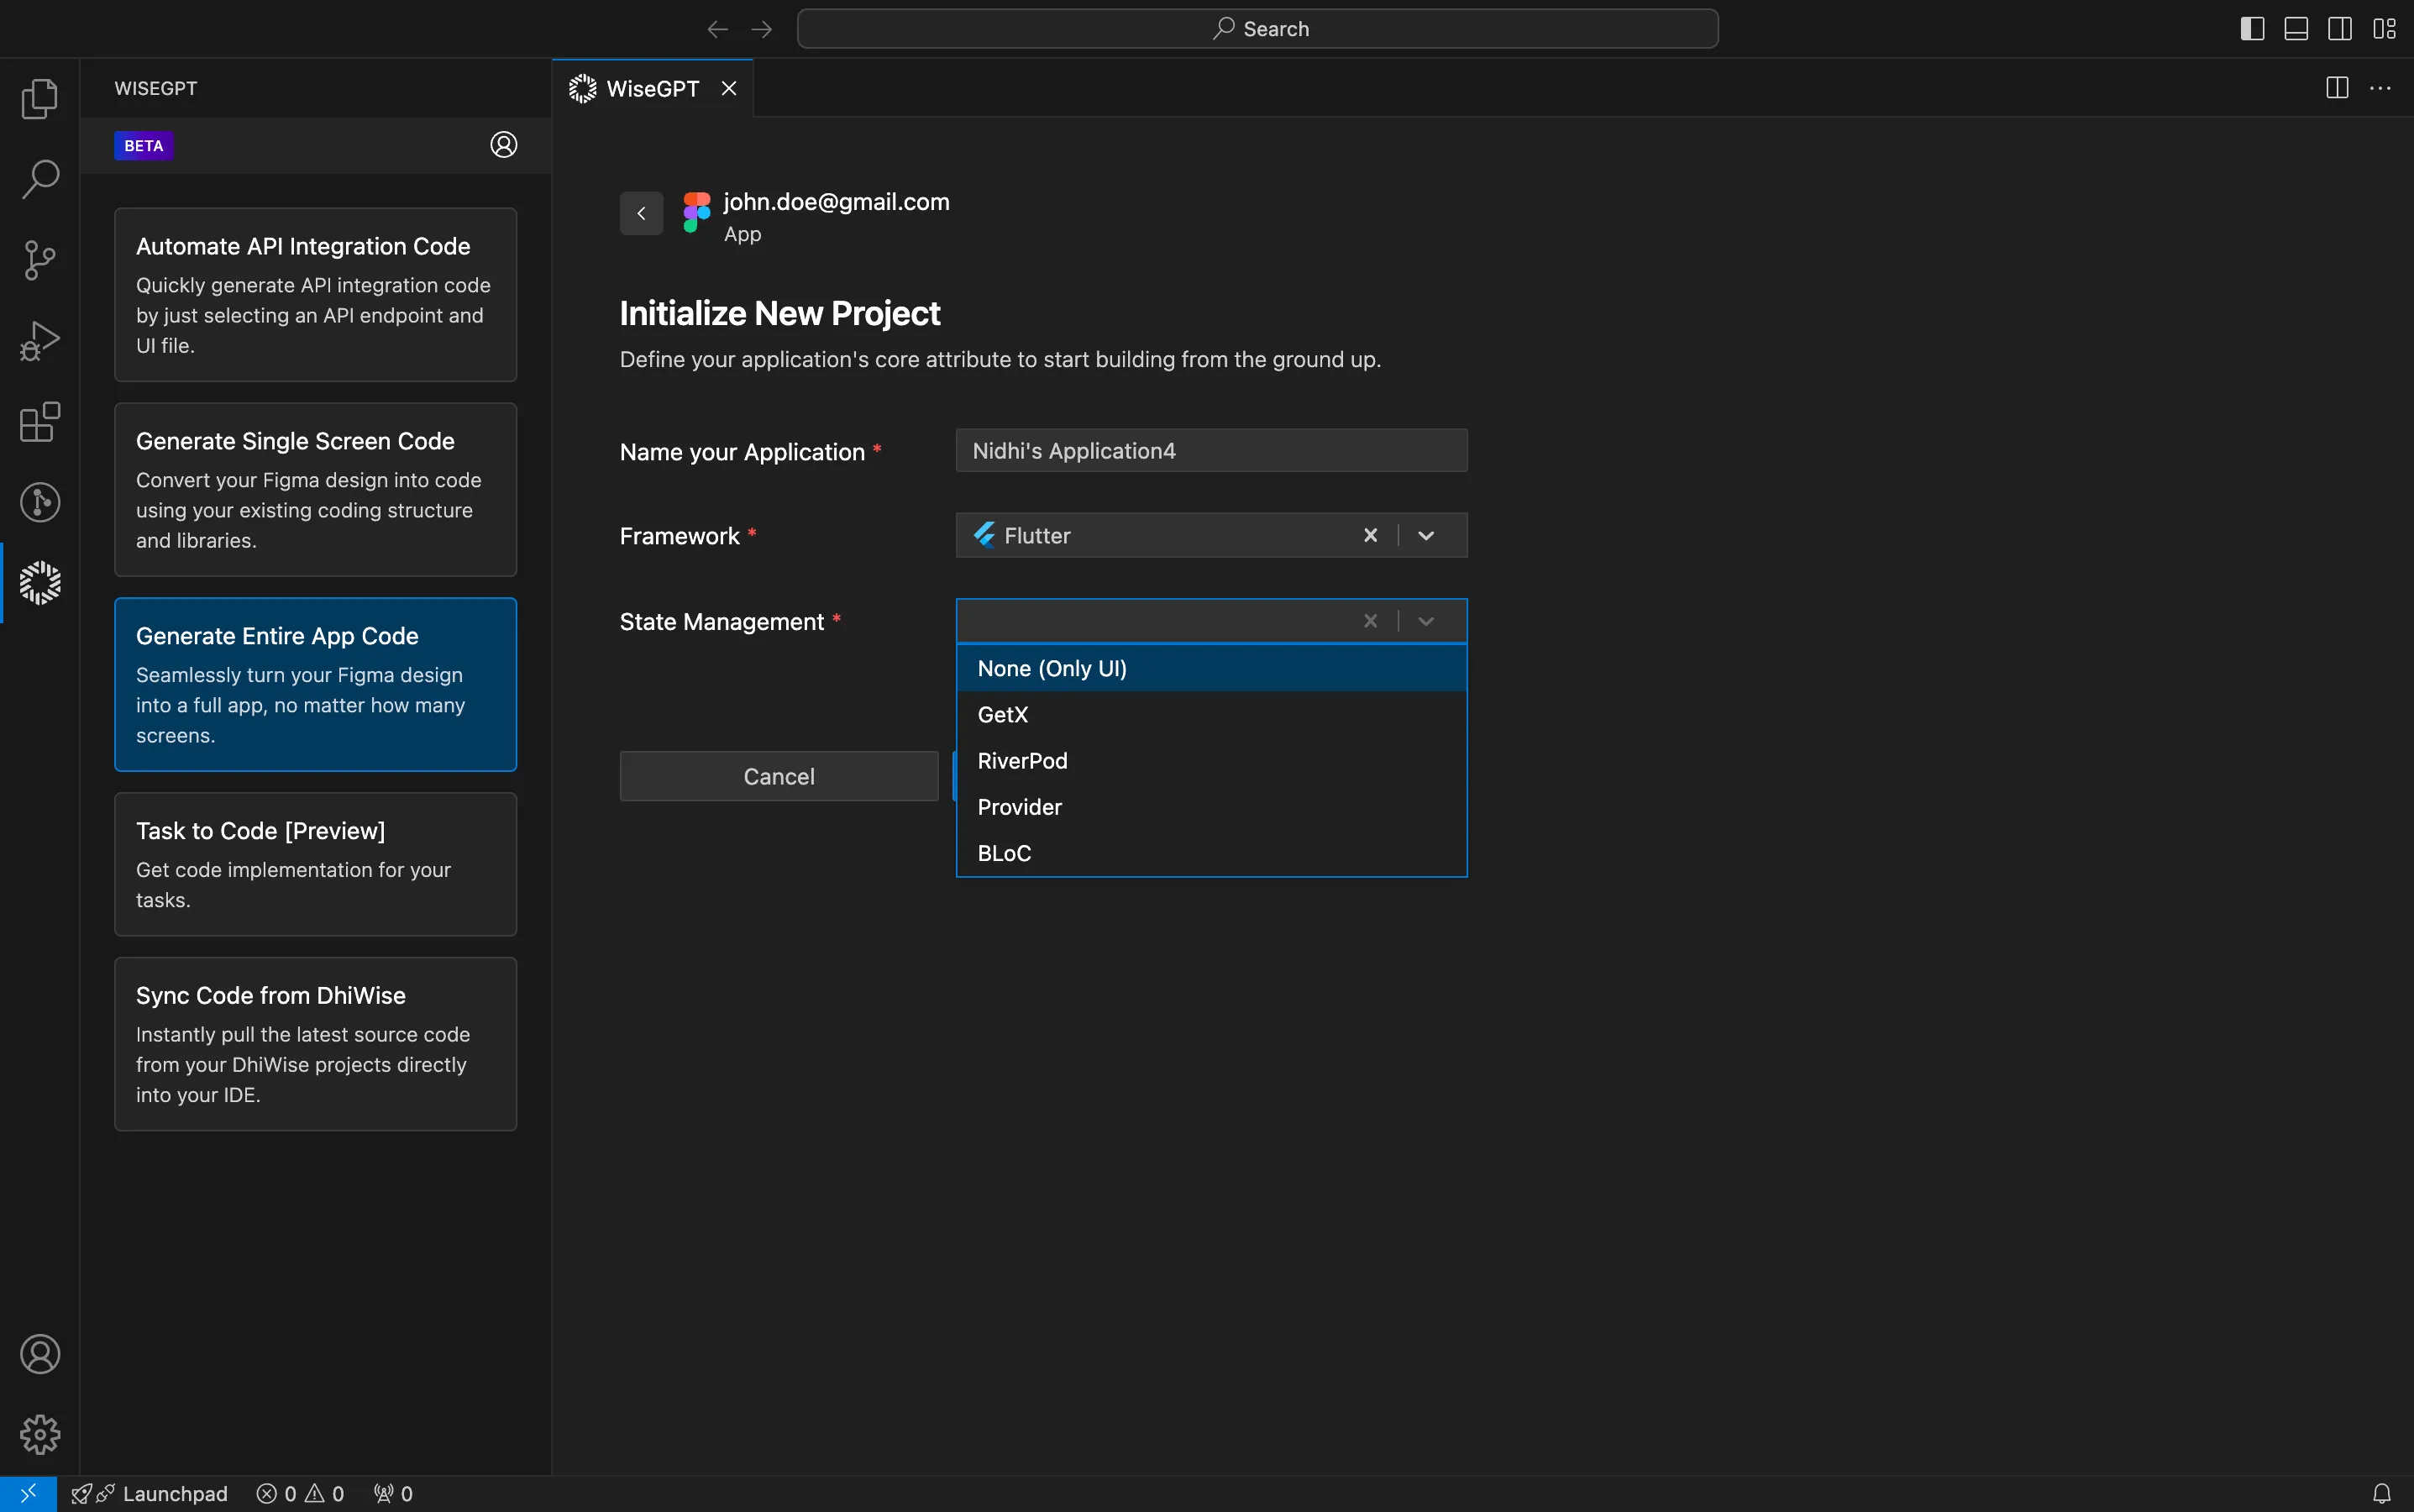
After choosing Flutter as your framework, select an appropriate state management library from the State Management dropdown menu to manage the state of your application efficiently. Available options include None (Only UI), GetX, RiverPod, Provider, and BLoC.
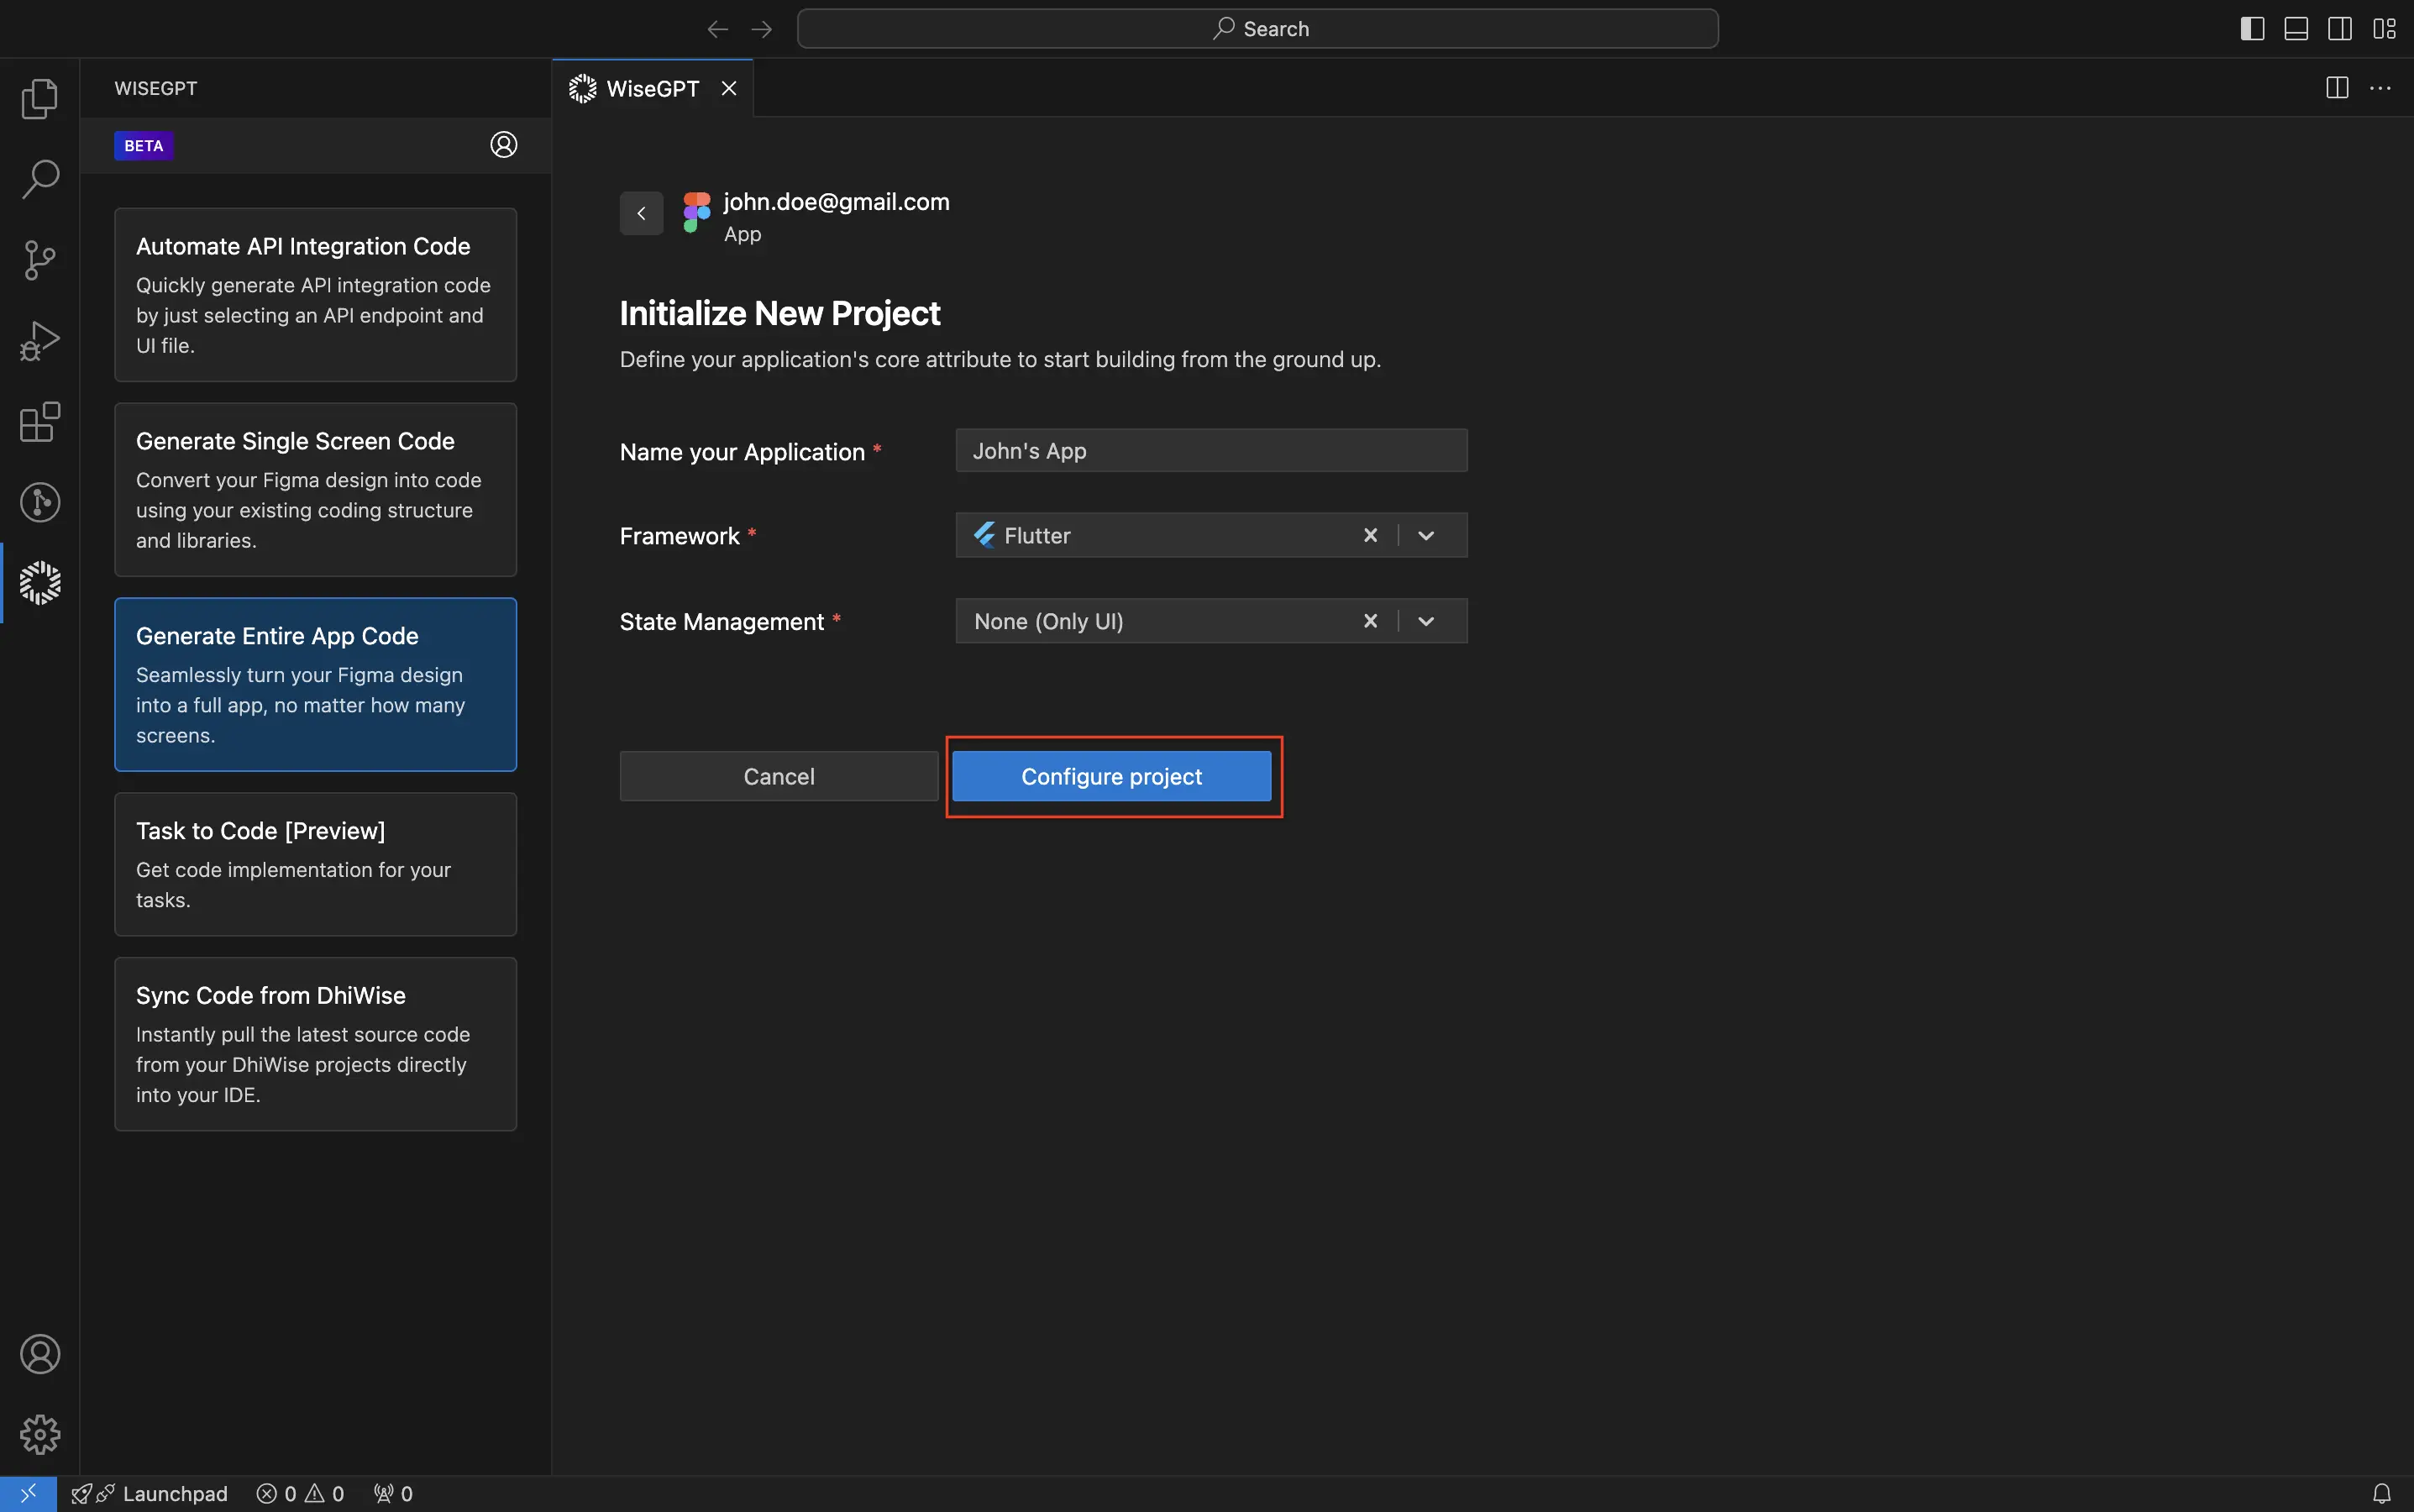
After selecting your preferred framework and state management, finalize the setup by clicking on the Configure project button. This will complete the initialization of your new Flutter application based on the specified settings.
Select Figma screens for code generation
- React
- Flutter
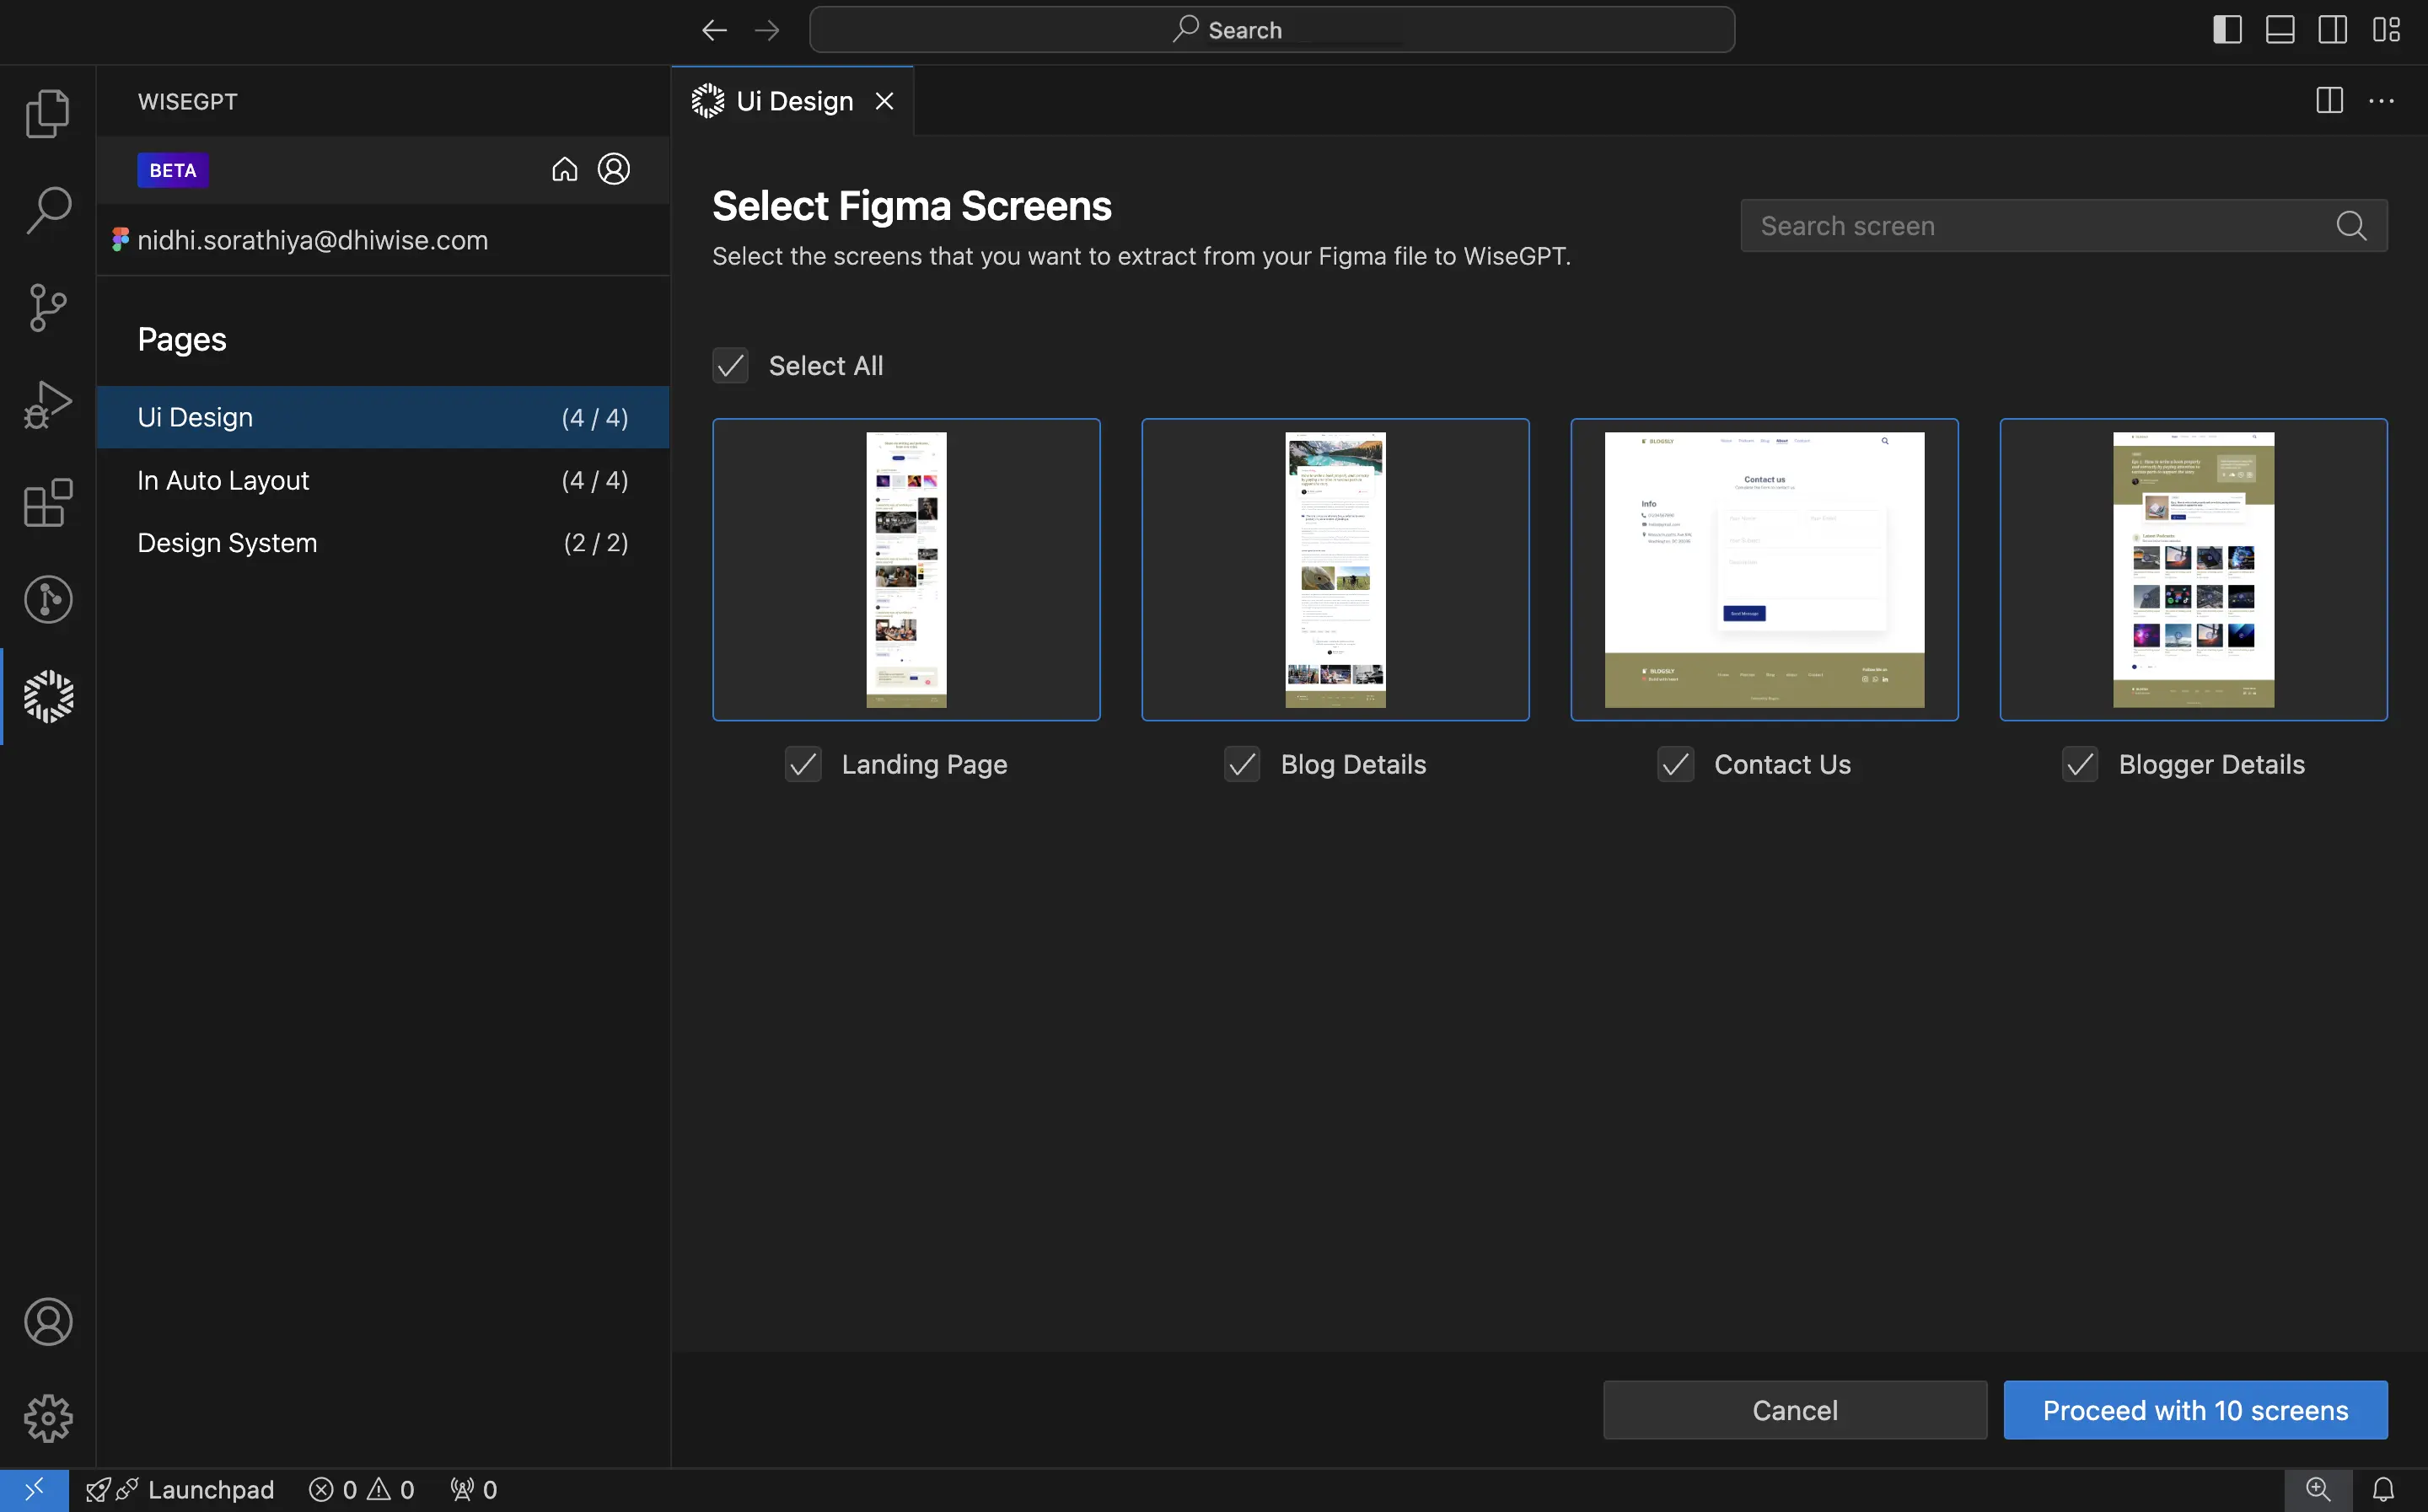
Select the Figma screens you want to extract for your Web application by checking the boxes next to each desired screen. You can select individual screens or click Select All to choose all available screens.
Once you have selected all the necessary screens, click Proceed with (no. of screens) screens to continue with the code generation process.
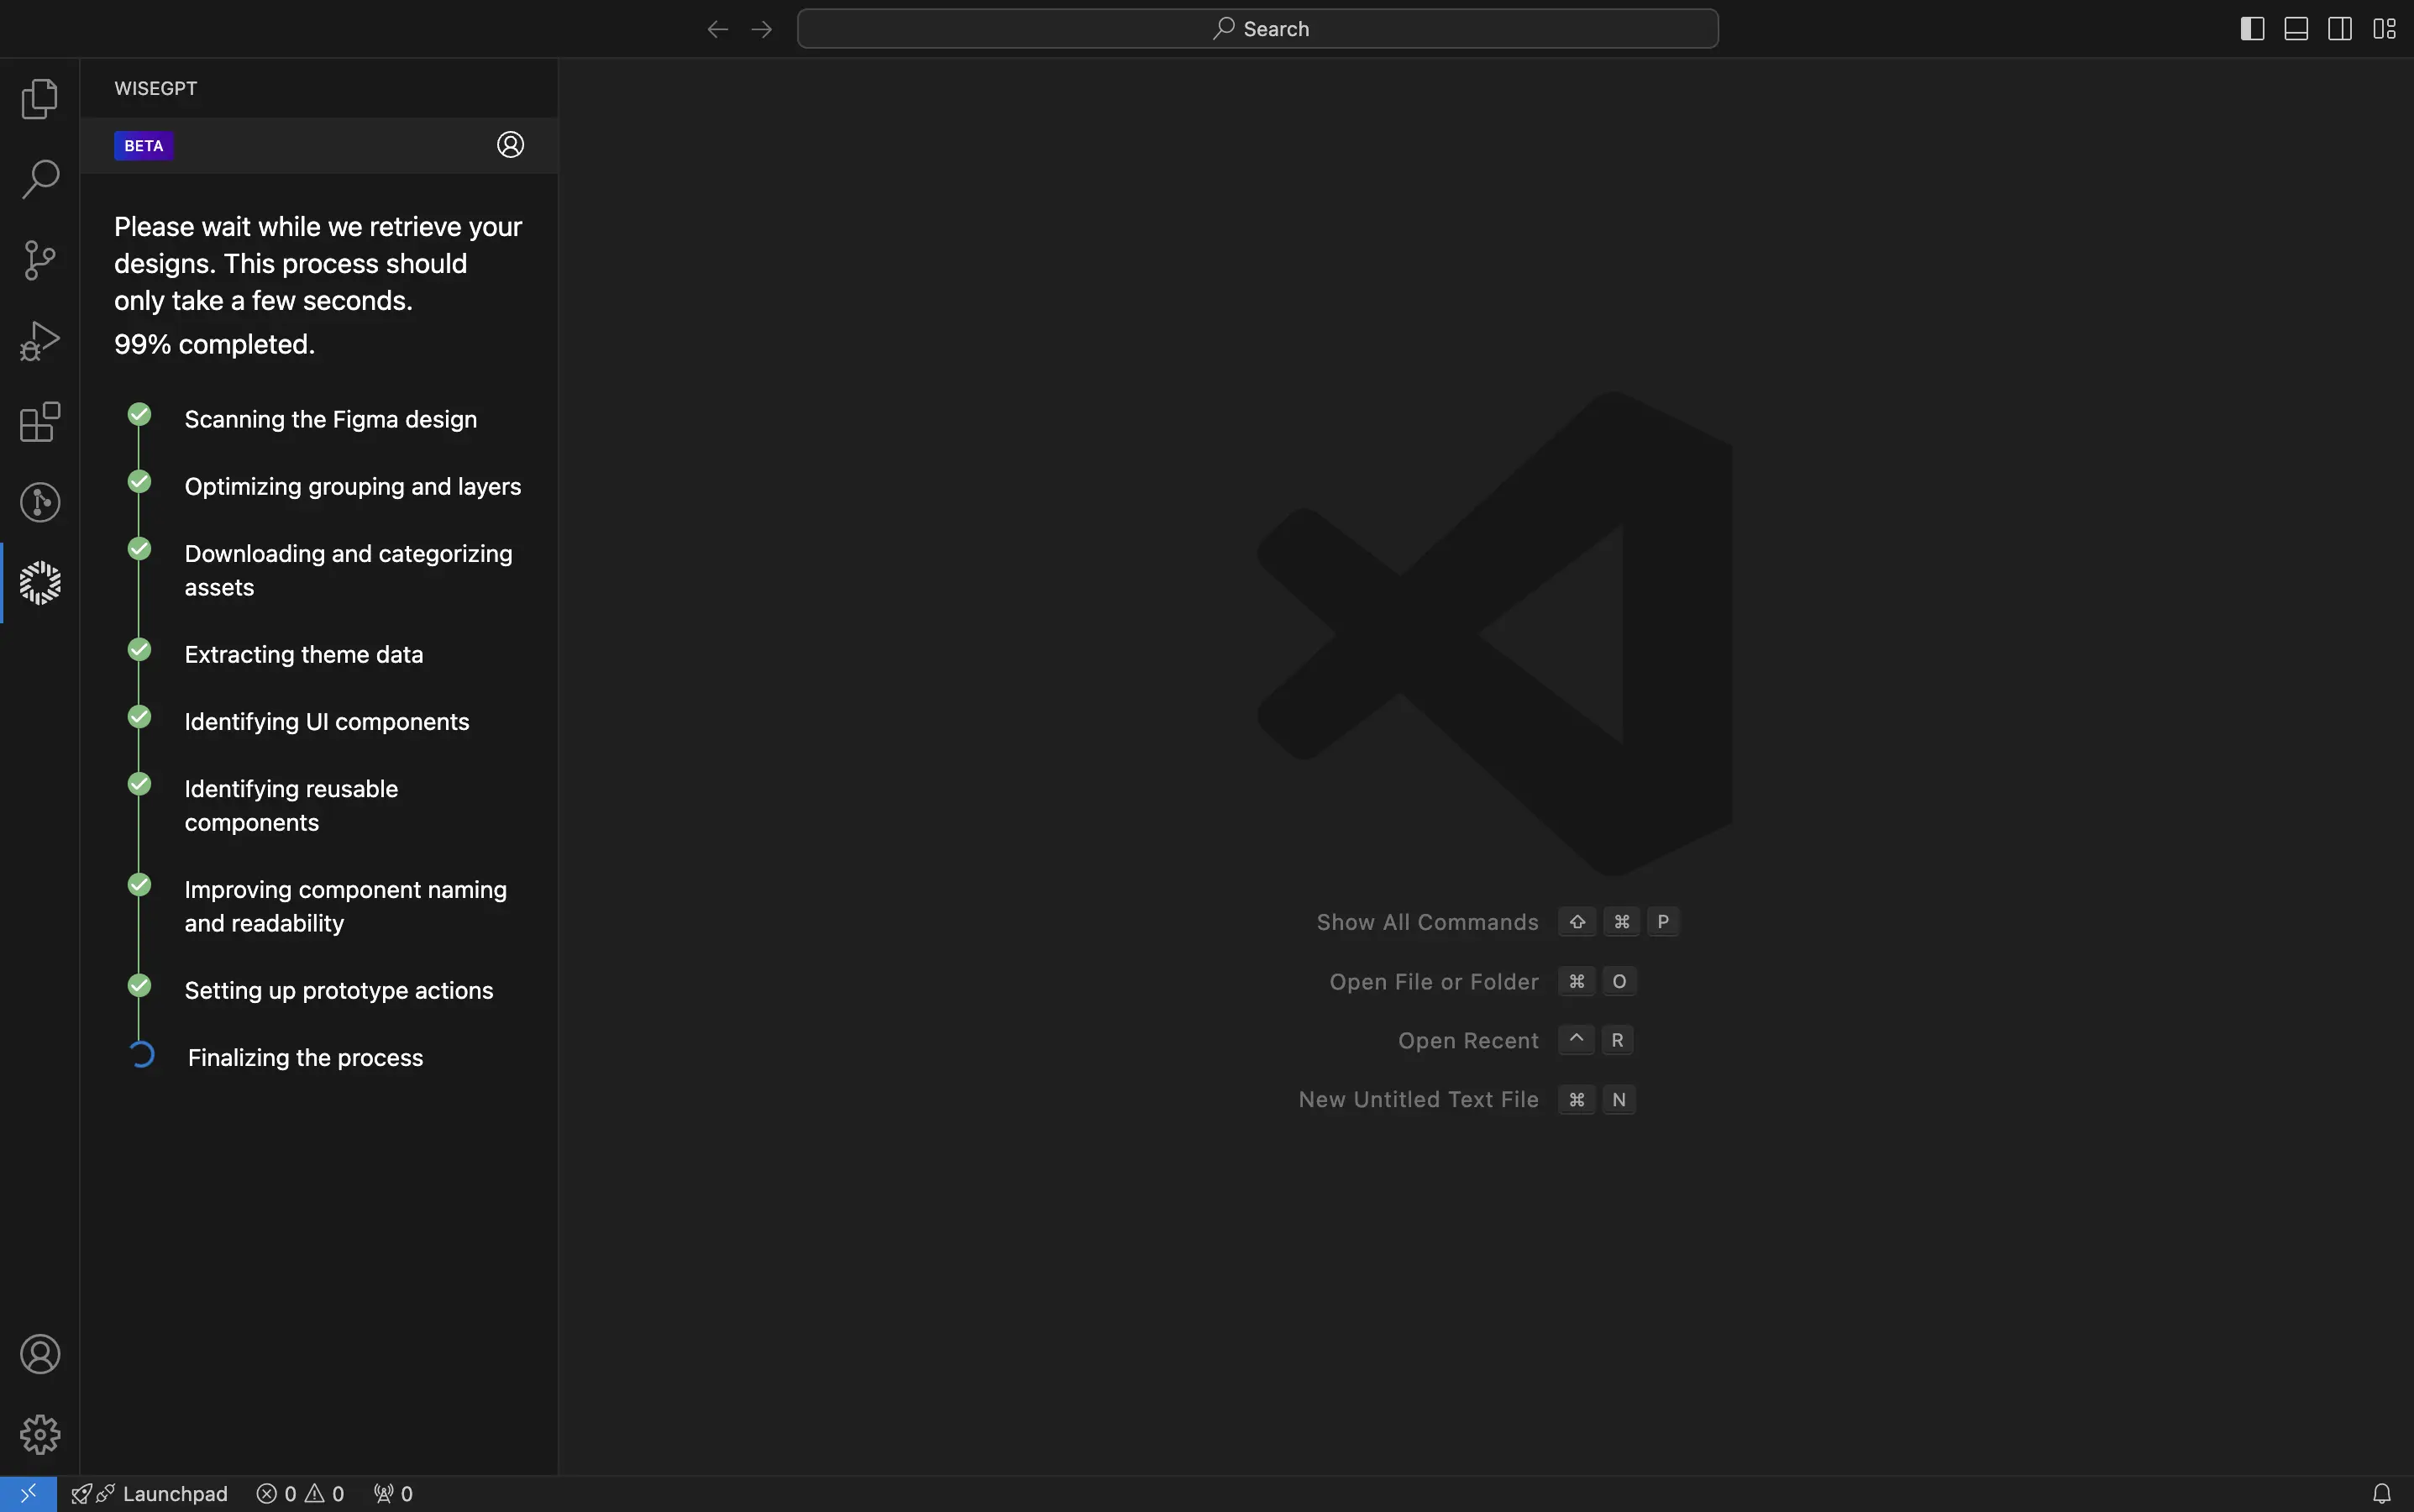
Wait while WiseGPT retrieves and processes your selected Figma designs. This process should only take a few seconds, as indicated by the progress bar.
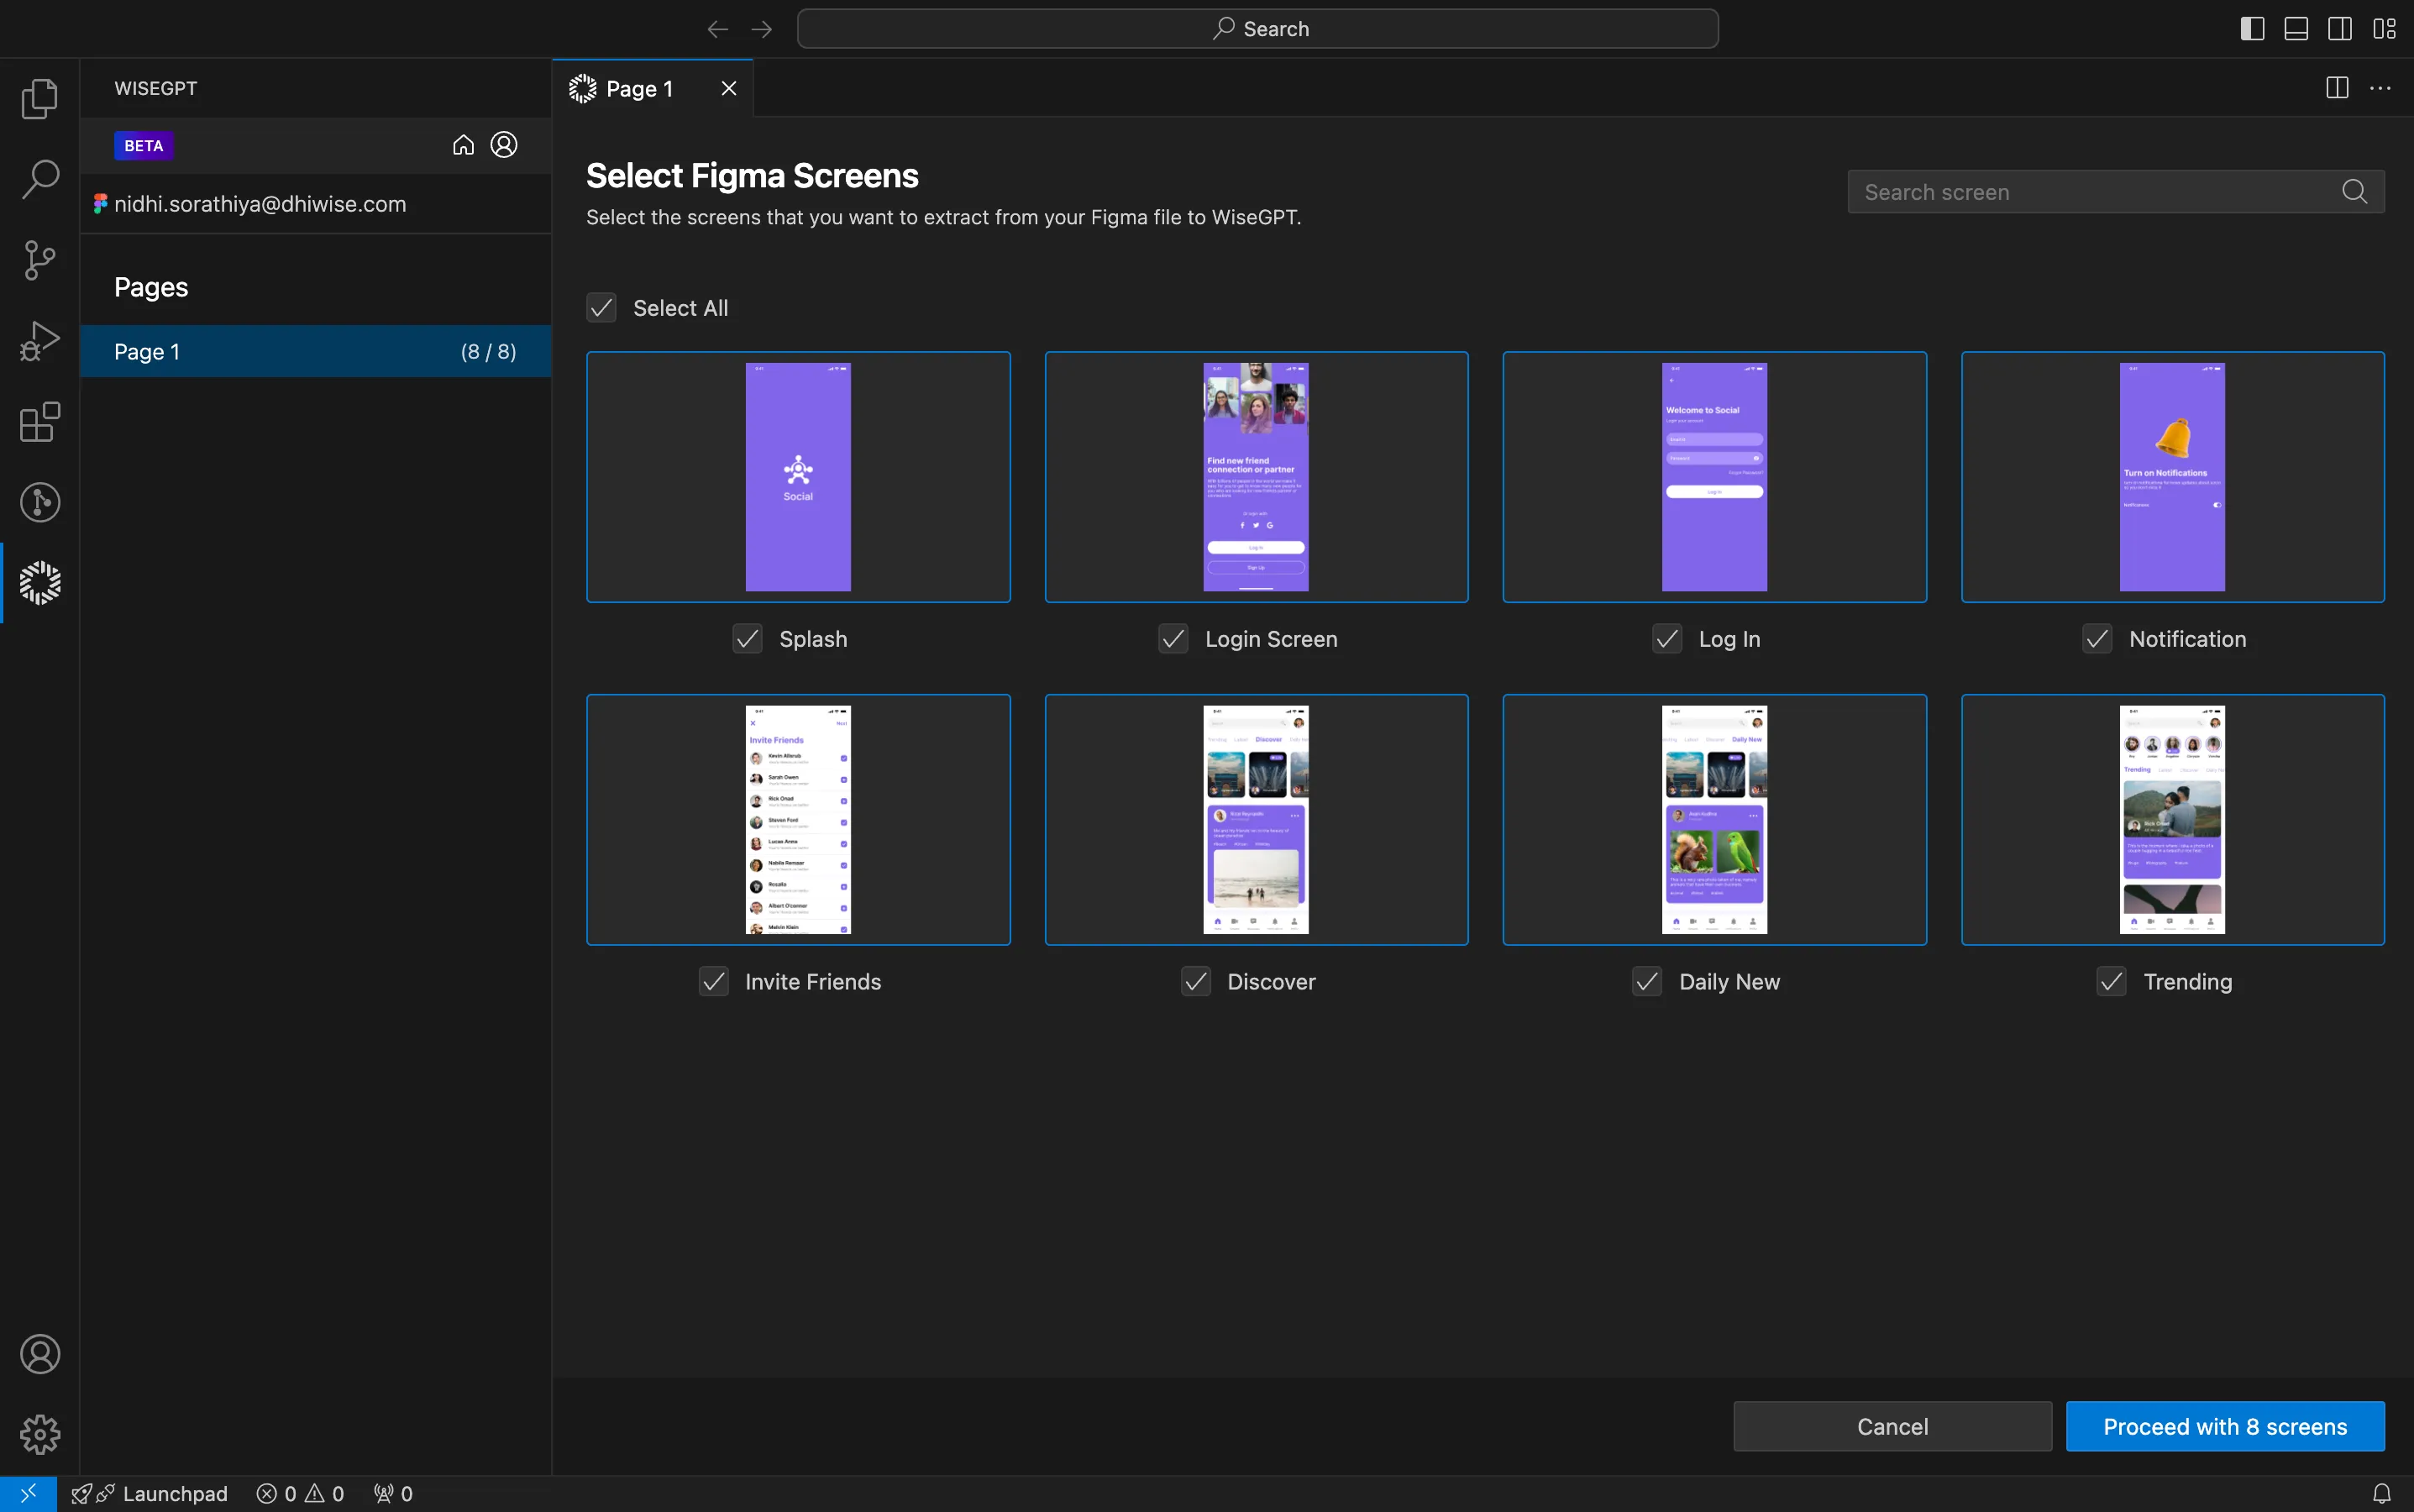
Select the Figma screens you want to extract for your Flutter project by checking the boxes next to each desired screen. You can select individual screens or click Select All to choose all available screens.
Once you have selected all the necessary screens, click Proceed with (no. of screens) screens to continue. This process lets you specify which design elements will be included in your application.
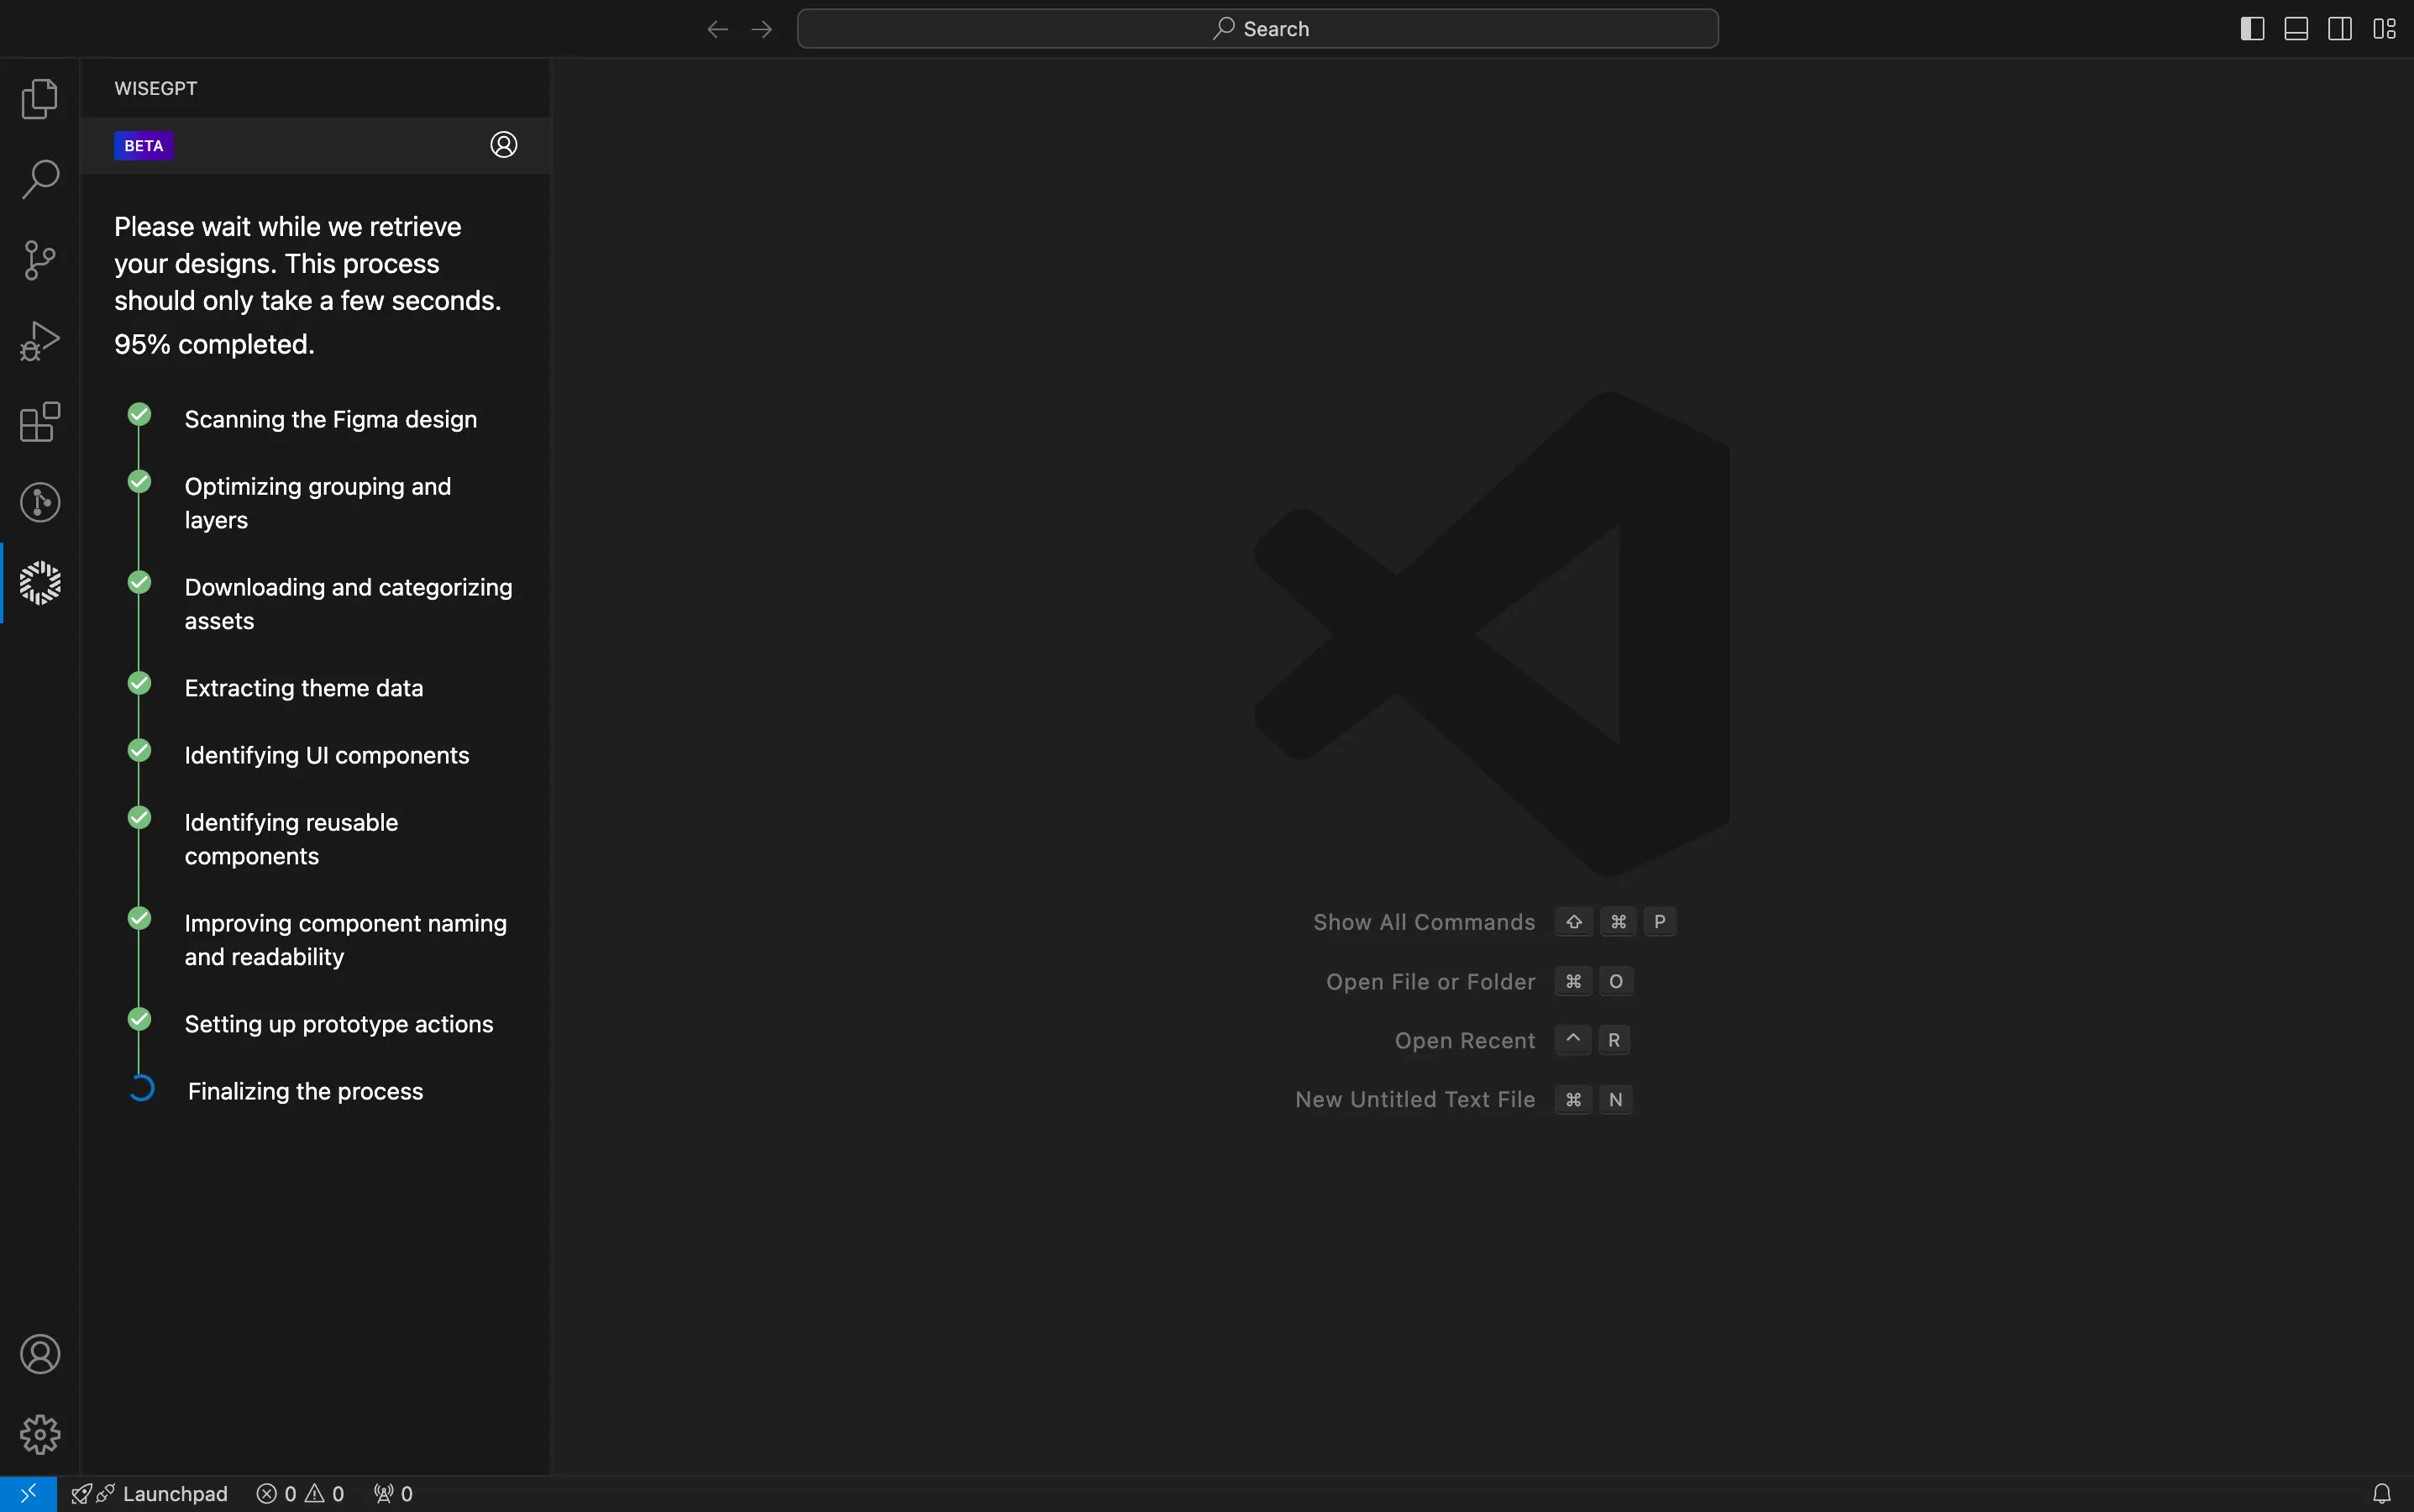
Wait while WiseGPT retrieves and processes your selected Figma designs. This process should only take a few seconds, as indicated by the progress bar.
Review selected screens for generating code
- React
- Flutter
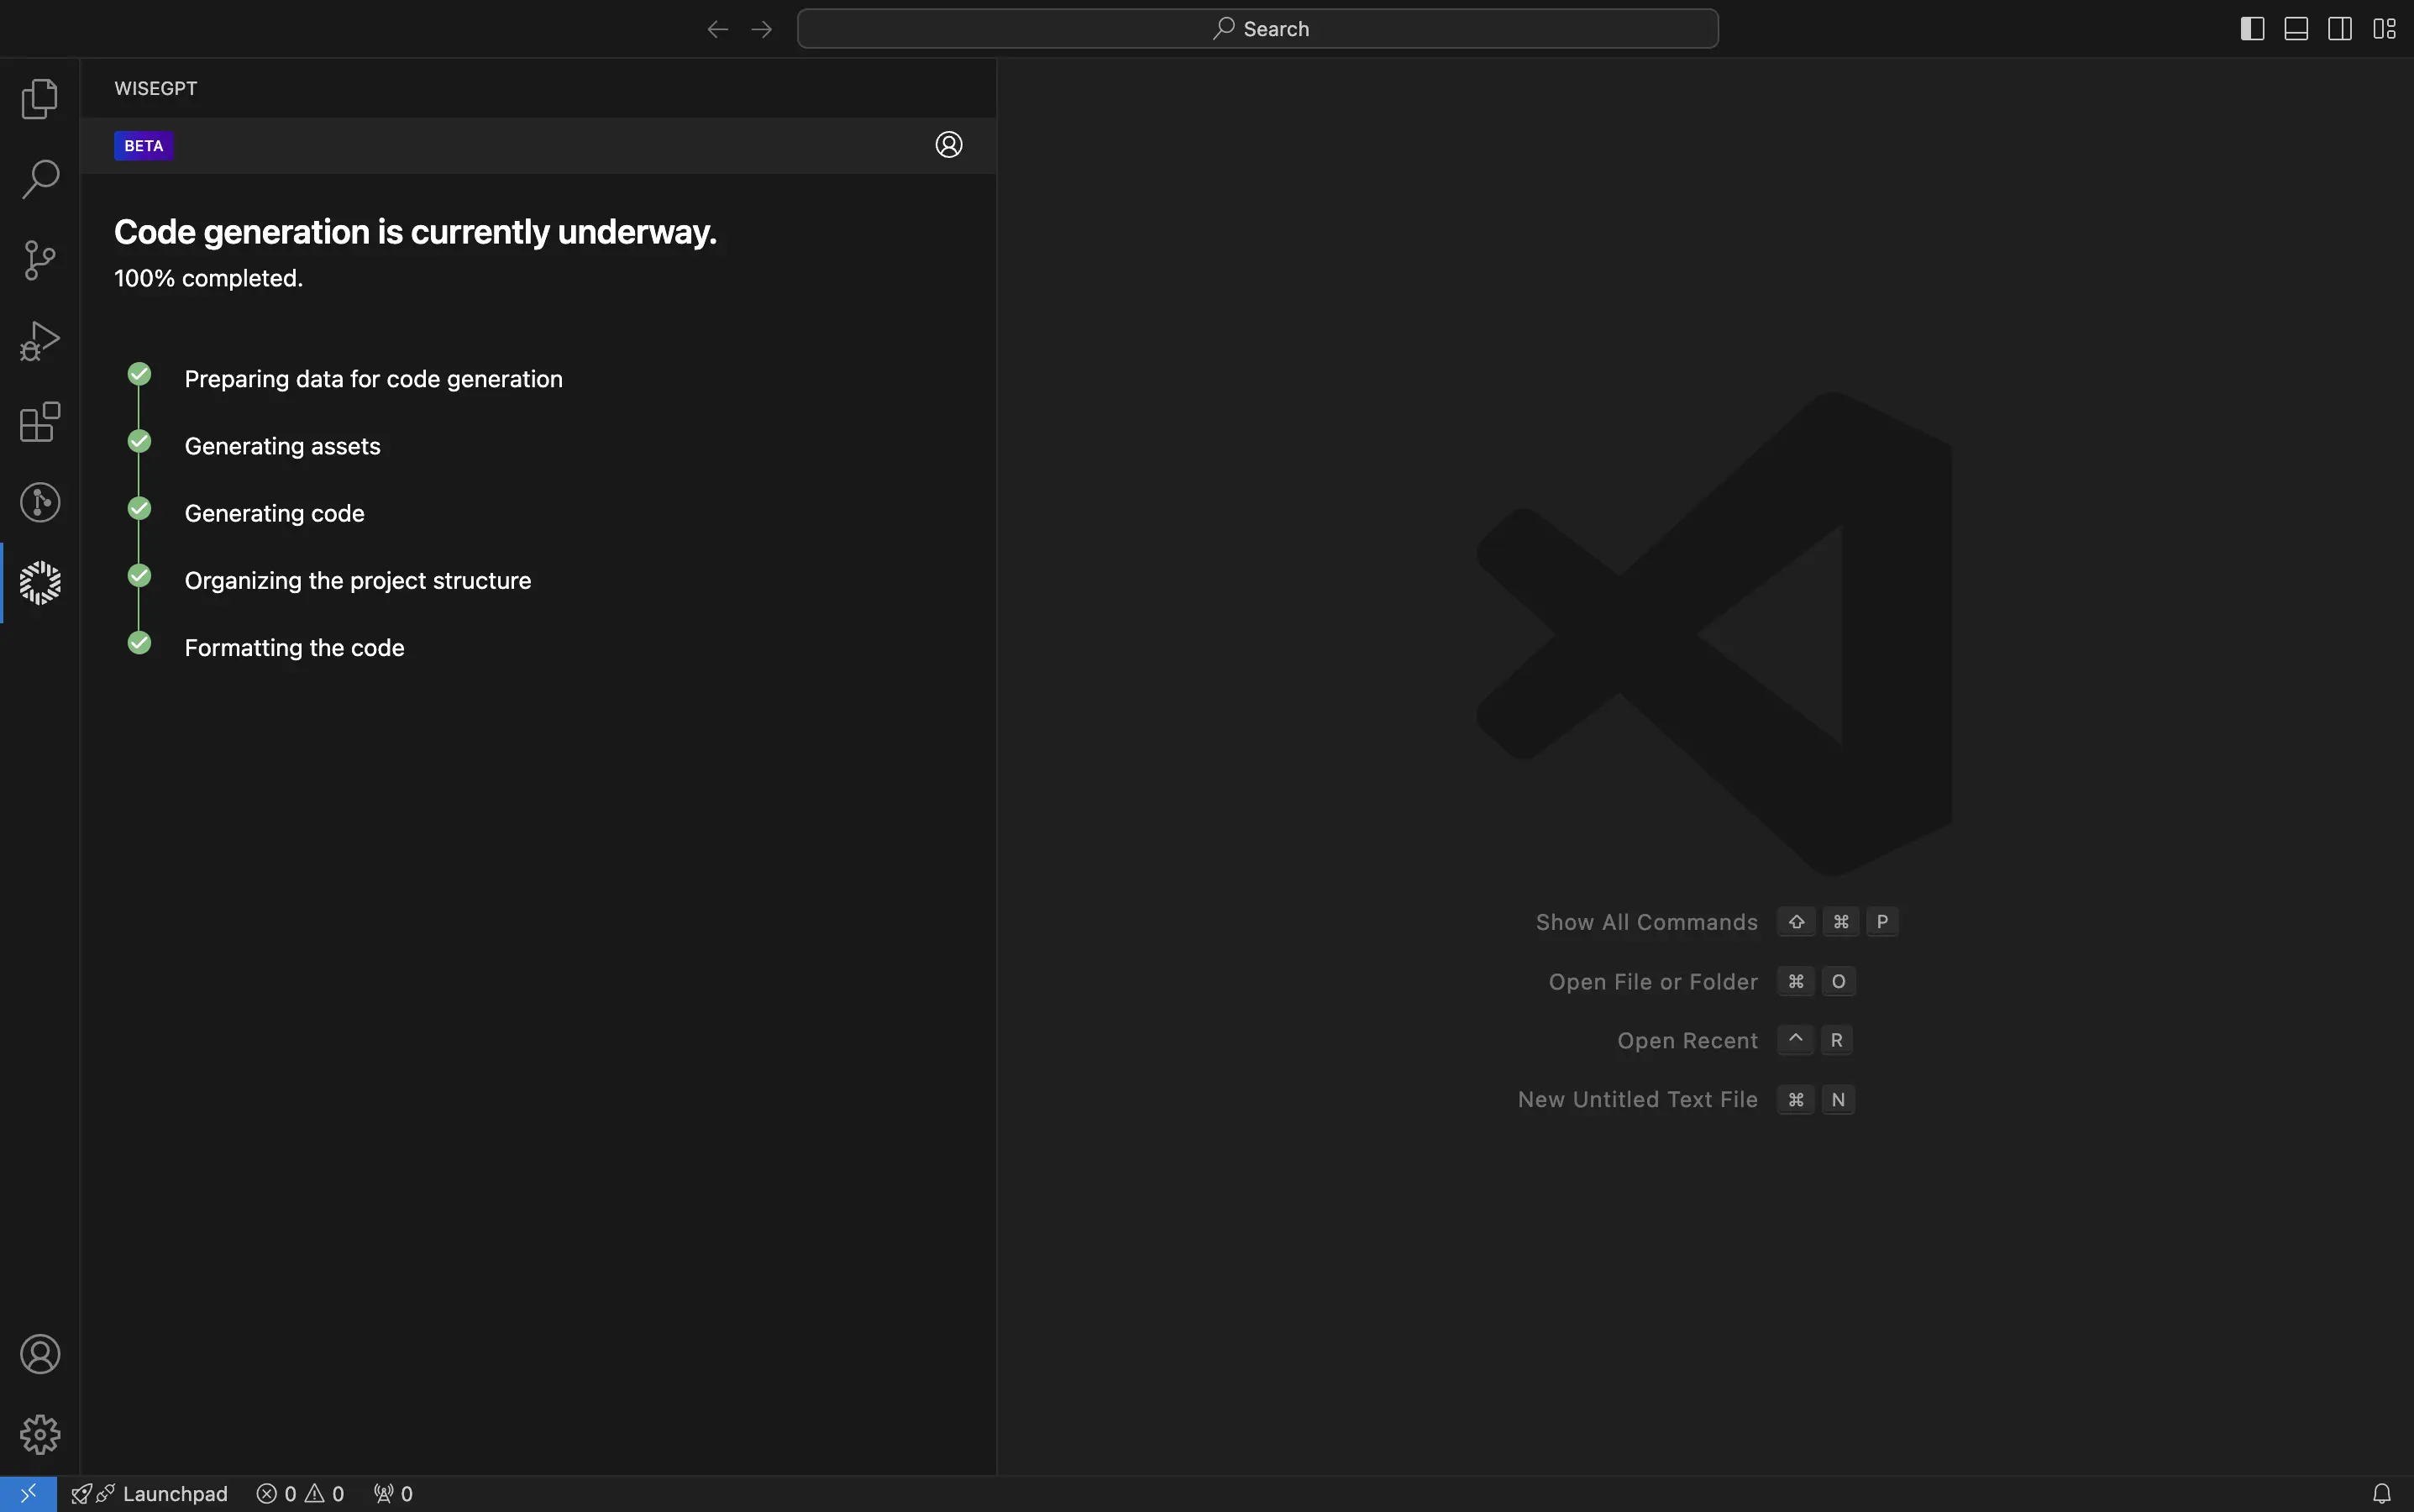
Review the selected Figma screens to ensure they are correct. Once you have confirmed your selection, click Generate code of (no. of screens) Screens to proceed with generating the code for your Web application.
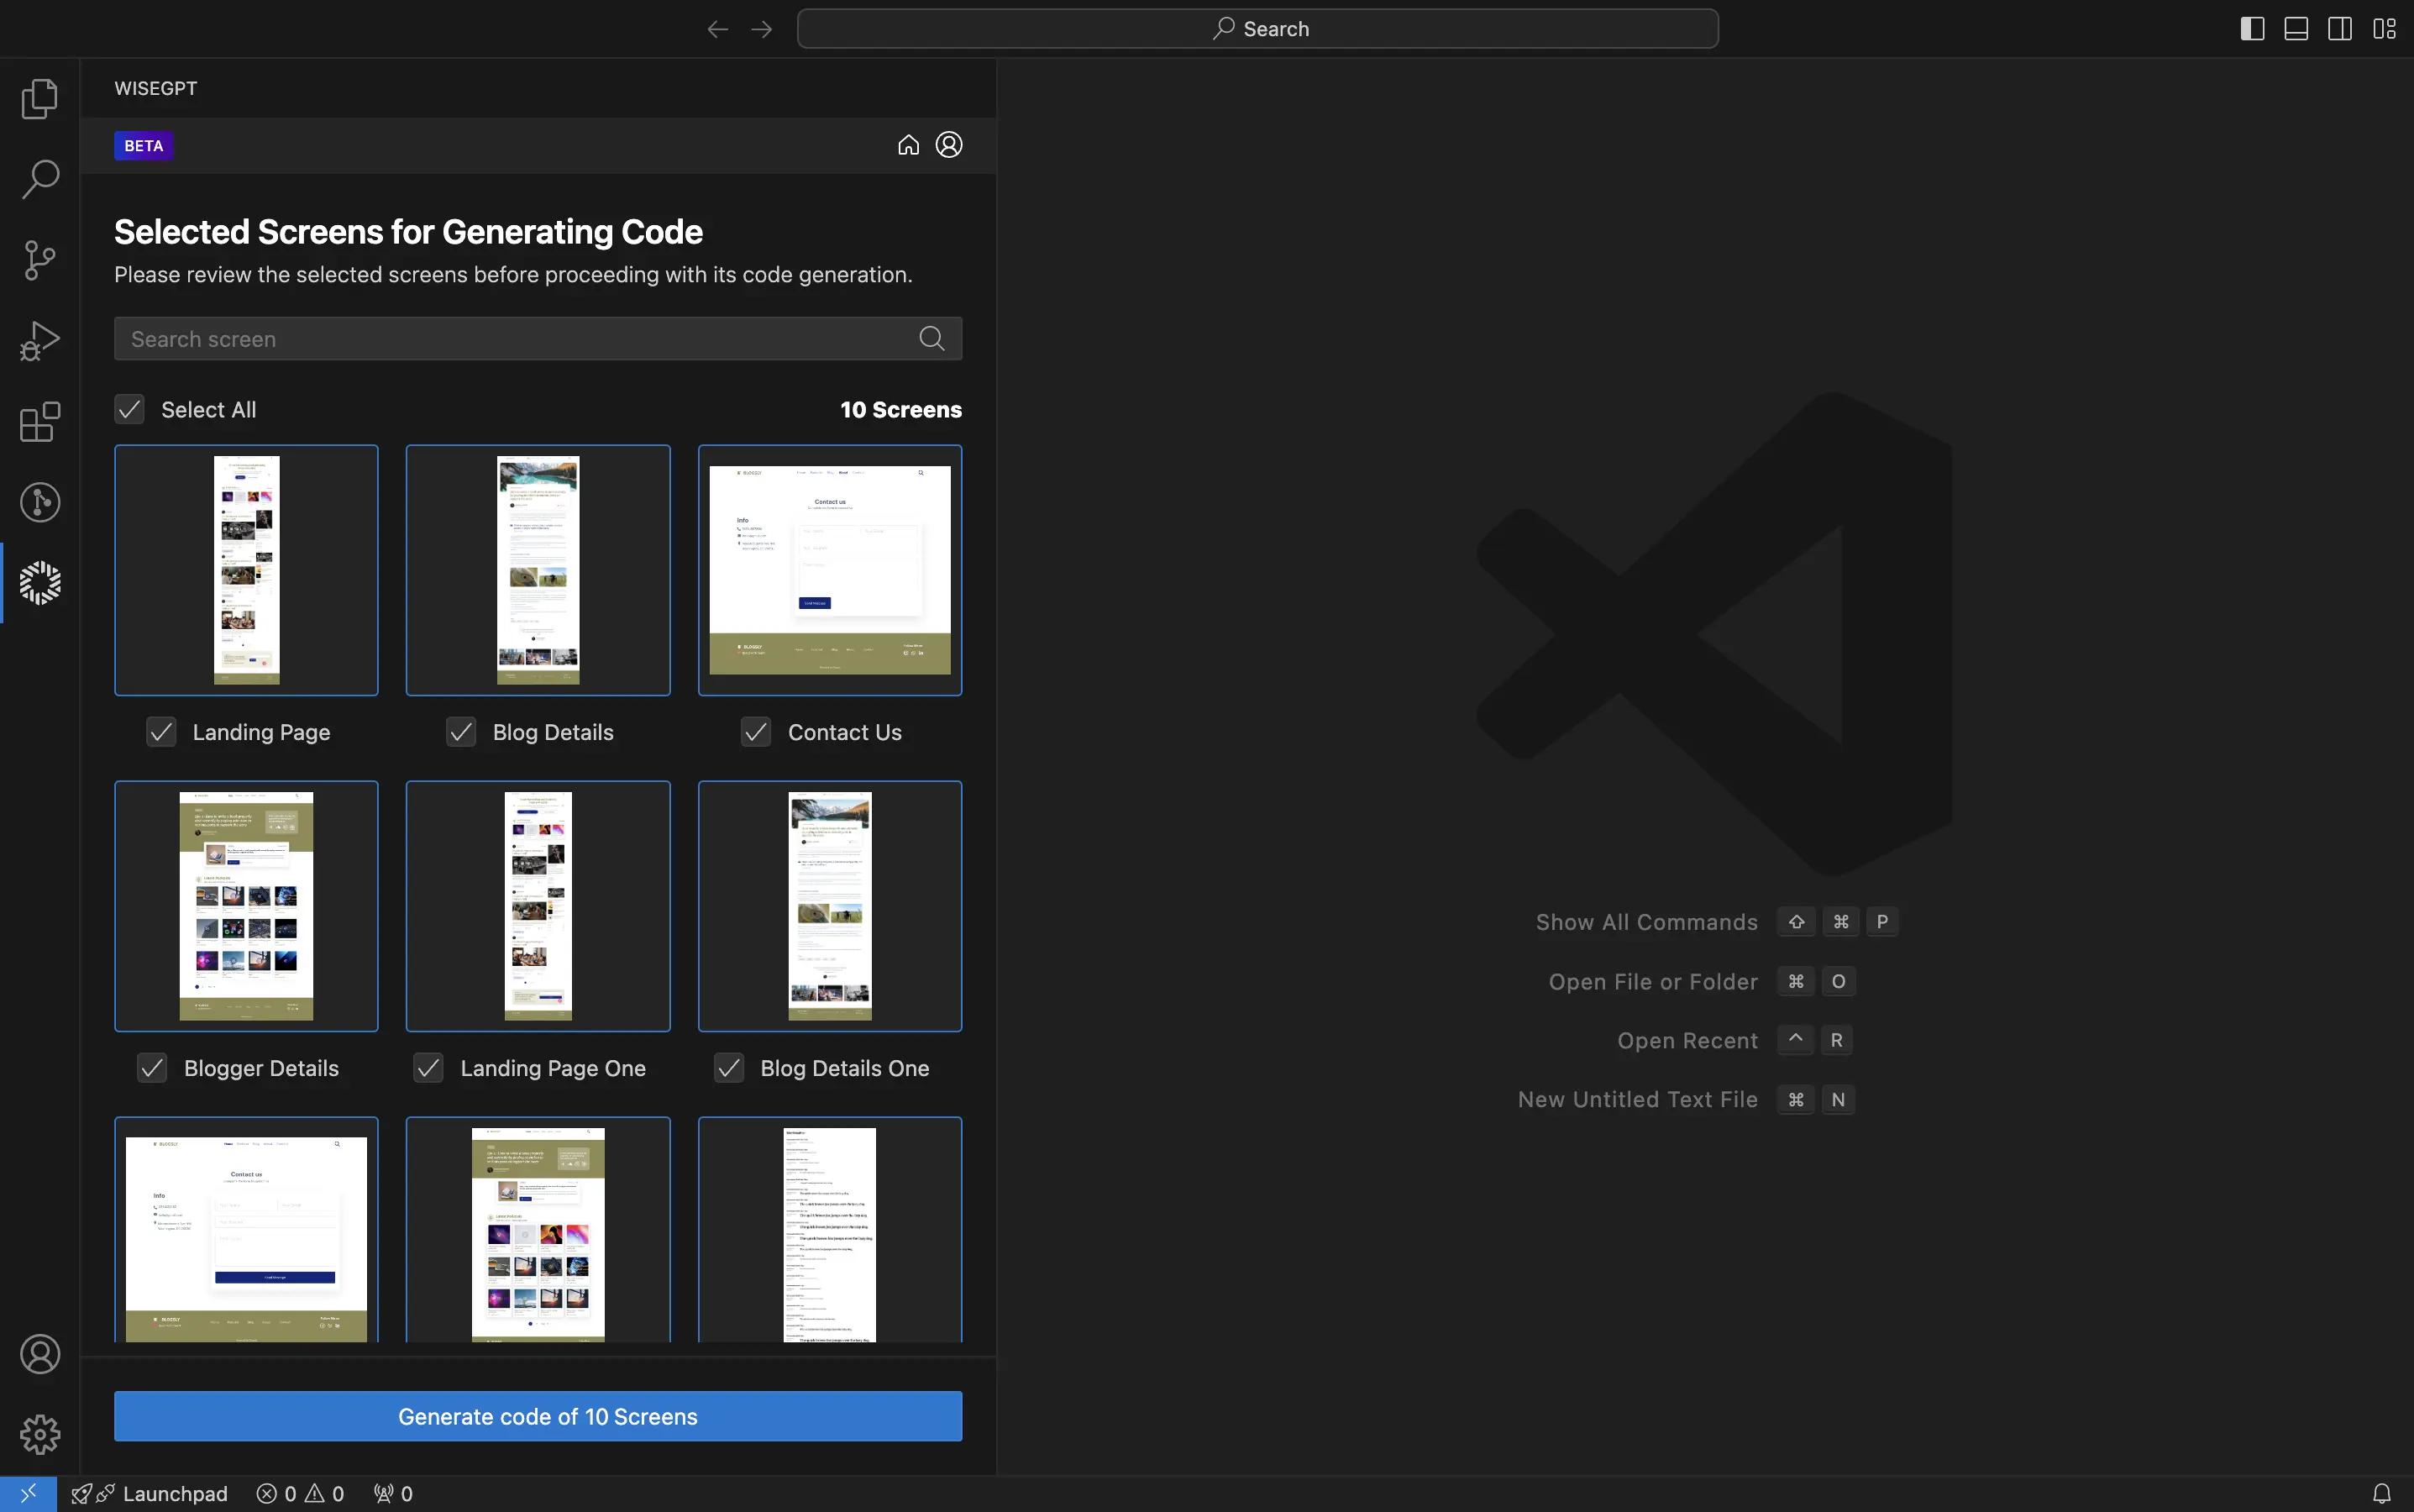
WiseGPT will now generate the code for your selected Figma screens. Please wait until the progress reaches 100% completion.
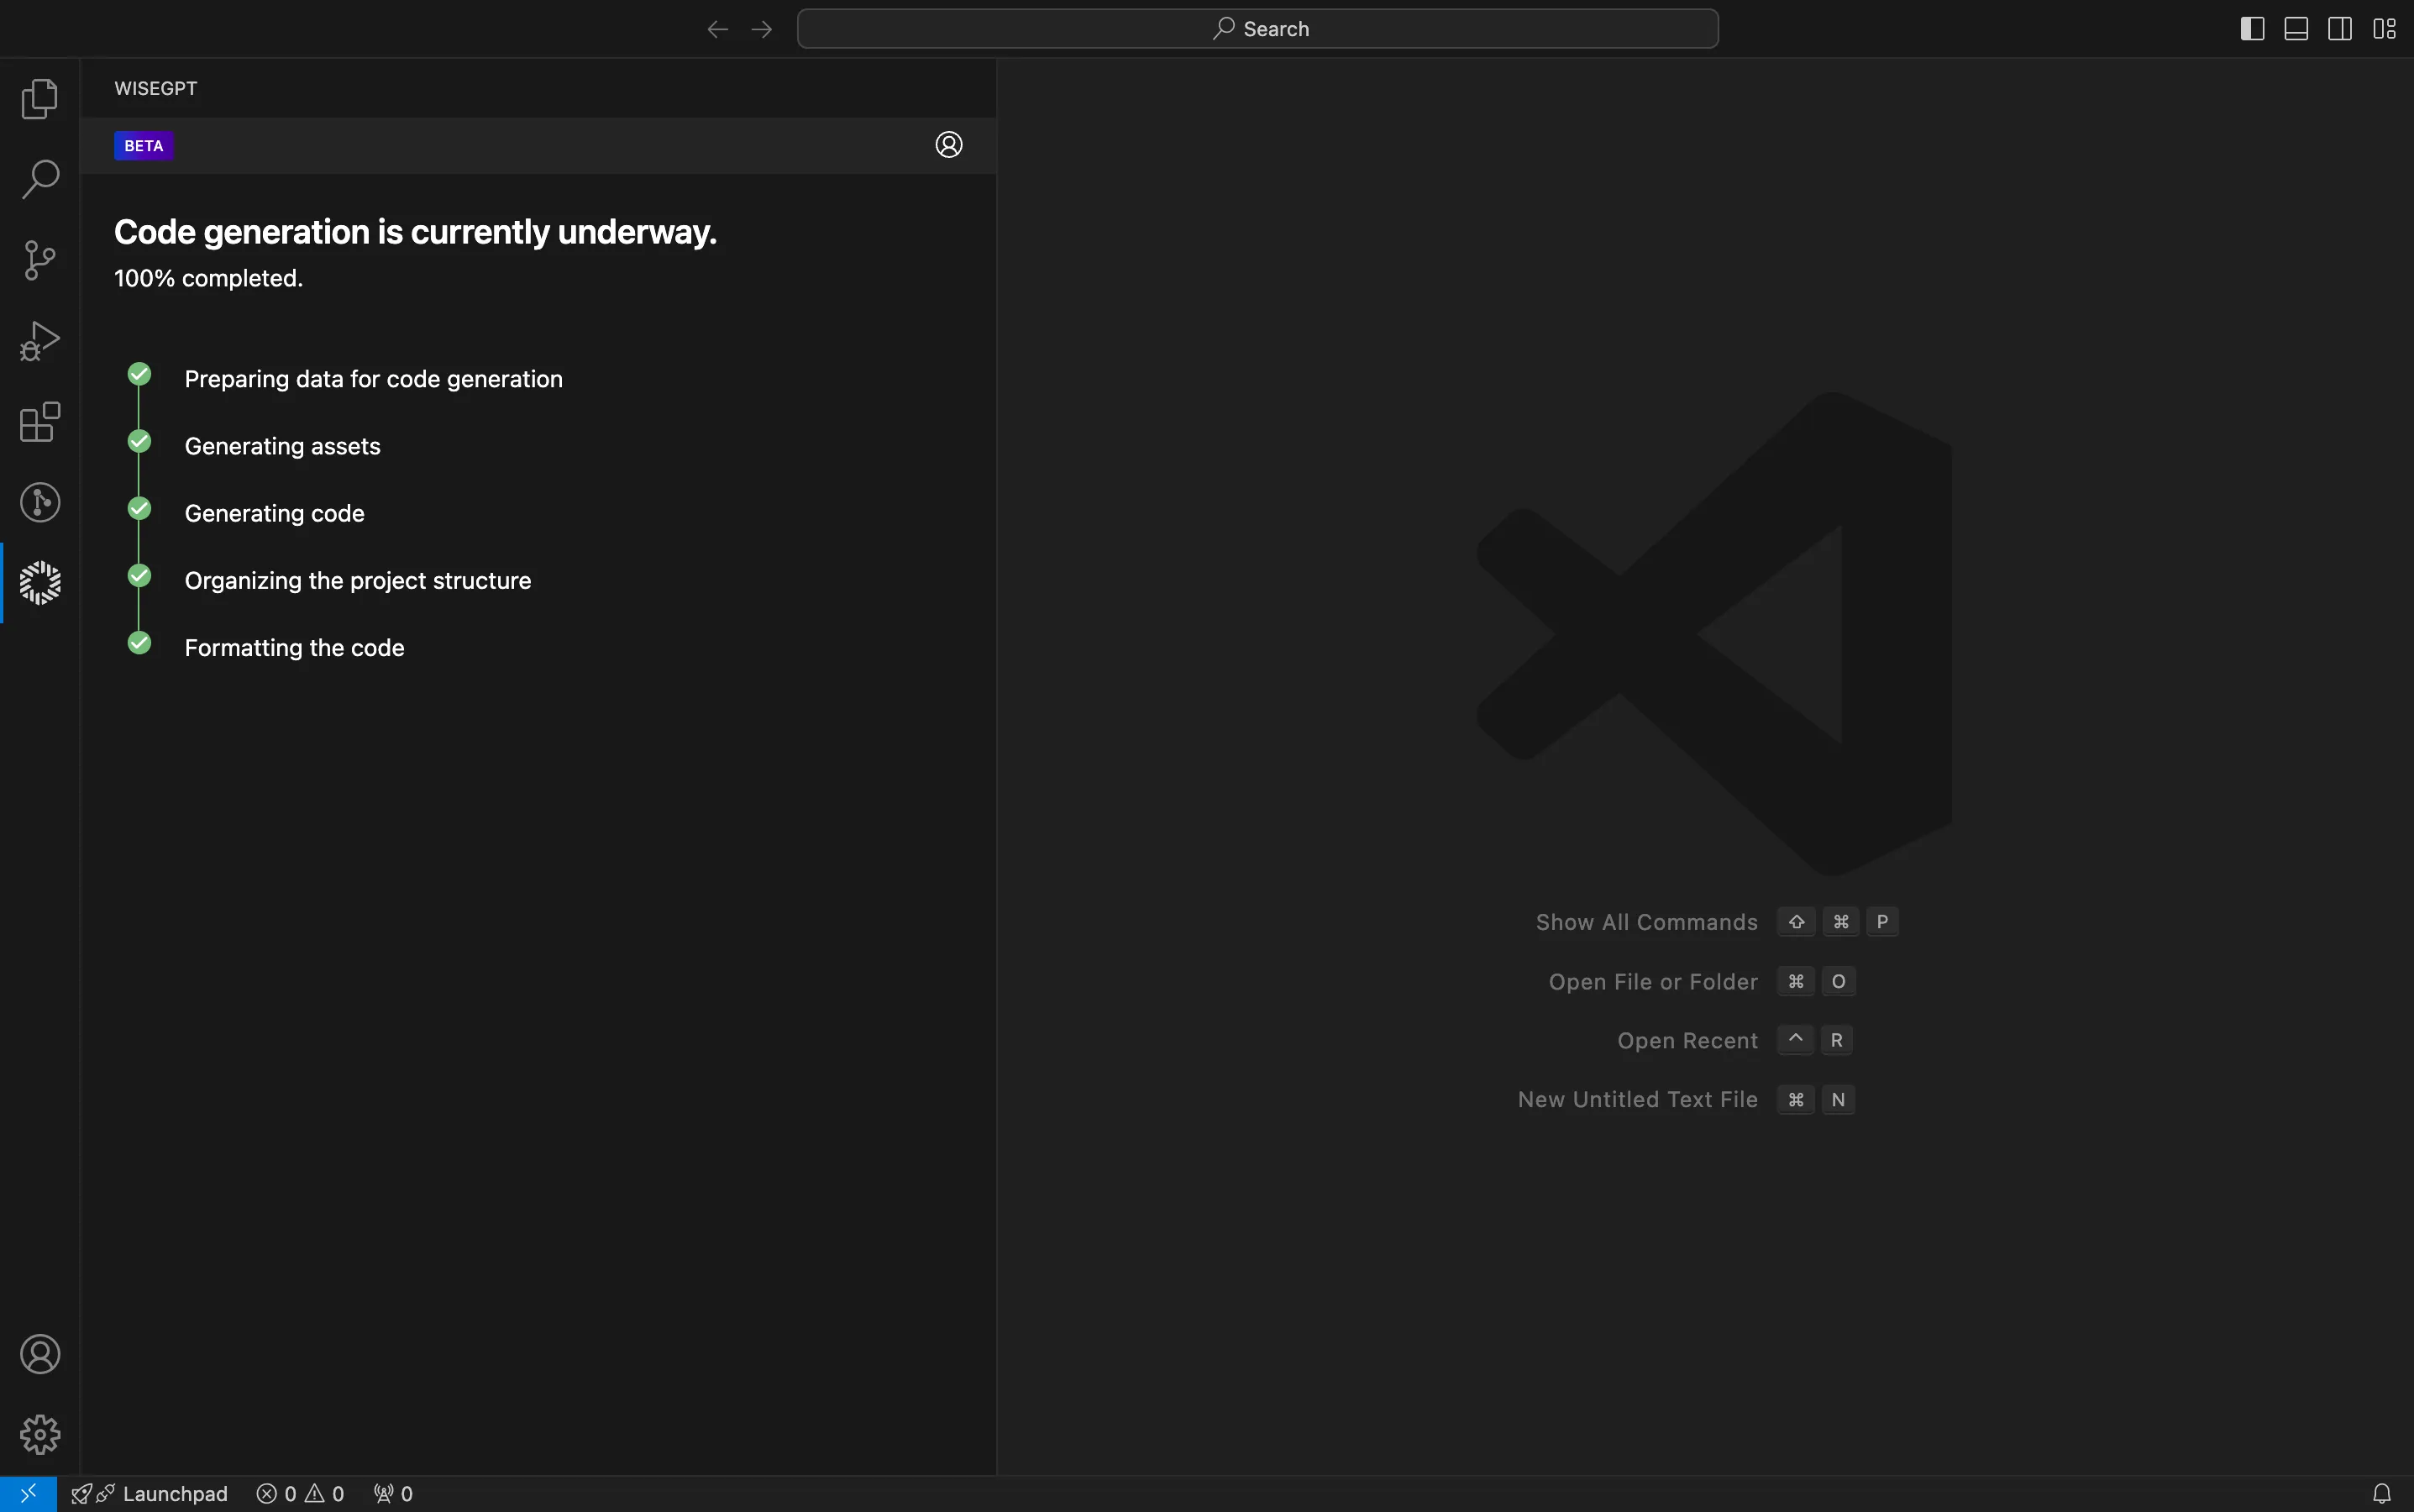
Review the selected Figma screens to ensure they are correct. Once you have confirmed your selection, click Generate code of (no. of screens) Screens to proceed with generating the code for your Flutter application.
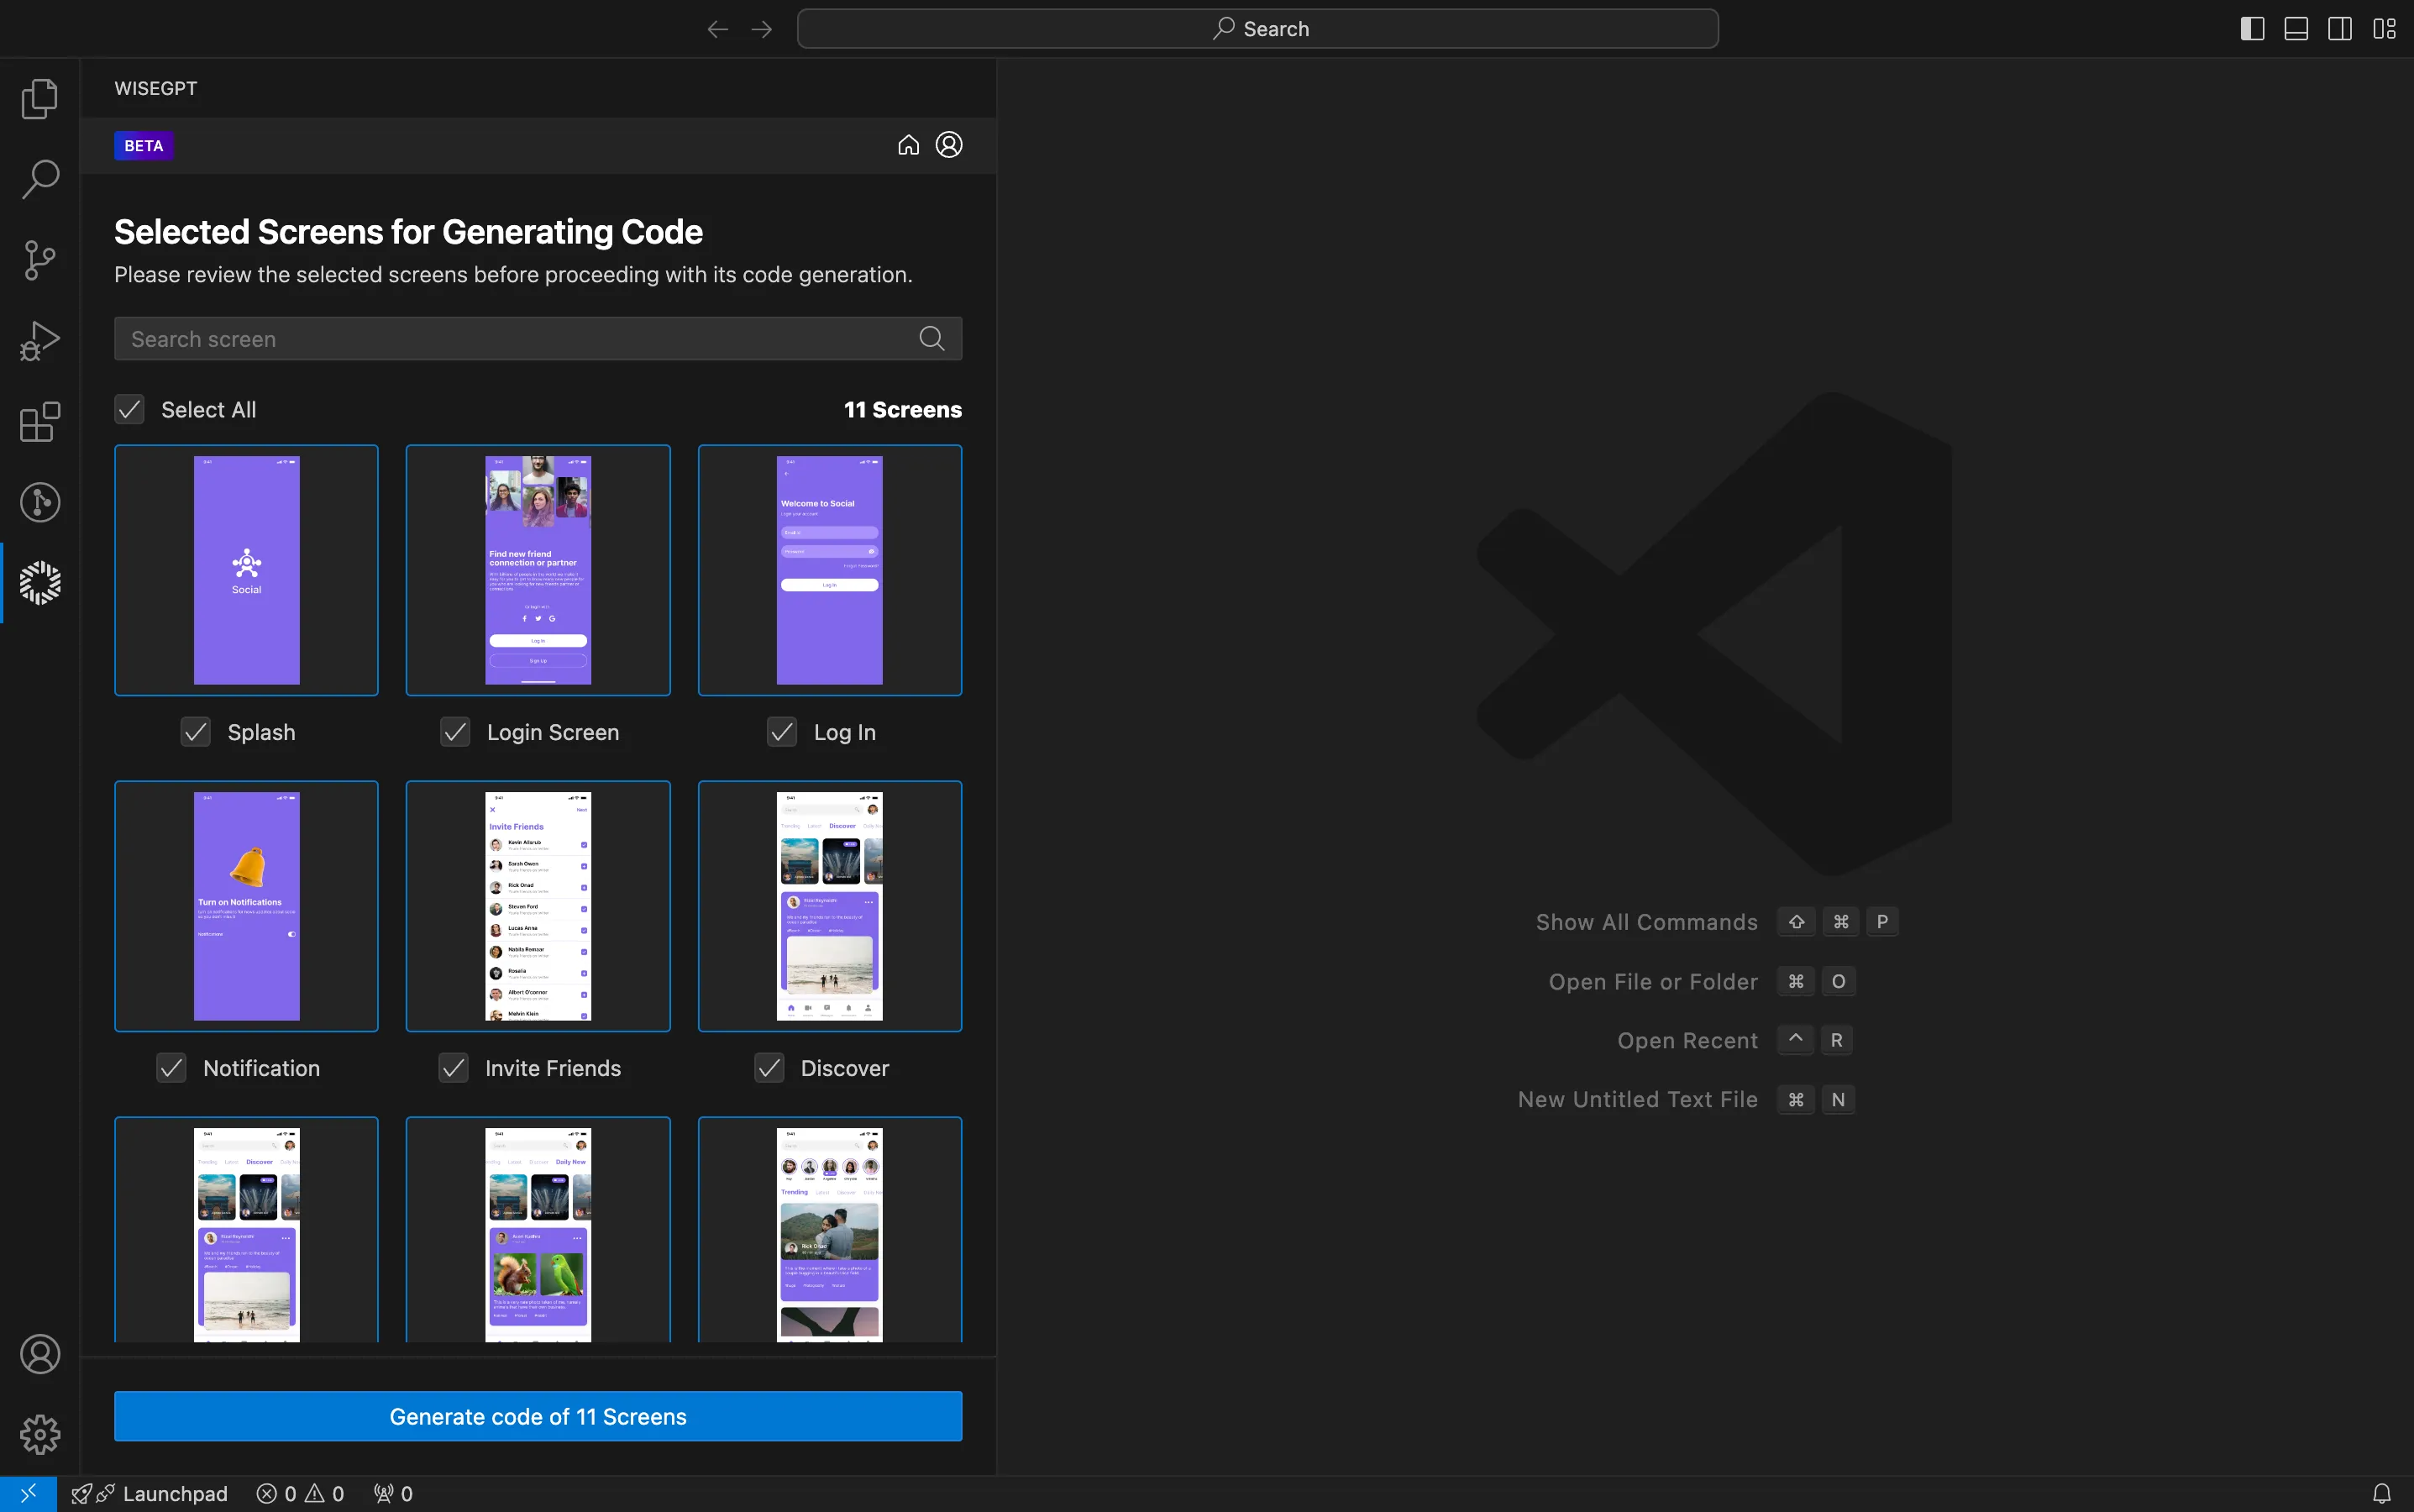
WiseGPT will now generate the code for your selected Figma screens. Please wait until the progress reaches 100% completion.
Review the generated code and save your project
- React
- Flutter
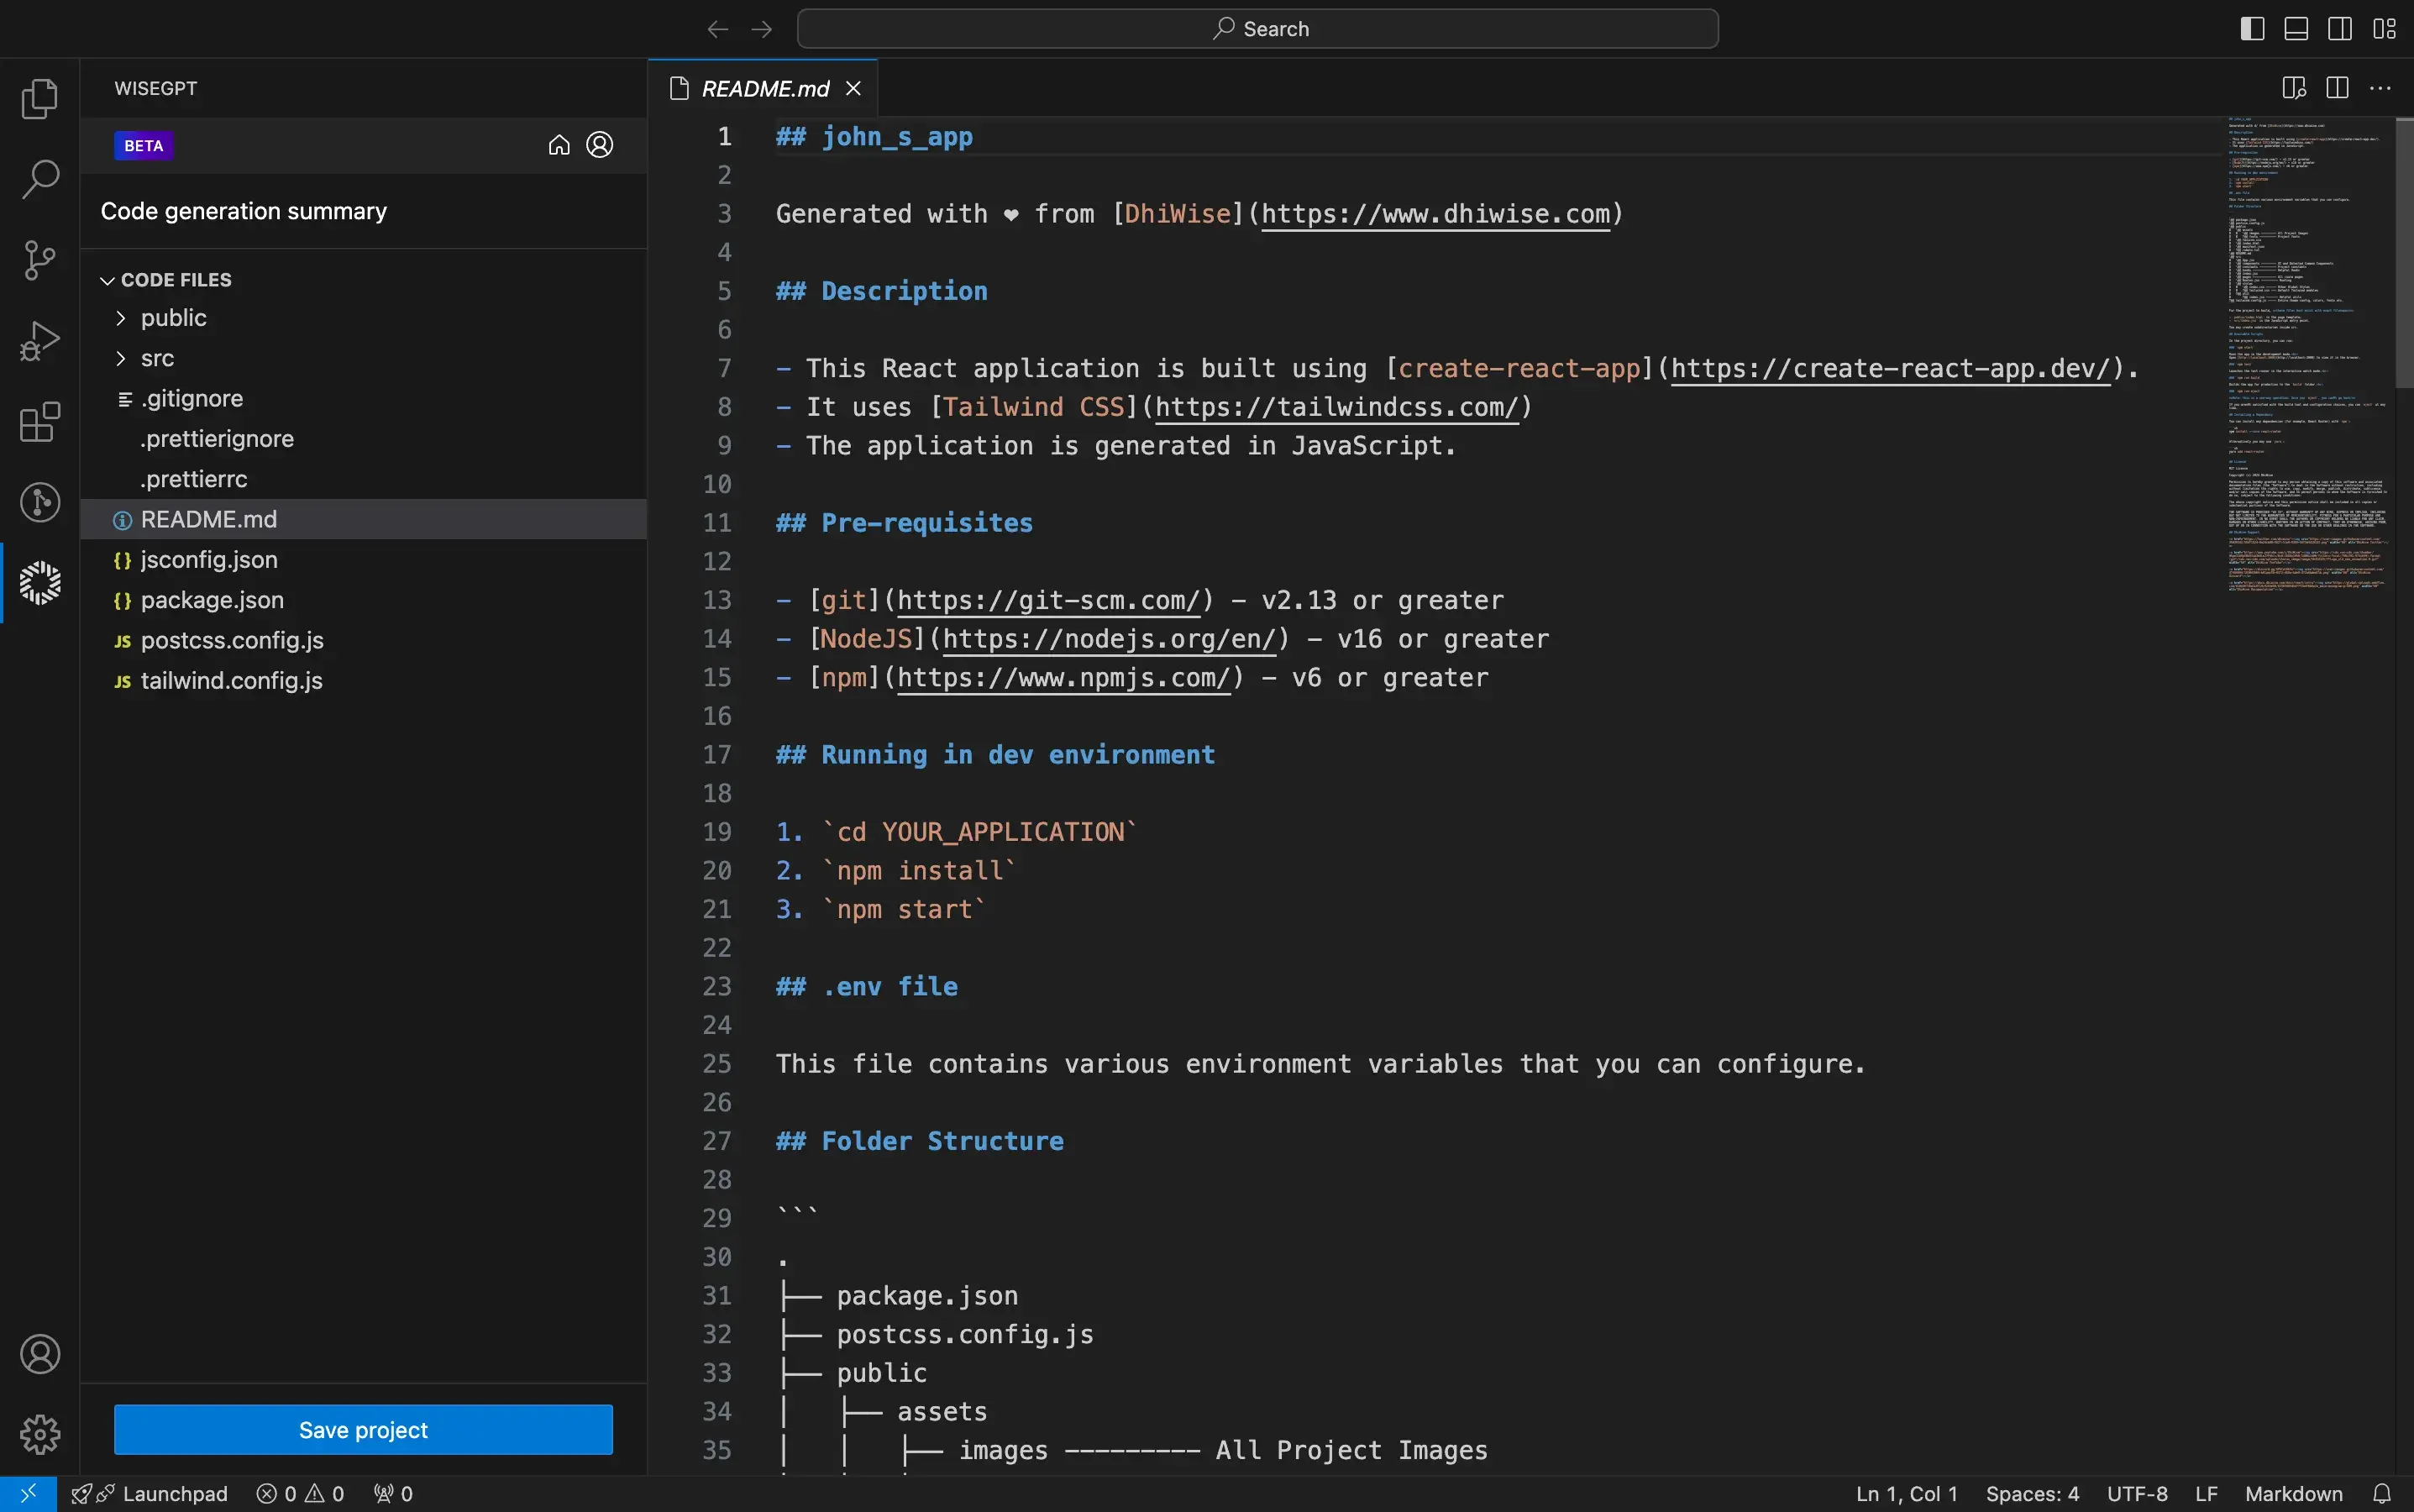
Review the generated code files and the README.md document to understand the project structure and guidelines. Once you are satisfied with the review, click Save project to finalize and save your Web application project.
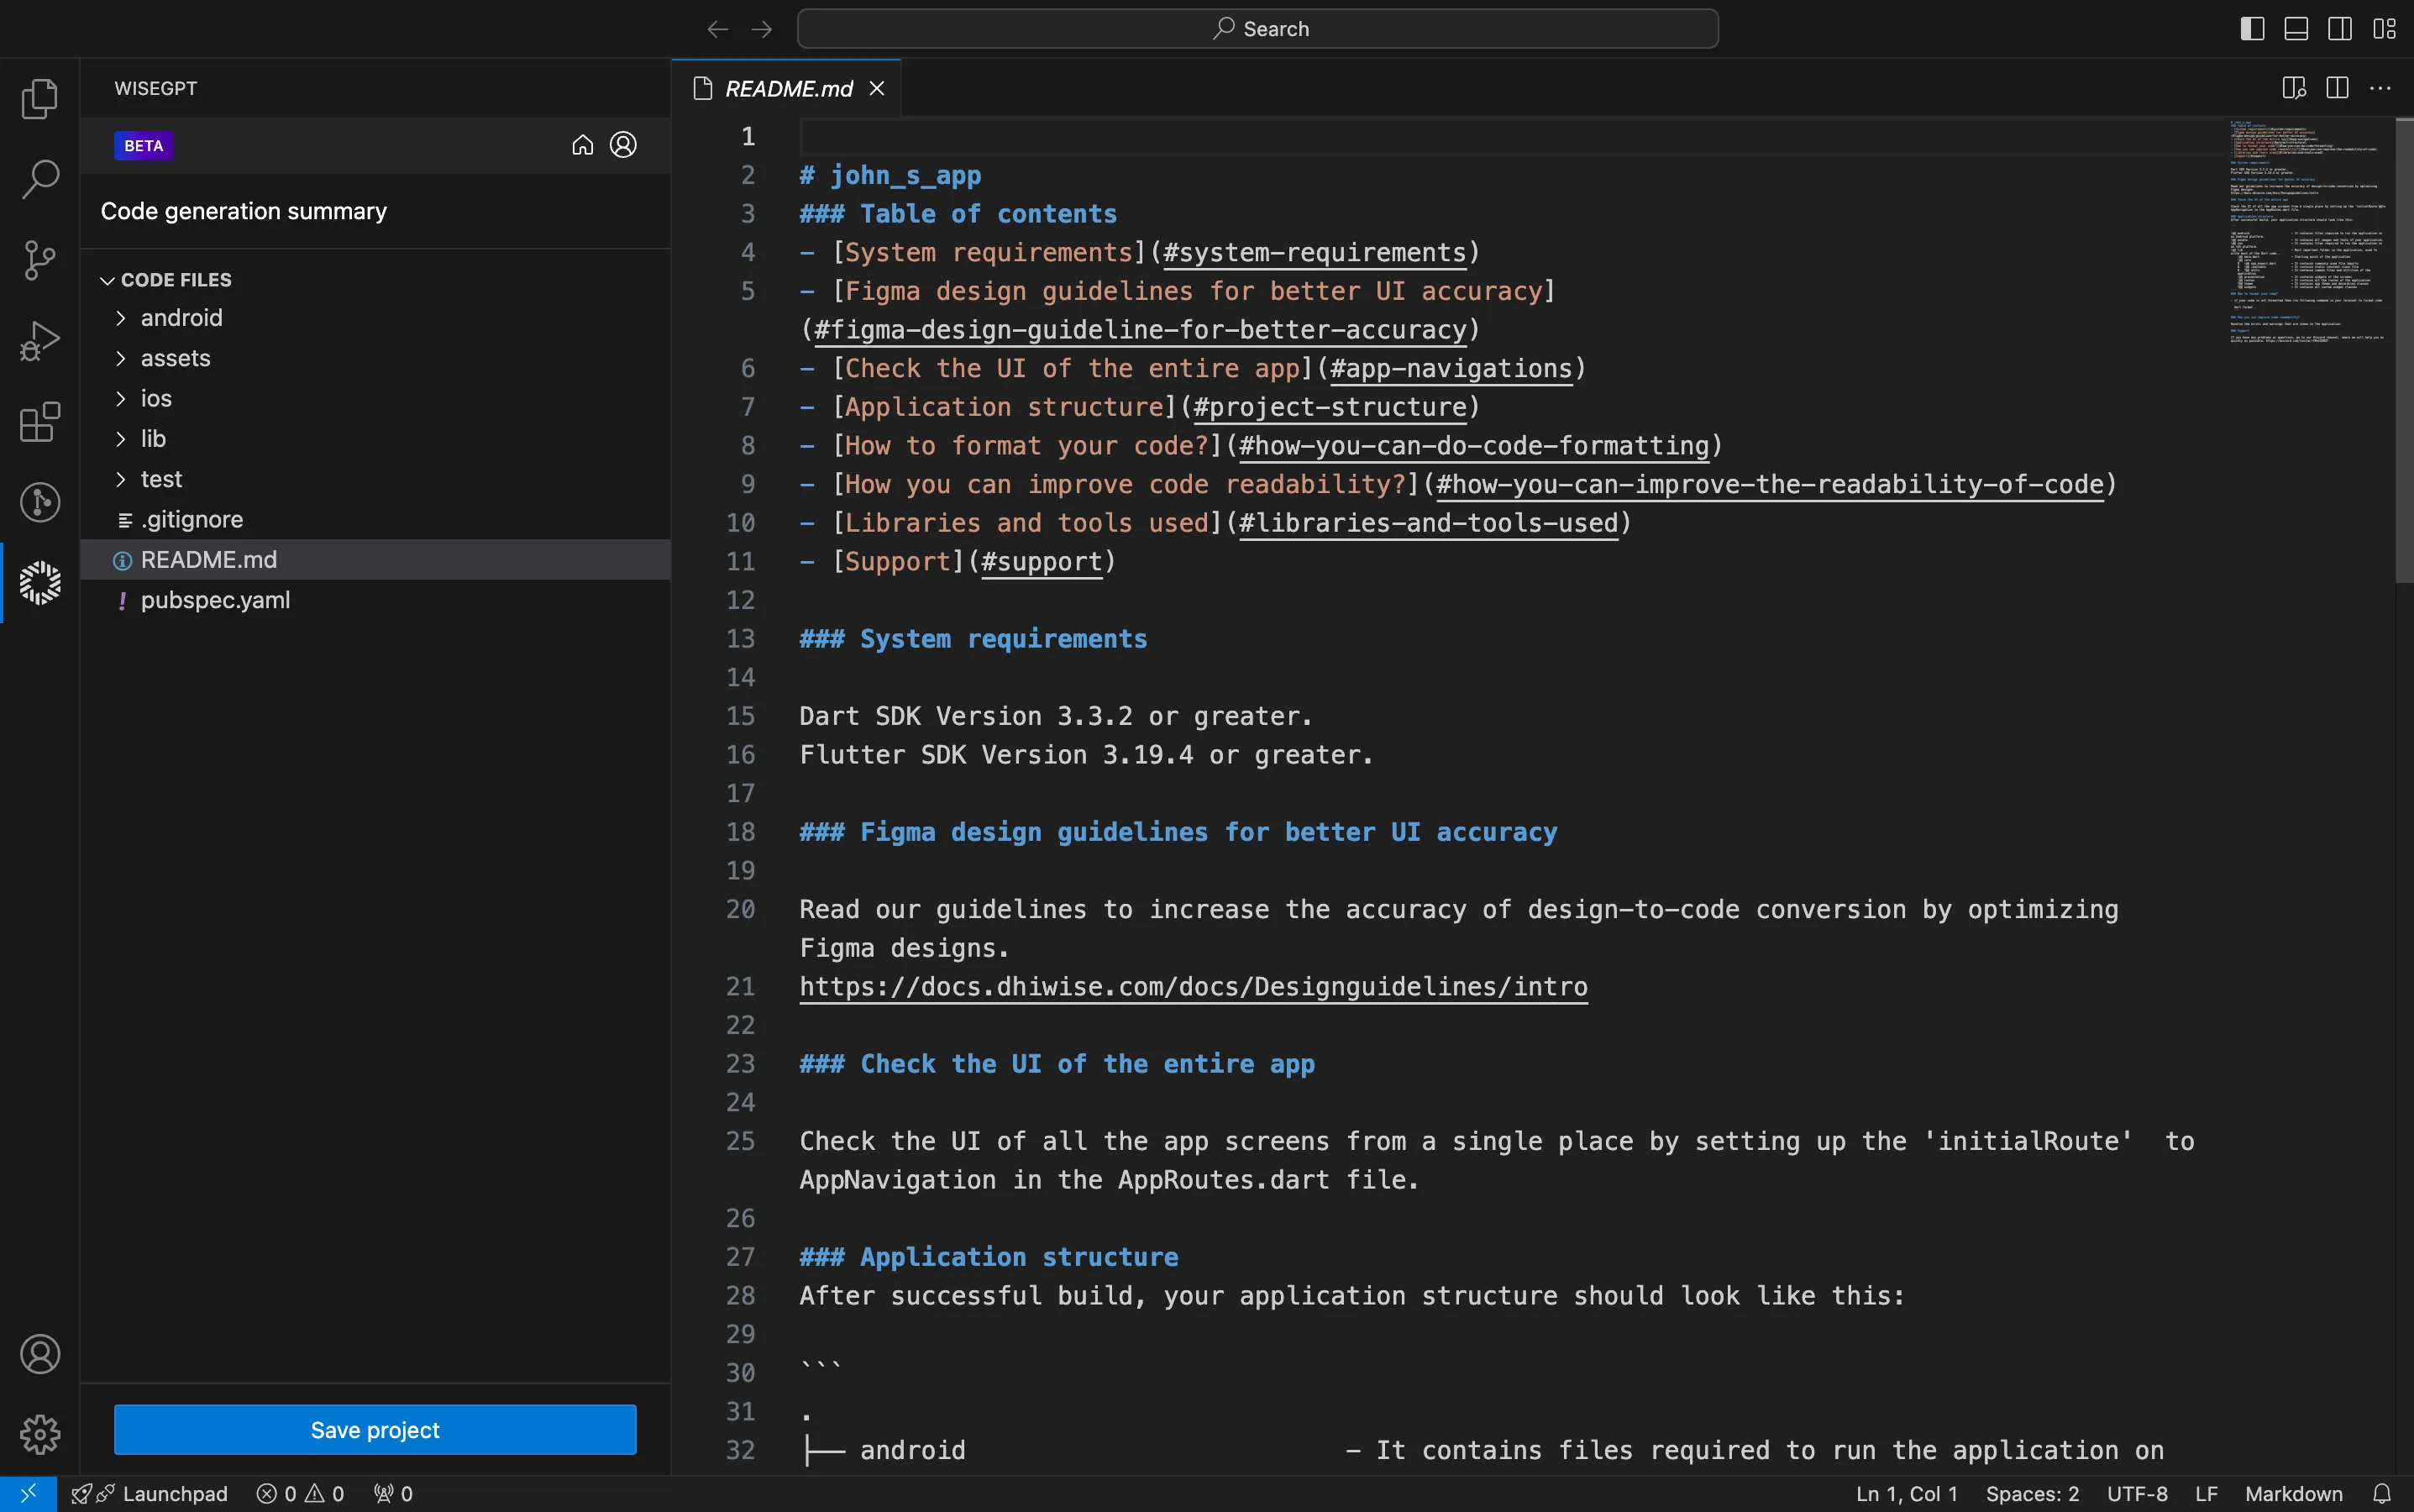
Review the generated code files and the README.md document to understand the project structure and guidelines. Once you are satisfied with the review, click Save project to finalize and save your Flutter application project.
The entire process of generating your app code is now complete. Your application is ready for further development and customization.